Drilling some steel...

Reaming 7/16" to be a slip fit over the barrel.

Drilling the other end slightly smaller so that it stops about 1/4" from the muzzle end.

Milling some flats.

I went for an irregular hexagon. This gives me meat for screws to attach it to the barrel while still being light weight.

Finding the end.

Spotting for one of the setscrews.

Two setscrew holes drilled.

Easiest way to cut it off was in the lathe. I put a rod in the tailstock to catch the part once parted...

I gave it a ground finish like the breech.

Looks ok.

Then I stoned the sear.

And made the bosses flat.

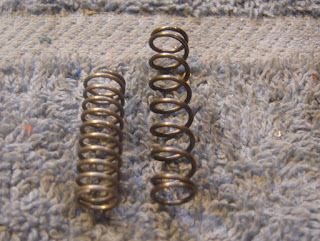
A smaller, lighter spring for the trigger.

And a delrin spring end.

Just a quick n' dirty trigger job. Shimmed the trigger and sear.

I hit everything with some cold blue.

Of course I had to go get new batteries for the red dot before getting a chance to shoot it...Nothing fancy but a fun little project.

No comments:
Post a Comment