A compressor is really needed for serious work on spring piston air rifles, so I gathered a bunch of parts and set to work.
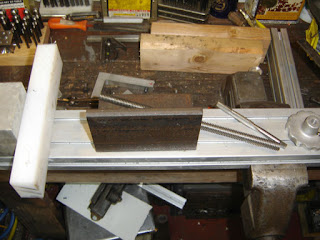
The base is a length of 80/20 type aluminum t-slot extrusion. Angle iron, aluminum chunks, plastic chunks, a knob and some 1/2"-10 acme threaded rod. Notice the acme tap. I bought it years ago for just such a project. I had a bunch of 80/20 tee nuts and other hardware that I have bought over the years from our local scrap yard, plus all the usual nuts and screws I have on hand.
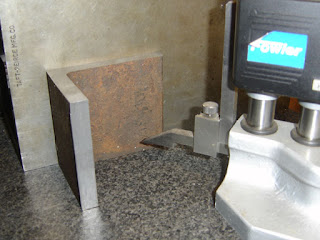
Laying out the mounting holes for the angle iron.
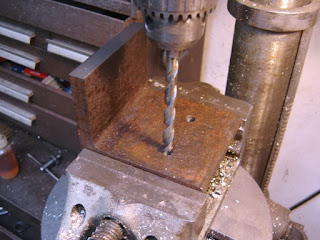
This is very exciting, isn't it. The main reason I procrastinated so long is the tedium of laying out and drilling holes.
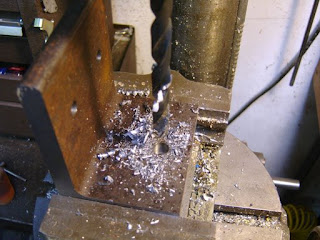
I used a letter "Y" bit for the acme tap, seemed about right. I wanted a tradeoff between ease of tapping and strength.
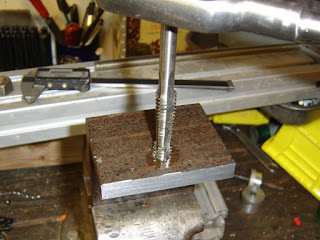
This is a "tandem" style tap, which first roughs in the threads and then the 2nd part of the tap finishes them. I could have probably used 1/2"-13 threaded rod but I figured there was no point in hoarding the acme rod...I still have 3' of it.
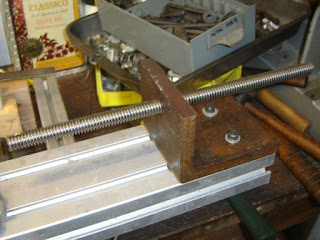
Well, it threads in and squarely!
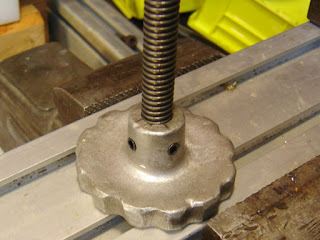
This old fixture knob was drilled out and tapped for two setscrews at 90 deg. Should be strong enough, although I may upgrade to a ball crank to speed things up...
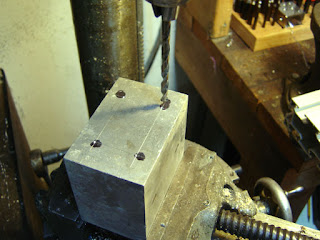
Drilling the holes for the pusher block.
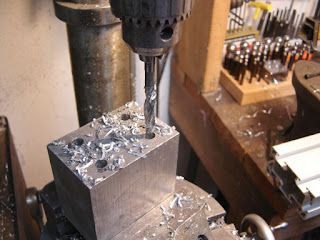
Counterboring for #10 screws, which were used because they were the longest socket head cap screws I had on hand.
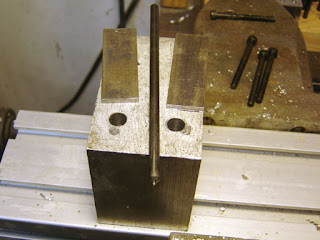
The steel strips were transfer punched, drilled and tapped.
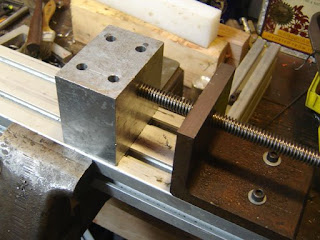
It all lines up!
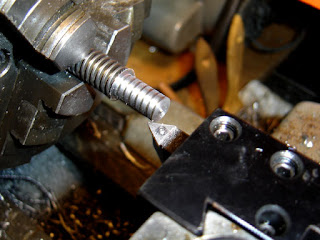
The acme rod was turned down at the end to 3/8" and a small pip intentionally put on the end of the rod...
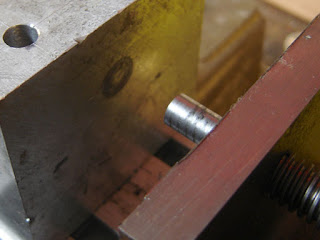
...So I could transfer the hole location
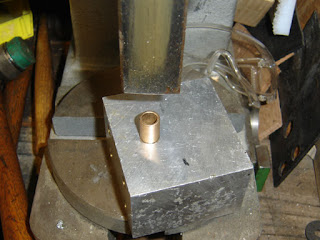
Pressing in a bronze bearing.
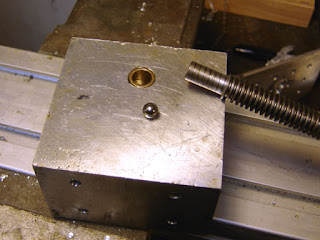
The rod was center drilled on the end to make a vee shaped countersink and the ball bearing inserted between the rod and the block as a crude thrust bearing.
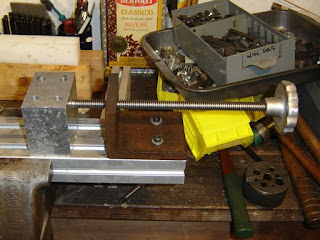
All assembled! It slides smoothly with little play. I may make a retainer of some sort so it also moves the block backwards, right now I have to push the block back by hand to retract it.
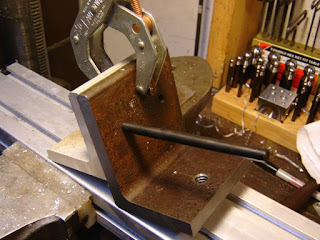
Transferring the mounting holes to a piece of thick aluminum angle. It should be plenty strong.
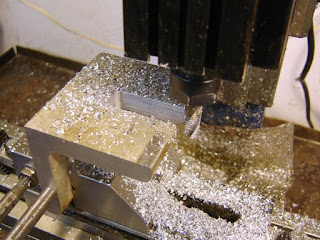
Milling out a slot slightly wider than the barrel diameter of the largest barrel of the air rifles I own. It can always be enlarged should I need to.
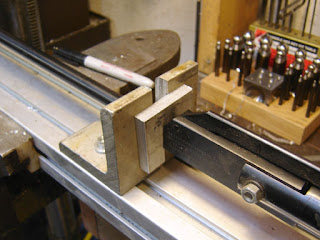
For different barrel diameters I will have thick aluminum shims which will closely fit the barrel and allow the maximum surface contact with the breech block face. If the barrel/breech is removed before compressing, this is not an issue, but it seems that sometimes you may want to leave the barrel on the rifle when working on the spring, depending on circumstances. In the past I have worked on all of my rifles with the barrel removed though.
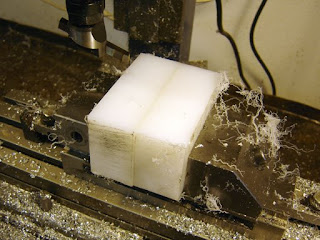
Flycutting two coarsely sawn blocks of UHMW plastic. Both the plastic and the chuck of aluminum for the pusher block were acquired when my friend Kent and I cleaned out a machine shop that was closing. We salvaged tons of scrap cutoffs, all labelled with alloy or type.
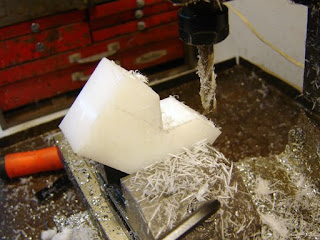
One block was set at a 45 degree angle and a vee was milled.
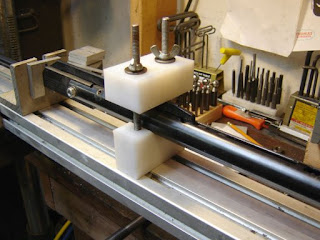
Both blocks were drilled through and sections of 1/4"-20 threaded rod pass through into tee nuts. This is quite secure, at first I thought I would do two sets of these clamping blocks but one seems fine for now.
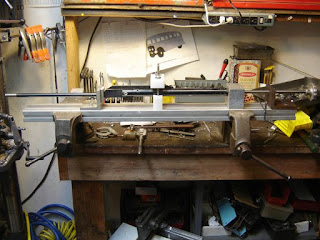
The spring compressor is finished! I have the back jaws of both bench vises coplanar, which is handy for holding long fixtures and tools of this type. The compressor should be big enough to work on any spring piston air rifle I have or will come across in the future. I have it in mind to make other attachments for this extrusion, such as a rifle vise, or checkering jig, but I'll wait until need arises.

11 comments:
Nick, Just when I thought I could show you my spring compressor, you go and build something this far over the top. Now I'm either going to have to set mine on fire and start over, or have it uphostered in faux leopard.
Derrick
P.S. Nice work as always.
What awesome spring compressor!!, This is the best spring compressor have ever seen!!
What kind of springs are you compressing with that. It'll take two men and a midget to get it on the bench. LOL.
It's actually lighter than it looks, the aluminum extrusion being hollow I find it weighs about what a large pipe clamp weighs.
Super sick build, this is from outer space.
A Star Wars spring compressor!
That is the best spring compressor I have seen to date!! Nice work.
How wide is the 80/20 base? I contacted 80/20 and they no longer manufacture that style of extrusion. Just wondering how satisfied you are with the width, I may have a few other options for a base. Nice work as always!!
It's about 3.5" x 1.75", but I think you could use single slot fine. I don't think it matters much I just used a piece I picked up at the scrap yard cheap.
Thank you!! Oh, I should have asked about the length, looks to be about 4-5 feet. I have a FWB 124D that needs a new piston seal so a Maccari kit is in the future, but need to make a proper spring compressor. I'm a springer guy so I'll get some use out of making a spring compressor.
42", but that's was the length of the scrap piece, it was long enough.
Many thanks!! Again your work is inspiring.
Post a Comment