I decided it would be a good candidate for a modification I had been wanting to try, the late Don Nygord's adjustable sear. You can download a .pdf reprint of his article here. The article is maddeningly vague and as I mention below, shows far more meat on the sear than actually is there.
Let me say that it's not a good idea to mess with triggers, sears and such. You can't afford to have a gun go off while cocking or charging. Don't do this modification!
The Daisy is a relatively safe design as you first cock the gun then charge it with air, so if the trigger is set too lightly it should go off before charging. Even so, I tested it for accidental discharge by knocking and slapping it around before even thinking about testing it with a pellet. I make sure the gun is always pointed in a safe direction, wear glasses and a bulletproof vest (ok, maybe not the vest).
I won't be held responsible if you put your damn eye out (or more likely, shoot a hole in your foot)! I am not in any way advising you to make these mods. Don't do this modification!
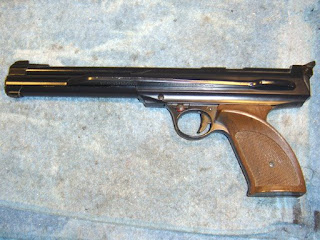
The 717

I removed the grips, opened the pump arm and removed the three screws that hold the pistol together.
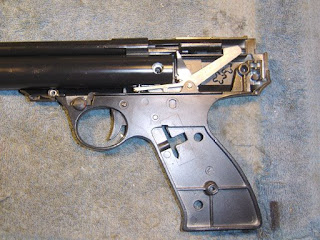
I removed the side plate.
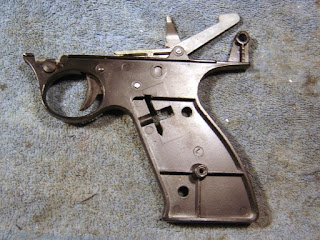
And I pulled off the grip frame and trigger assembly.
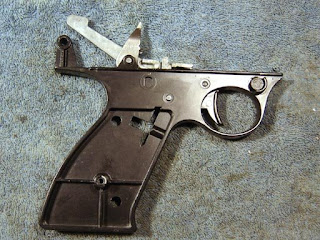
Here's a pic of the other side, mostly for my own reference.
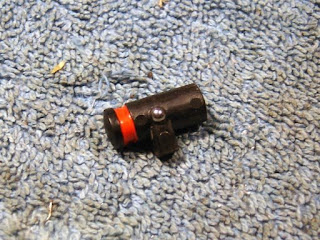
I removed the safety and made sure that the detent ball and spring did not shoot across the shop. There's a first time for everything.
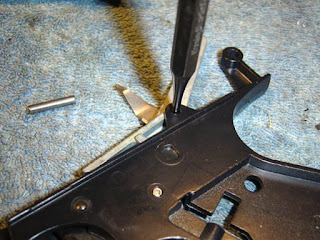
The first of two pins are pushed out. They are a slip fit and didn't require any force.
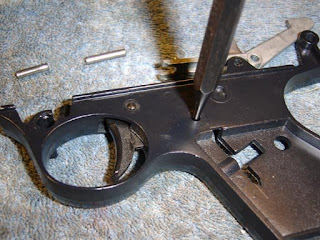
I pushed out the second pin.
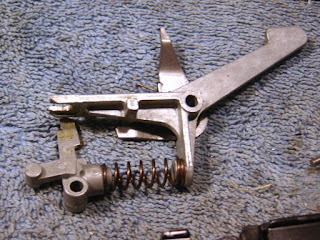
The sear assembly.
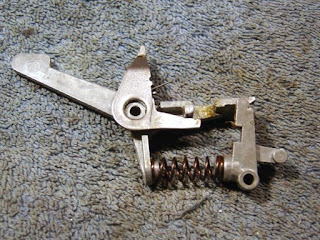
The other side, again for my reference...
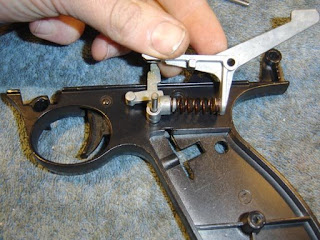
I placed a longer dowel pin in the hole and put the sear assembly on top.
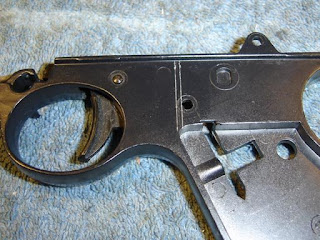
So I could scribe a few lines to determine where to drill the hole. The left line was extended across the top of the frame with a square. I wonder what those cutouts and that boss is for?
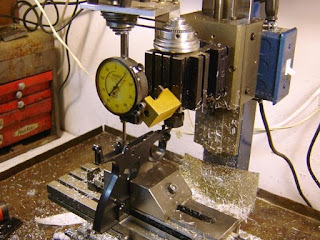
I mounted the frame in the vise and used a dial indicator to make sure it was level.

I used a pointed centerfinder to optically (as in I looked at it and lined it up) find the line.
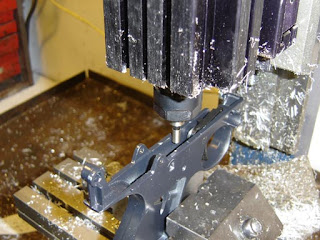
I used an edge finder to find the center of the frame.
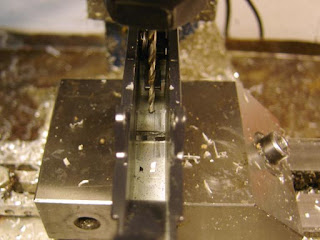
And I drilled a hole for tapping a #4-40 screw thread. Nygord used a #5, but I only had #4 and #6 setscrews on hand.
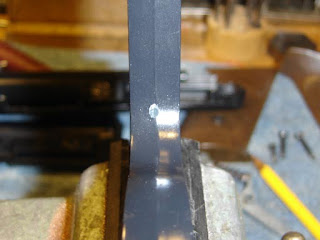
It looks off center because of the grip molding line, but it's actually perfectly centered.
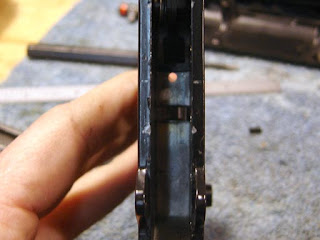
A nice hole.
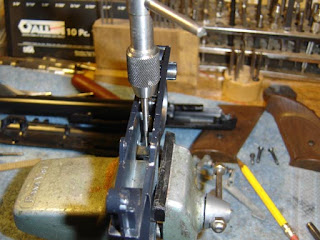
I then tapped the hole by hand. It's a bit deep and I had to follow up the gun tap with a bottoming tap.
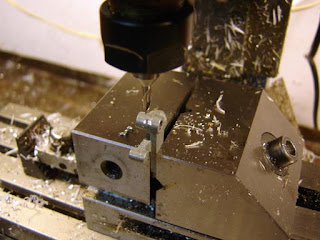
I then milled a seat for the screw on the sear. Nygord's drawing shows a much larger casting boss, which I find interesting. Perhaps Daisy changed the design to prevent this modification? Anyway since I used a smaller screw at least half the diameter of the screw will make contact with the seat.
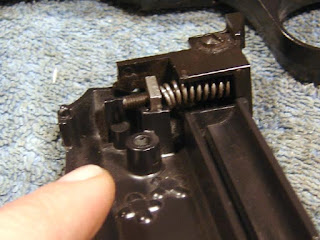
At this point I reassembled the pistol. It wouldn't go back together...I then remembered that while you can take it apart without removing the sight, you have to remove the sight to reassemble as the spring will push out and get in the way when the plate is removed...
I then screwed in a 1/2" long #4-40 setscrew, checking the action each 1/8 of a turn. It is very easy to go from a light trigger pull to the gun refusing to cock at all, so I played it safe and went about 1/16th of a turn when it got close. The trigger pull is noticeably lighter now, I did a blind test with my wife to see if she could determine which 717 had been modified. She selected this pistol as the one with the lighter pull.
Was it worth it? Hard to say. The trigger pull isn't that bad once the gun has been worn in. But I thought I'd try it out. I still can't shoot as accurately as the pistol is capable of anyway.

1 comment:
I did this mod when the article came out in the NRA Rifleman. It's not hard to do and it works great. I too did the knocking tests to make sure It was safe. I found that it make the gun much more enjoyable and accurate.
Post a Comment