Glossing over most of the steps since this is the second time around for this model on the blog. I cleaned all the sticky crud out of the compression tube and all the various components. Polished the back end of the piston body, cocking rod notch, sear...

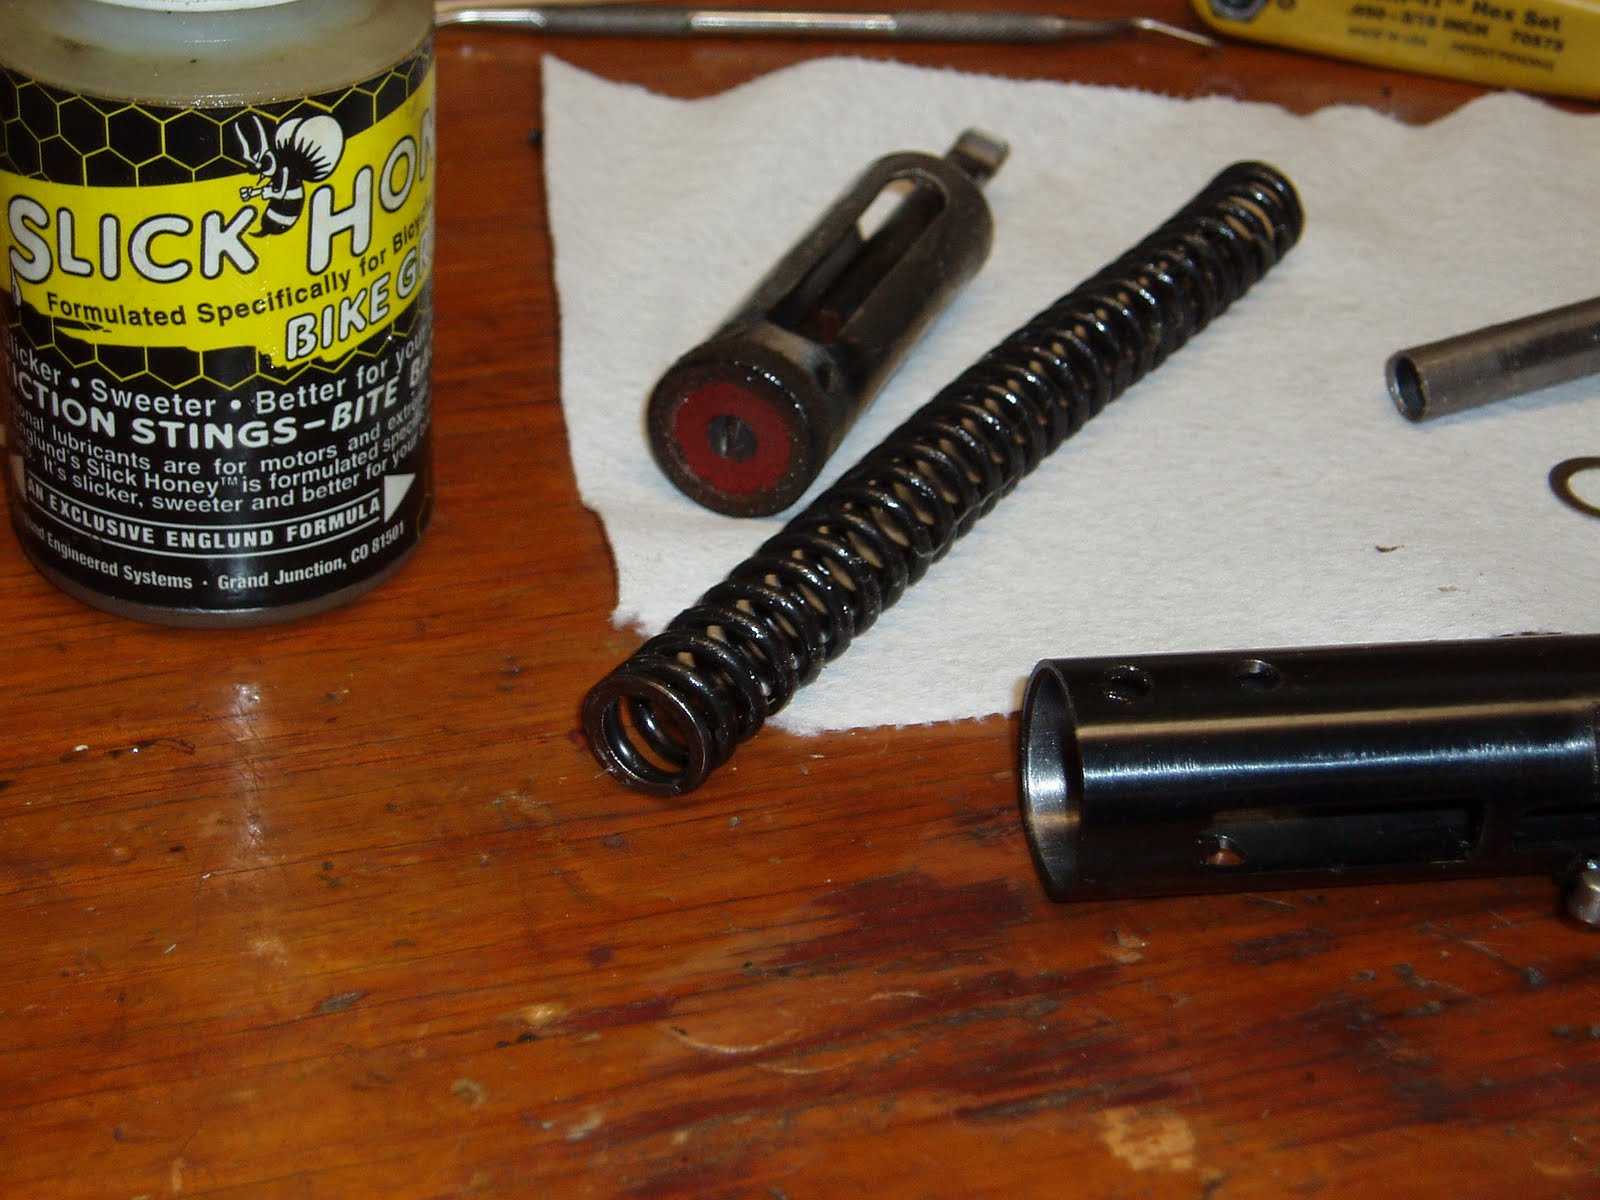
Once it was clean, I soaked the leather piston seal in oil then gave the internal parts a thin coat of Buzzy's Slick Honey.

Piston rod is brass brazed into the body.

The brass was covered with verdigris when first removed.

With the piston in the tube, trying to reinstall the barrel/breech block to the compression tube took some patience. The forks on the tube are extremely tight to the breech. The cocking lever also needs to be reinstalled through the trigger block and into the slot.

Used a dental pick to lift the trigger spring out of the way while seating the cocking lever. Once the spring was out of the way, the lever was positioned then the breech was installed into the forks. A transfer punch was used as a slave pin for the barrel pivot.

Was having trouble getting the peined rivet aligned with the far side of the trigger block. It kept moving off center as it was binding on the cocking lever. With a chainsaw file, I added a small radius into the cocking lever for pin clearance. Exact location not critical as the barrel can be broken open to align the groove with the pin. The red vinyl tape on the slave pin prevents it from falling out.

Click any image to enlarge for more detail. I shielded the gun with foil to prevent getting metal filings into the action. Sorry, I didn't show that in the pics.

Barrel opened to align the groove with the pin.

Pin tapped home and barrel pivot pin installed. Yes, glossing.

The rest of the reassembly was uneventful. Spring installed...

Added a thin rotation washer to the base of the spring guide.

Remember that there are two cross pins for the sleeve/spacer/endcap whatever you want to call it. Pinned the rearmost hole first (without the rear sight assembly) to restrain the mainspring. This allowed for much easier installation of the sear on the forward pin as I was no longer fighting the mainspring while attempting to align the cross holes in the tube, sleeve and sear--then pin it all together.

Removed the rear pin after seating the sear and sear spring. The forward pin is now retaining the mainspring. Installed the rear sight block and it was pretty much a done deal. Finished the gun by installing the grip.

1 comment:
I have a v350 crossman in great shape but bb falls out when muzzle is pointed downward. Any fixes?
Post a Comment