These pictures and notes show my progress, lack or progress and final success in resealing the 105…over the course of a month!
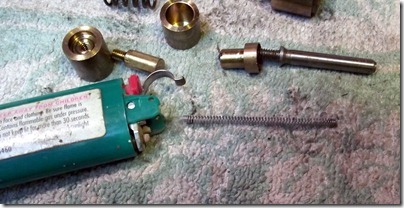
I removed the spring from a Bic lighter. It’s the correct size for a number of uses, in this case the safety detent spring and the spring in the bolt.
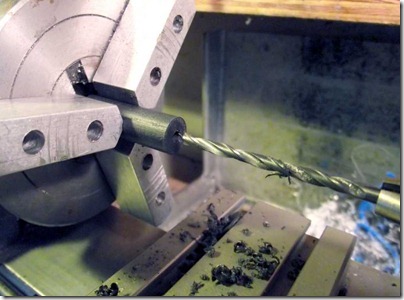
Turning some seals from 90 durometer urethane rubber.
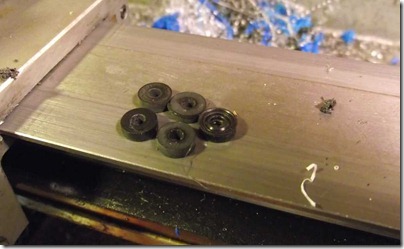
The finished seals. I made a few…
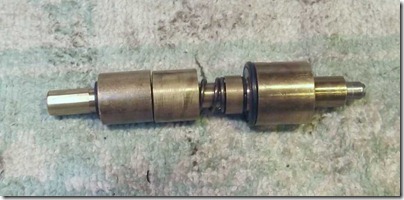
The valve assembly. I figured an o-ring would work for sealing the valve body in the pistol. Unfortunately the pistol leaked. So I spent some time trying to figure out the problem…I removed the brass cup that the valve spring fit in as I couldn't find it on the parts list.
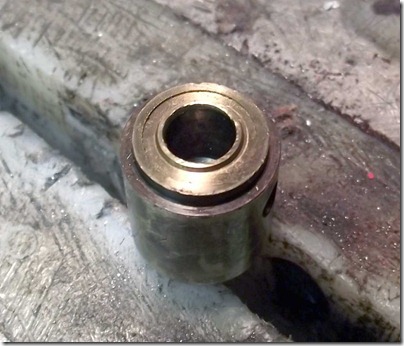
First up was the exhaust valve seat. It had dings and was rather wide.
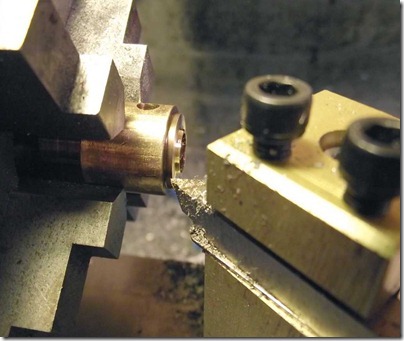
So I recut it, I removed about .01” material from all faces. But the pistol still leaked. So I went on to the seal for the valve body. Clearly the o-ring wasn’t working.
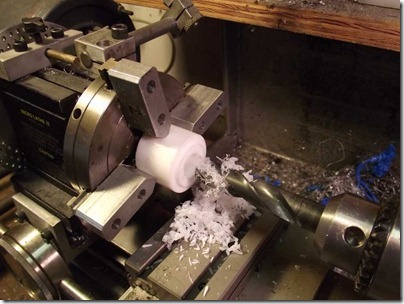
I checked up some teflon rod and started making a seal.
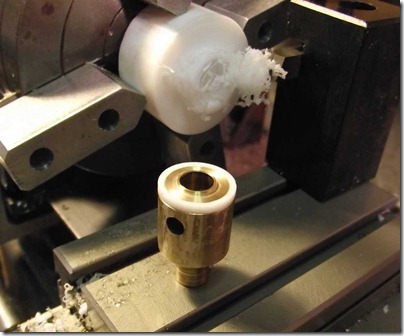
The ring. It stands slightly proud to allow for “squish” so I can seal the valve body. But you guessed it, it still leaked…
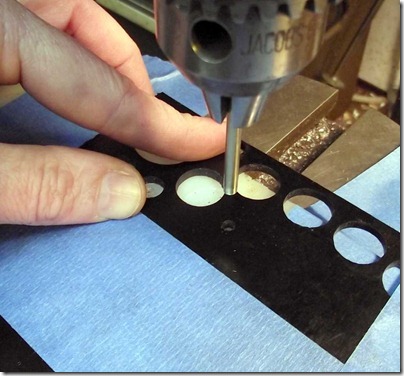
I taped some 80 durometer urethane sheet down to a piece of plastic. I used a sharpened brass tube to cut the ID hole…The spindle was turning, so this was similar in function to a paper drill.
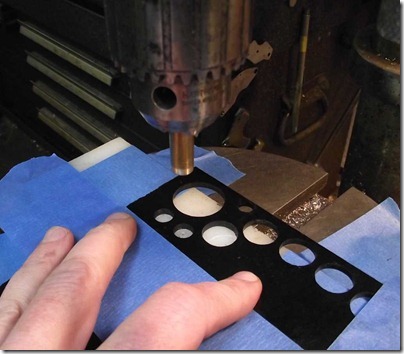
And then cut the seal out with a larger sharpened tube.
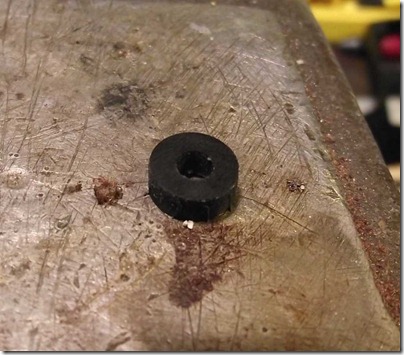
This worked well, so I’ll have to try this in the future. The 80 durometer, being softer than the 90 durometer of the first seals, seemed to work much better. But the pump was not pushing much air into the valve…
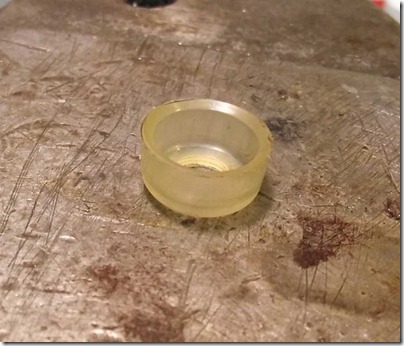
I had a Crosman 101 aftermarket pump cup sitting around, so I tried it.
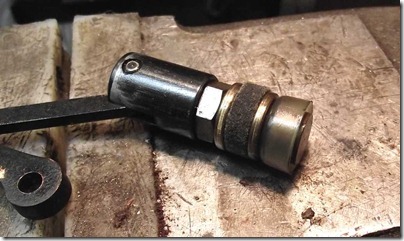
I assembled the pump and it worked slightly better but not perfectly…it just didn’t seem to seal well against the wall of the pump tube.

I used the Bic spring to make a spring for the bolt.
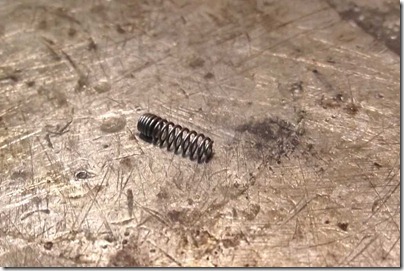
I turned down the cut end so it wouldn’t scratch the wall of the receiver.
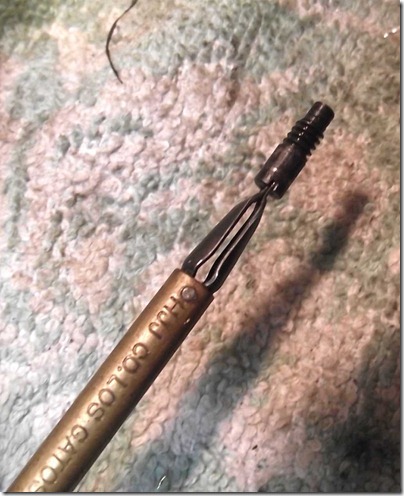
This screw holding screwdriver is small in diameter and worked well for putting the bolt pin back in place. You can never have too many specialty screwdrivers.
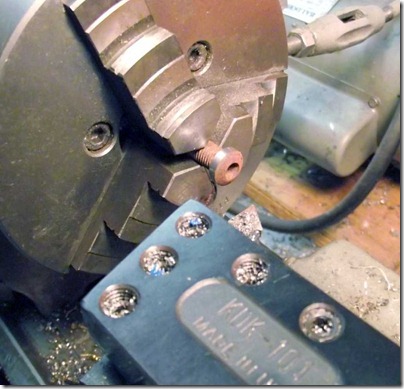
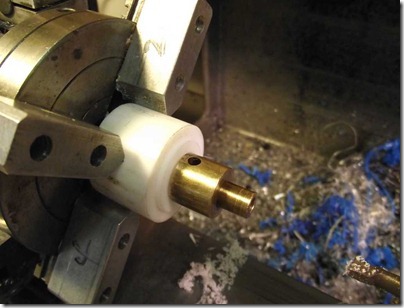
I decided to use a modified Crosman 1377 pump cup. I’ve shown that several times on the blog. I turned down an old button head cap screw for the retaining screw as the cup is shorter than the cup used on the 105 originally.
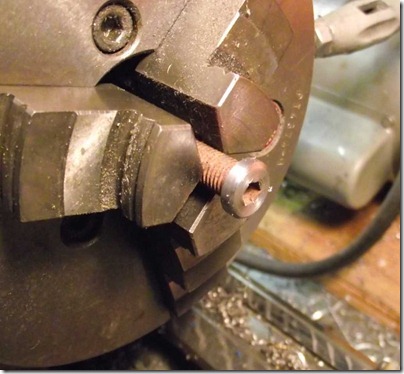
The screw turned down. I then wire brushed off the rust.
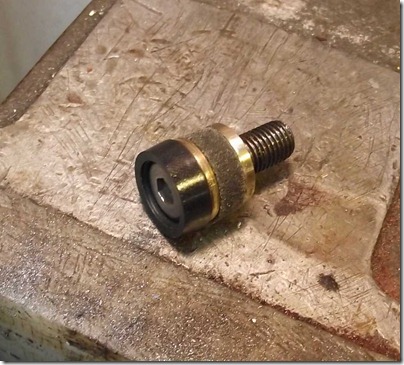
The assembly with the new pump cup and screw.
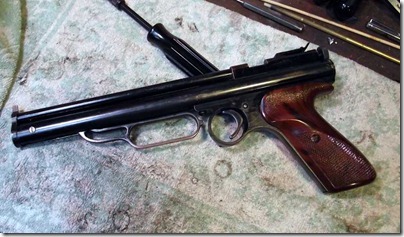
The pistol reassembled. The grips didn’t seem like they lined up with the screw holes, but then they did…odd. Now it pumps up, holds air and functions!
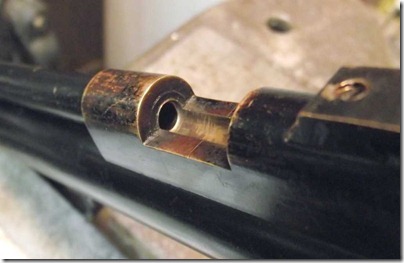
The pellets hang up in the bore. It seems rough.
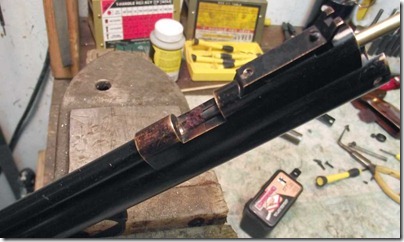
So I used that tiny screwdriver as a split-lap and polished it with some scotch brite. Seems much better.
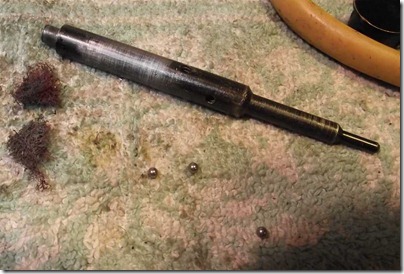
Finally…I noticed that Derrick said the bolt on the 116 is supposed to have tiny balls between the bolt spring and the ID of the breech, and the 105 is virtually identical, so I dug some out and put them in. the bolt is quite smooth now.
I haven’t had time to check velocity, but it seems similar to the Crosman 130, which makes sense given the size of the pump tube. I’m glad it’s done, this pistol was punishing my self-esteem!
No comments:
Post a Comment