
Fair enough--it's at least 40 years old. Time for a full tear down and rebuild.


Just a few pics.


Started by removing the two screws holding the aperture sight.
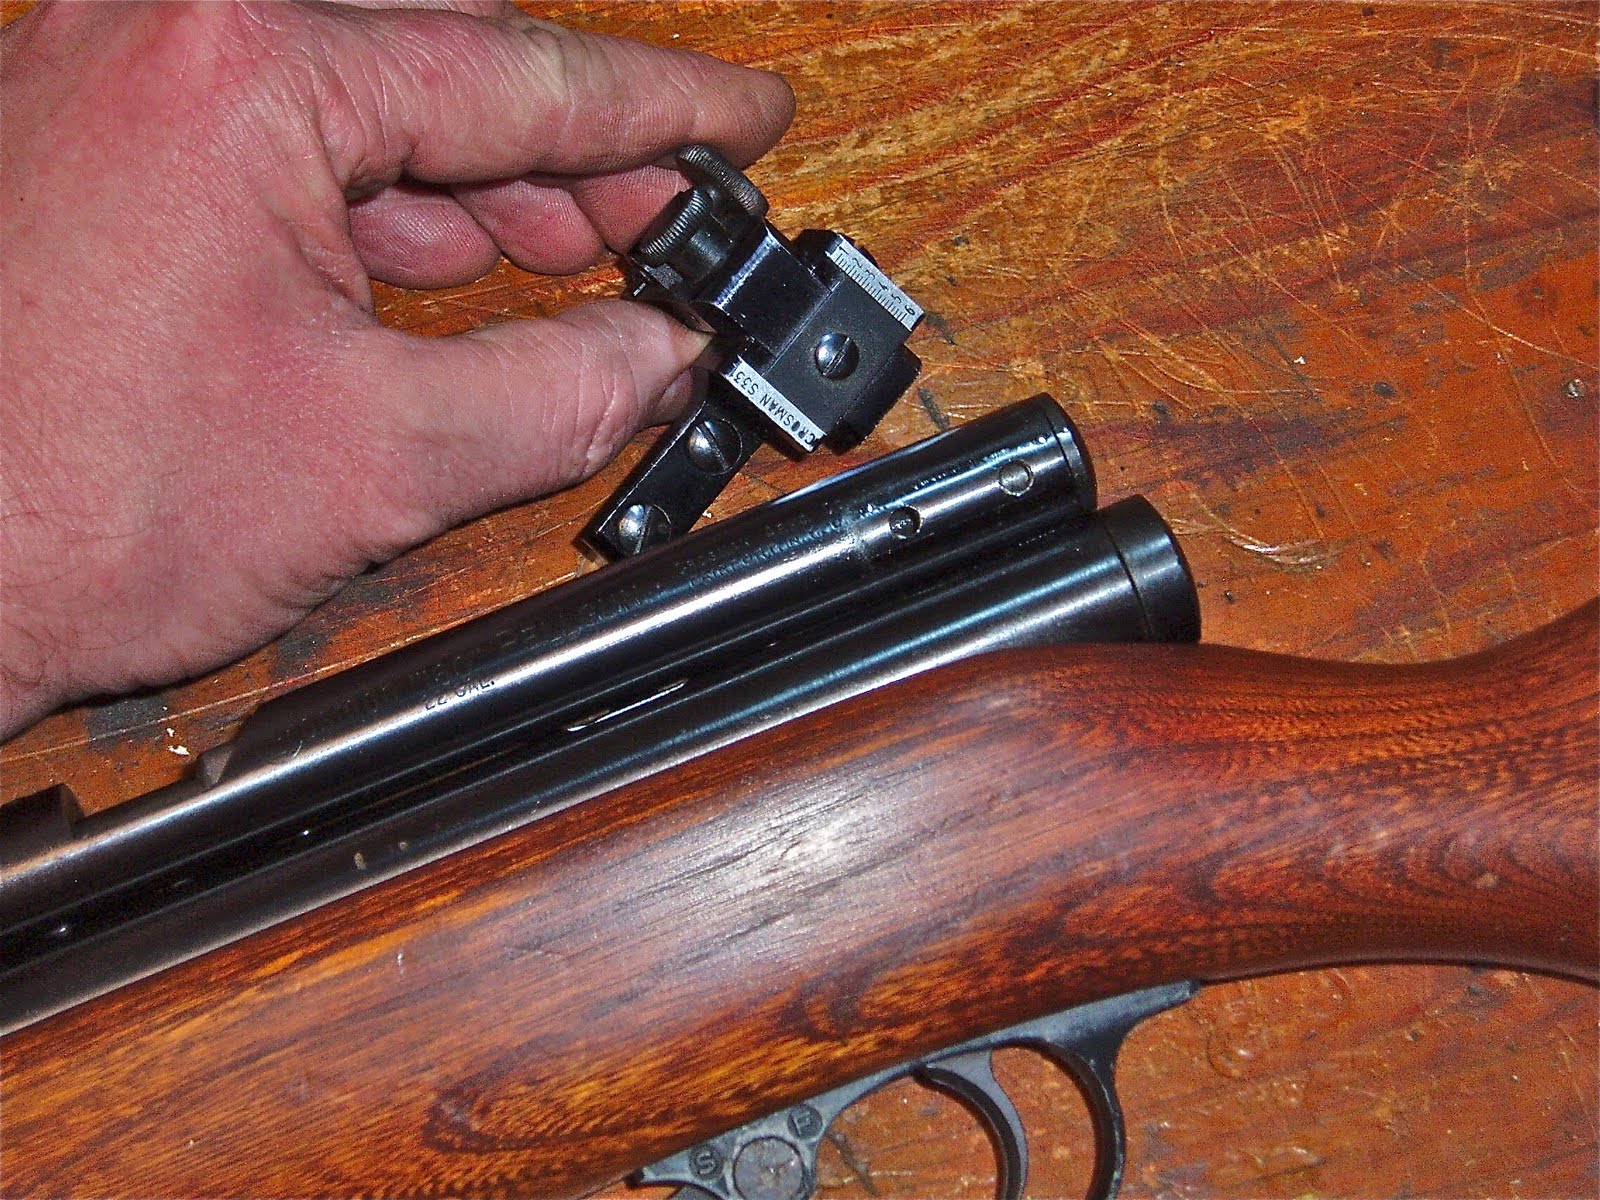

Next, the safety has to be removed.

Rotated it until it pointed down. Or in this picture, up.

Then pushed it out from the opposite side.

Almost there...

Like so.

Used a 7/16" nutdriver to remove the stock fixing nut.

And the action pulls out of the stock.


Removed the two screws holding the trigger assembly to the gas tube.

And the end caps come right off.

Used a 3/32" allen wrench to loosen the setscrew that retains the bolt.


Same size wrench removed the setscrew holding the barrel.

With a small flat blade, the barrel band was loosened and slid forward.

Forgot to remove the front sight first.

Slid the barrel band off the barrel.

This is the "locator stud". I kinda hate this part. The stock retaining nut is ugly and sits right where I want to rest my offhand. I've shortened a couple on similar guns and made recessed fittings that sit flush with the underside of the gun stock. I'm leaving this gun as is. Keeping a vintage gun vintage for a change.
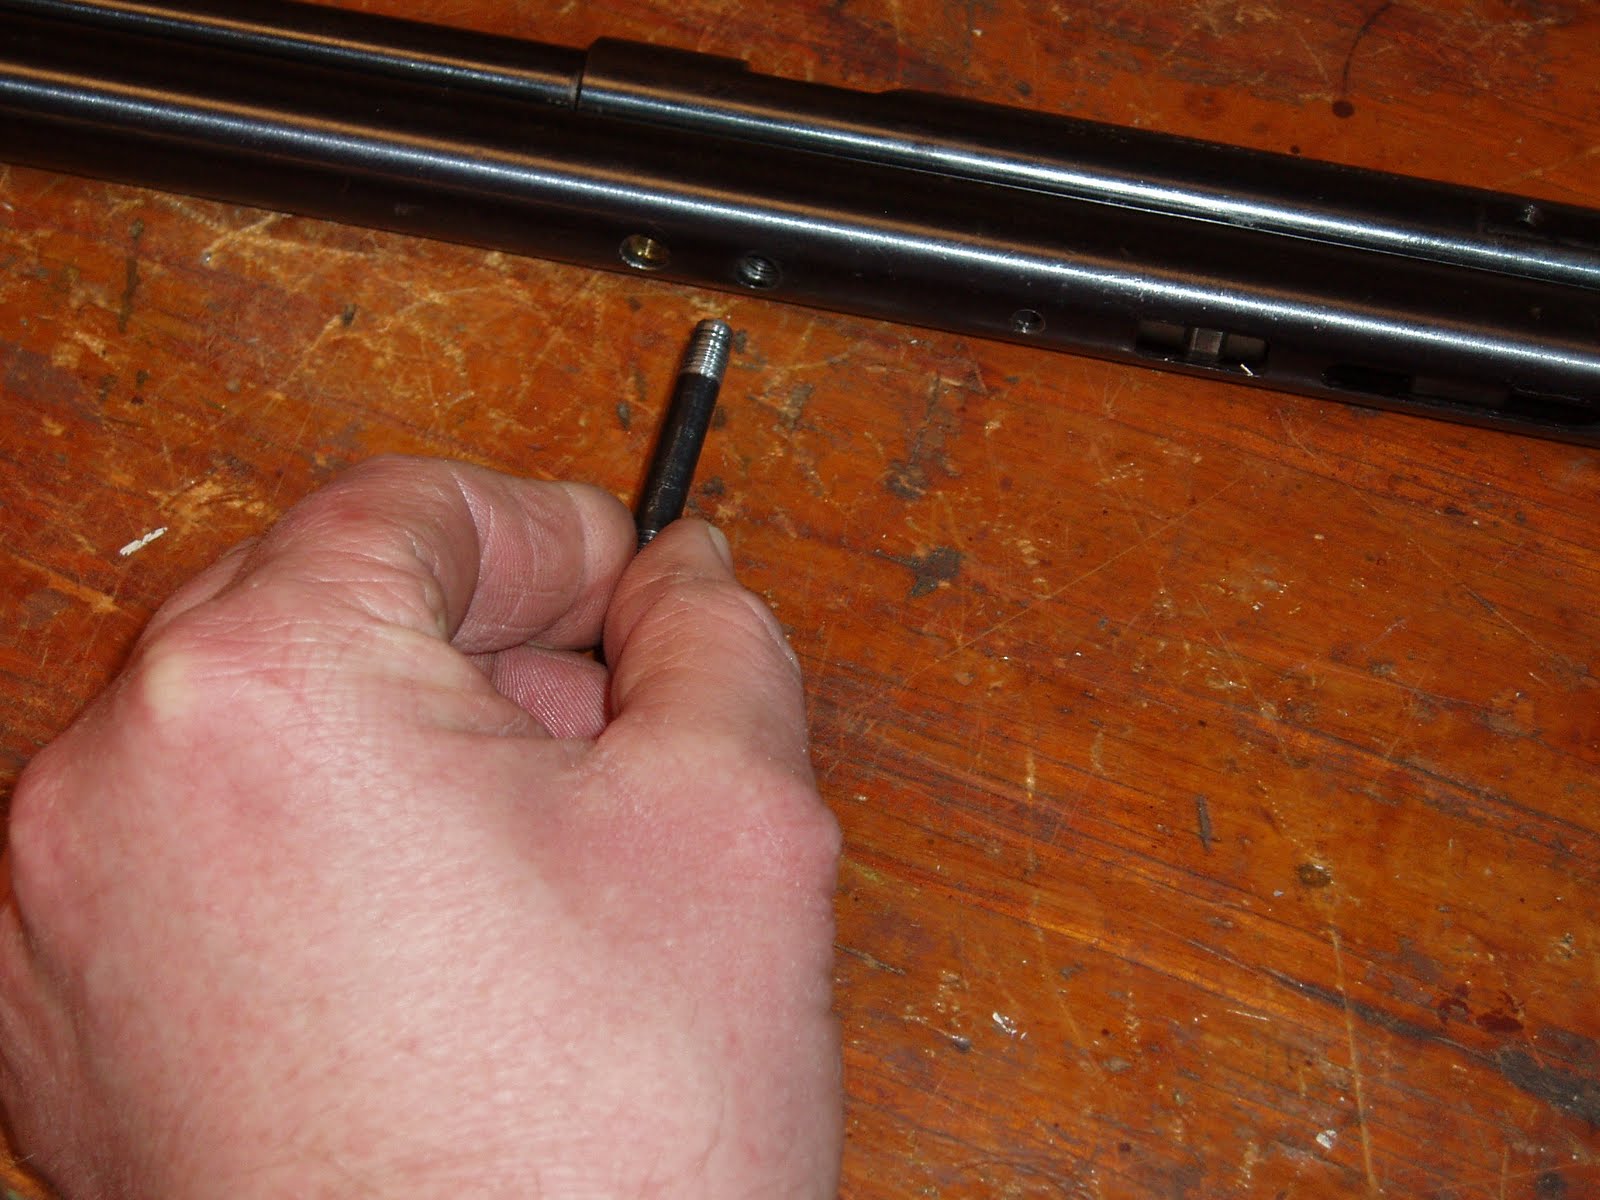
Had to first break it loose (with padded jaws in the bench vise) before I could remove it. The threading is slightly damaged at the stock nut end from a prior owner. I'll probably just make a new one.

The valve face needs to be loosened up in the gas tube next.

I have a piece of steel strip given to me by nefarious airgunner Volvo a couple years ago. He had just sold off his QB 78 and passed on to me his single most beloved of airgun tools. A silver Sharpie commemorated it's lineage.

Just used it to unscrew the front of the valve a couple turns.

Took out the valve securement screw. (if you take this out before breaking the front of the valve loose, the valve may just spin in the gas tube)

Hmmm. The barrel is stuck.

Nope. Didn't miss any fasteners. Looked at a schematic one more time.

Clamped the barrel in the vise (rubber covered jaws) and gave it some sheer brute force.
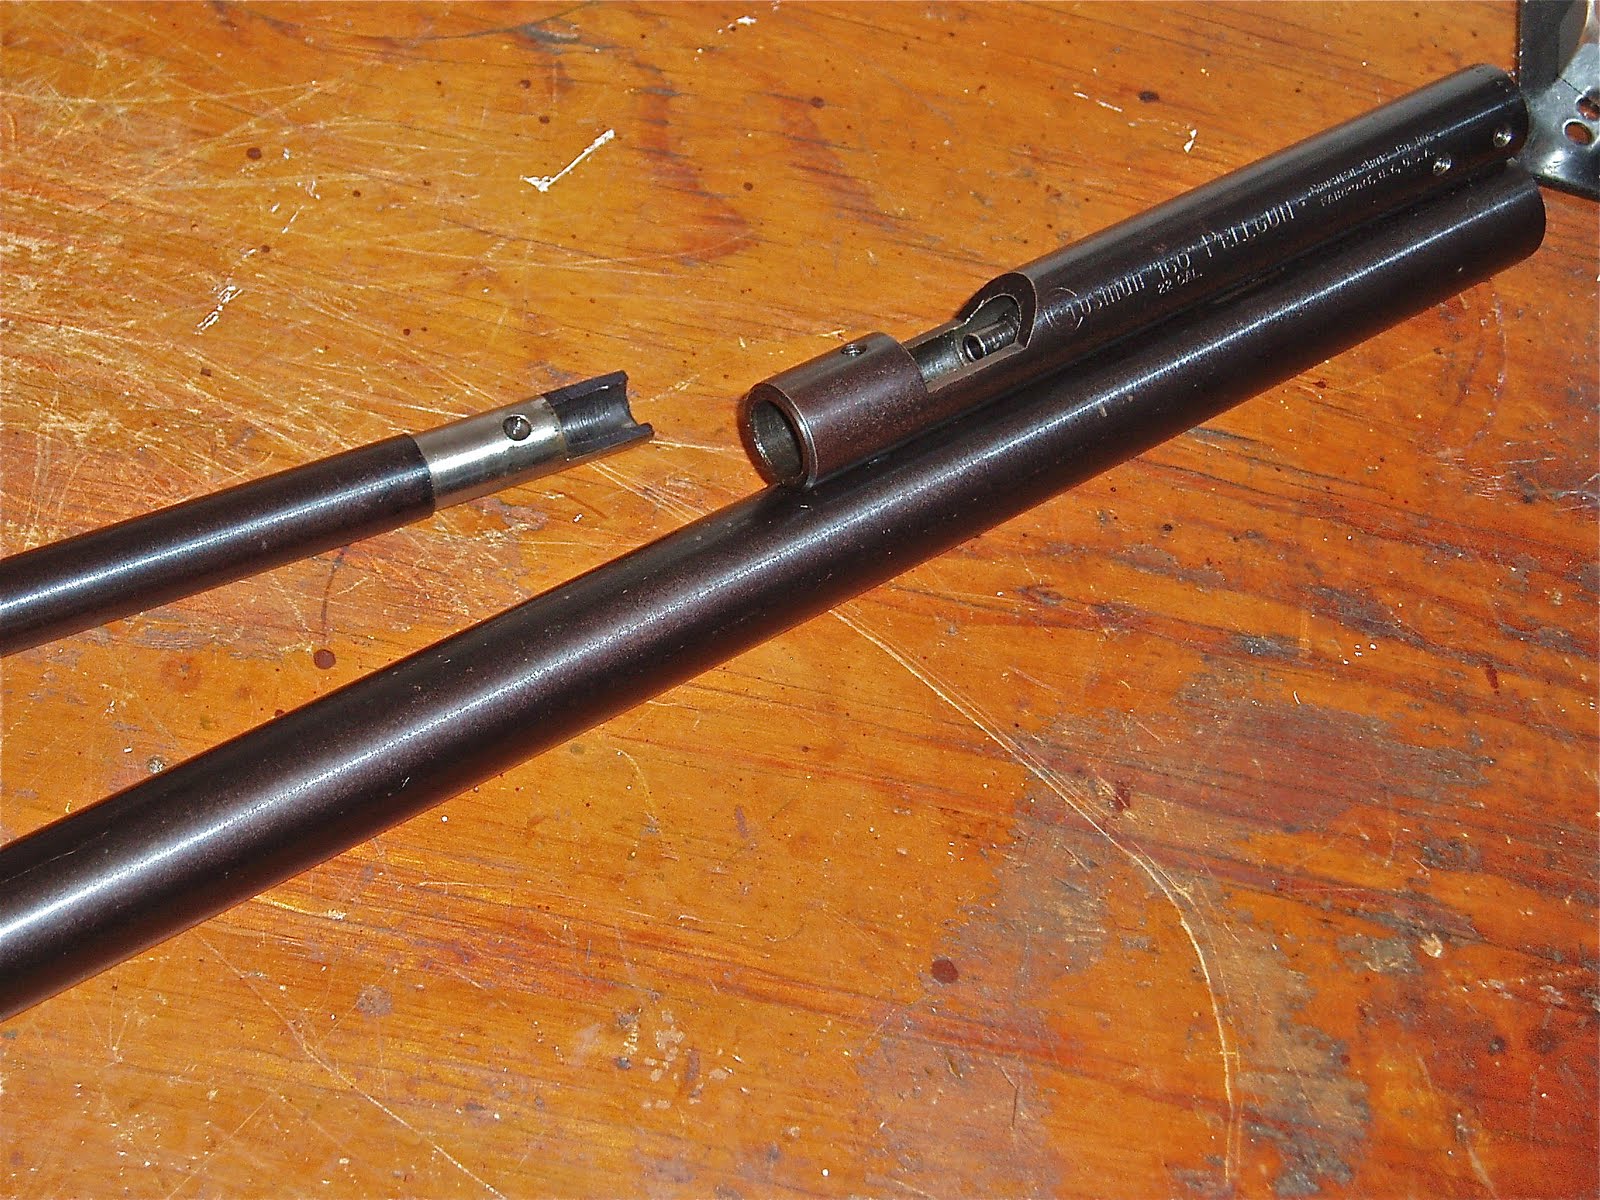
And the barrel pulled straight out.

Revealing the hidden forward breech screw.

Out.

And the breech pulls off.

Slid the bolt out of the breech.

It's much more substantial than the bolt on a modern day Crosman.

The hammer assembly is still in the gas tube.


Removed the pin and took out the spring guide and hammer spring.

Cocking pin and hammer came out.

This is their orientation inside the gas tube. A pic for my reference.
More soon.

6 comments:
Great timing for me :)
I've got a Cr180 that I need to overhaul soon - before CO2 weather gets here, anyway.
I need to make myself one of those valve tools.
I'll be watching, see if I can pick up any tips.
Good luck!
Joel,
Check the index on the right side of the blog. We've done a bunch of posts on the 180.
Derrick,
Are you going to recess the stock fixing nut upon reassembly?
Ryan
Ryan,
I wasn't planning on it, but man, I really hate that nut protruding from the stock. After I thought about it, I need to make a new locator stud anyway. So, if I can recess the fastener without altering the stock, I'm going to do it.
Fabulous pix Mr. Derrick. I inherited a 160 through nofault of my own and as I love a challenge am thinking of trying my hand @ it. Was going to send it out for repair so I can actually use it but the service people I contacted were either too overloaded or the closest one to me(Geneva Illinois) told me that as he's in his mid 80's that prior to finishing it I might lose it in an estate sale so I opeted to find help likely to outlive me {{that would be You and Your blog}}. Hope I can handle this but hey, it was free to begin with. Stay tuned. Joe fm Wisc.
I appreciate the blog. I've also have a model 160 with a bad cap how much to make me one?Or can I get the specs size thread count ect. Please. Maybe i can find some else if you don't have time.Thank you
Post a Comment