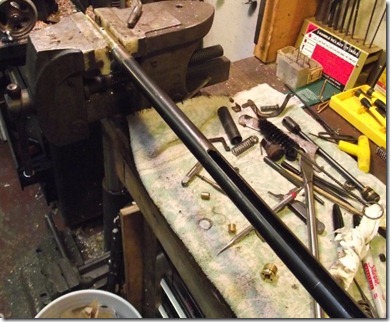
With the valve apart it’s time to make some changes.
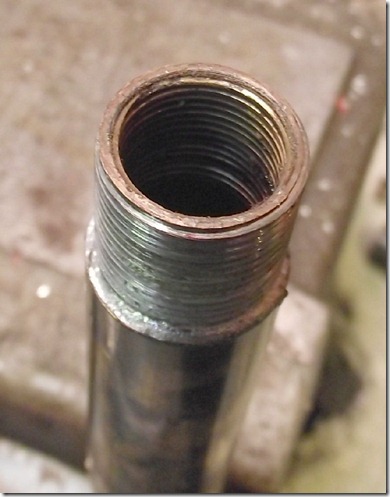
The internal valve body threads are 27 tpi, as best I can figure. I was hoping I’d have a tap to clean the threads out but it was an odd diameter…
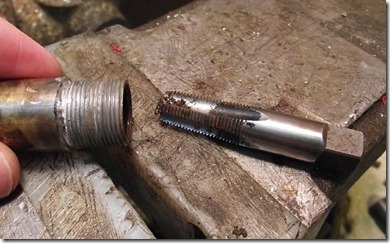
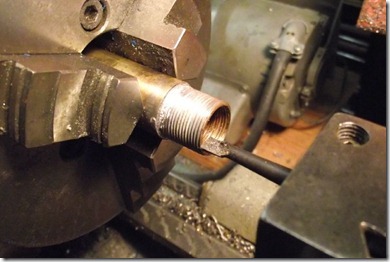
So I used a pipe tap as a scraping tool, following the wall around to clean off all the schmutz.
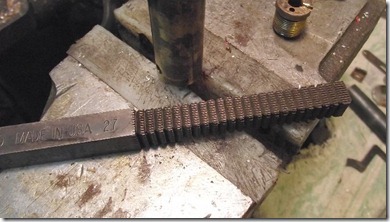
The plug was cleaned up with a thread file.
Now it screws together easily.
Whatever the old seal is, it has to go.
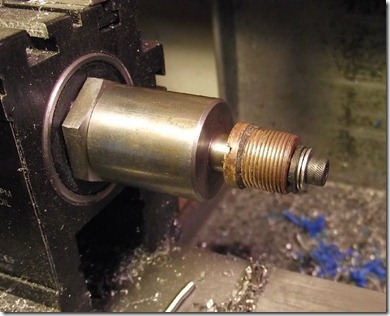
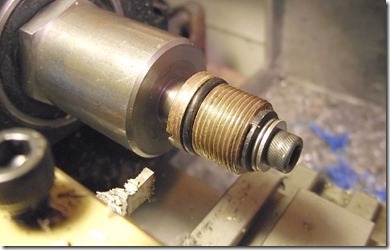
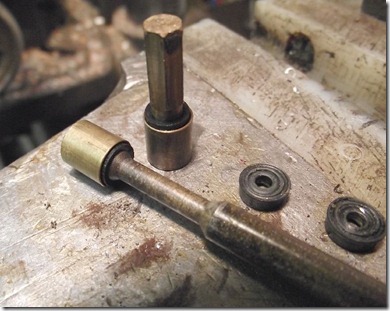
I made an arbor to hold the plug on the lathe. A rubber washer protects the inlet valve seat.
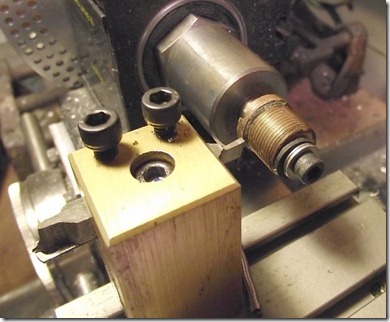
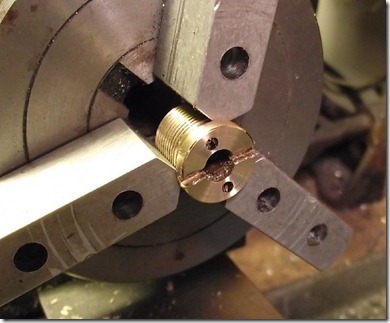
Parting tool set up to make an o-ring groove.
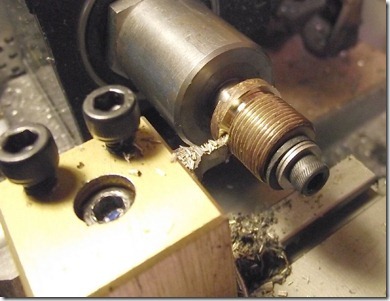
Turning the groove.
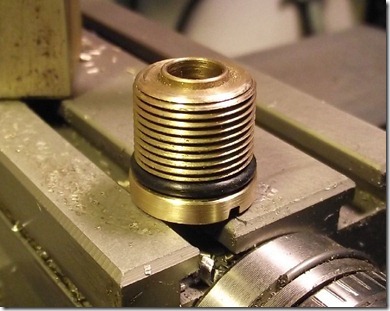
Test fitting an o-ring
Doesn’t screw quite all the way on, but that will be addressed…
Cleaned up the face of the plug while I was at it.
Like new!
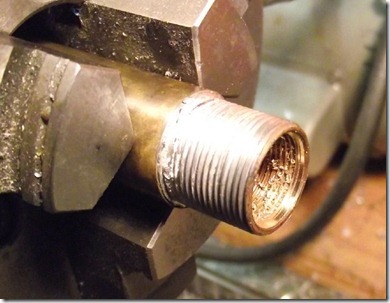
I needed to bore a recess for the o-ring in the valve body.
Just enough to get down to the thread root.
Seems to go together snugly.
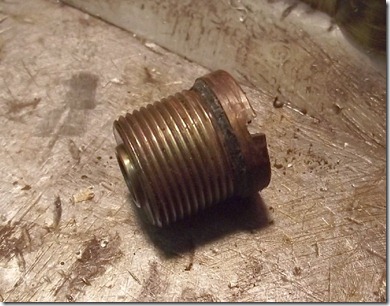
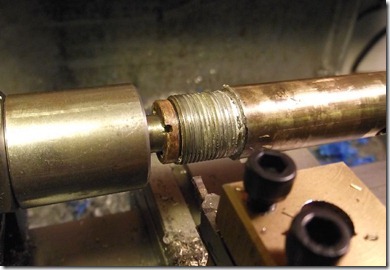
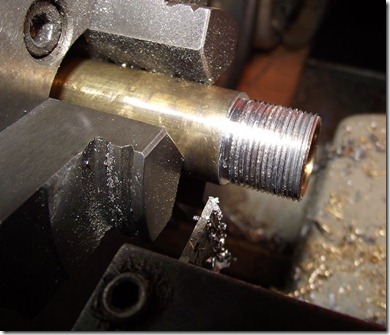
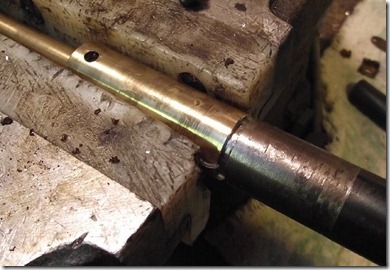
The solder filled a groove at the end of the threads on the valve body. I turned away the solder until I just hit the brass.
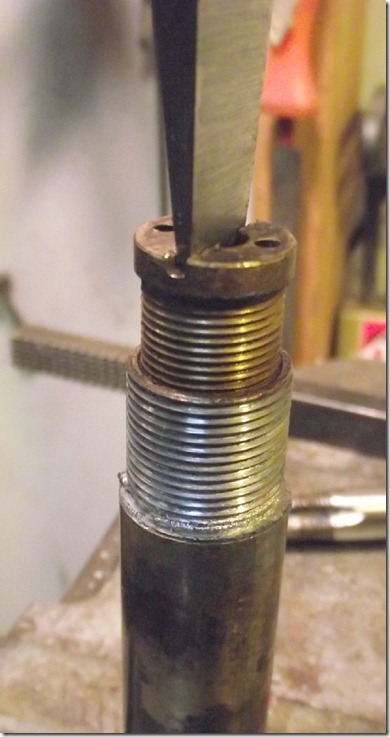
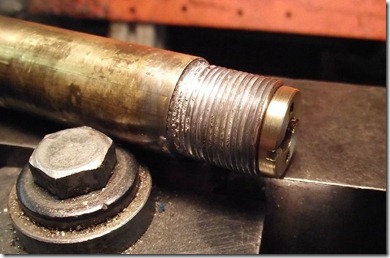
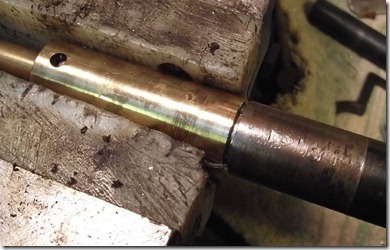
Test fitting it to the tube. Aligned, the gap is too large, but I suspected the threads in the tube needed more cleaning.
You can see that the slot and the setscrew hole need to be aligned.
After cleaning out the tube threads a bit more the gap is acceptable and similar to the assembled versions…
I also made two seals for the inlet and exhaust valves. They may be too thick (.125”) although the old ones are so deformed it’s hard to tell how proud they should be. I’ll try them like this and modify as necessary.
Next up is the pump plunger, then figuring out how to keep the tube aligned and sealed to the valve body without resorting to solder. Then reassembly…
No comments:
Post a Comment