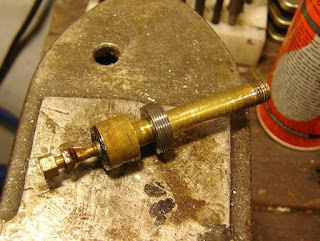
Making a wrench to remove the 101-15 bolt lock nut.

Milling the tangs.

Mostly done...

Needed to remove a bit of the inside.

Removing the nut.

The valve exposed.

The 101-15 bolt lock nut, 101-8 hammer spring and 101-39 hammer sleeve.

That rim is the sear.

The trigger is pulled to allow the valve tool I made in September to unscrew the valve nut.

The valve unit. Details to follow later...

The check (inlet) valve 101-66 and old style check valve spring.
No comments:
Post a Comment