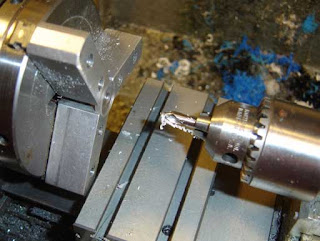
I chucked a rod in the 3 jaw chuck to take up the play and bored a small step to hold the insert.

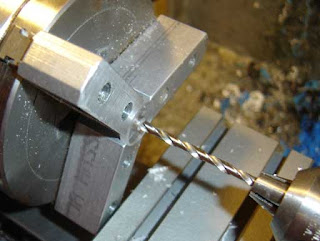
Drilling some holes.

A stack of inserts turned down to size.

Ready for final drilling.

Making the 60 degree cone, I decided to try a steeper angle than I did previously (90 deg.), as I had a chance to look at one on a friend's rifle and it looked closer to 60.

Drilling the hole. I used a combination of metric and number drills to make a range of sizes.

After drilling I used pin gages to determine the actual aperture size. Each insert gets put in a small baggie labelled with the diameter.
No comments:
Post a Comment