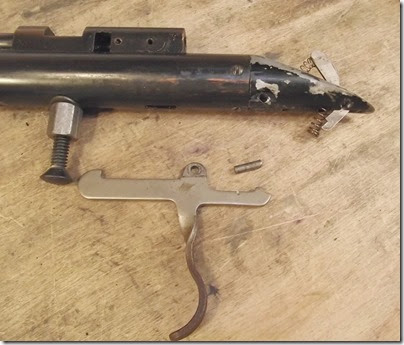
 One pin for the trigger assembly.
 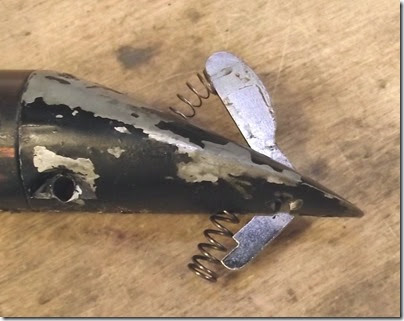 This shows two springs, a heavier one for the trigger and a lighter one for the safety. Good to note so they don’t get swapped.
 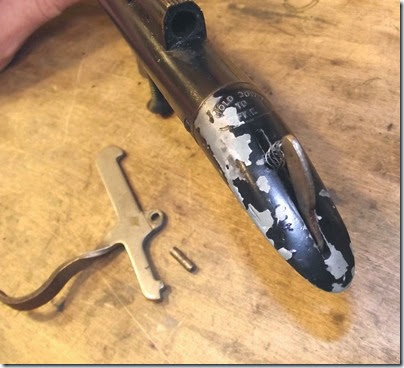 The safety spring slips into a recess in the top.
 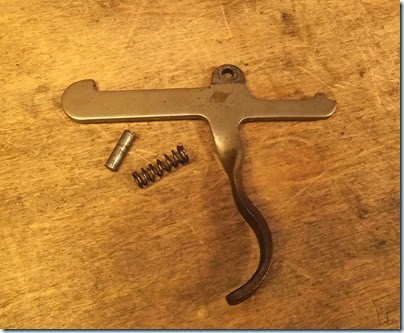 Trigger parts.
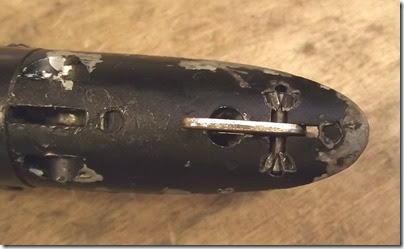 The safety pin is staked in and there is no reason to remove the safety.
 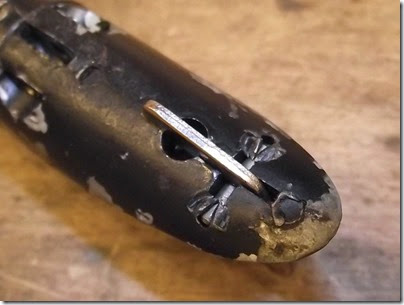 I would love to see the fixture that holds the end cap and stakes the pin in place.
 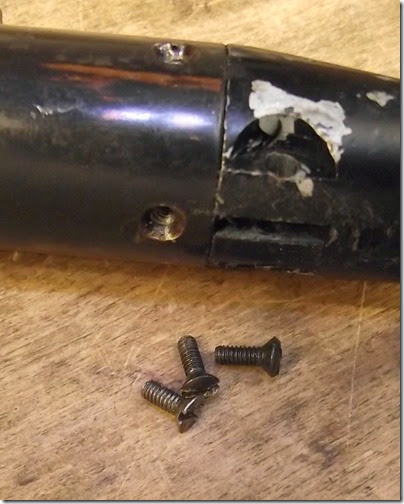 Three screws, the bottom one is a flat head.
 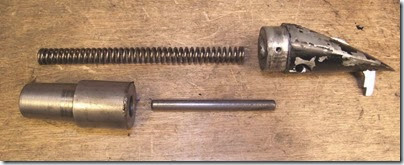 Hammer, spring guide pin, hammer spring, end cap.
 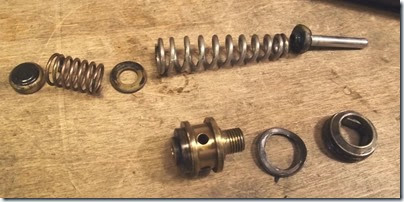 Removed the valve bits with a standard valve tool and puller. Notice the conical exhaust valve spring.
 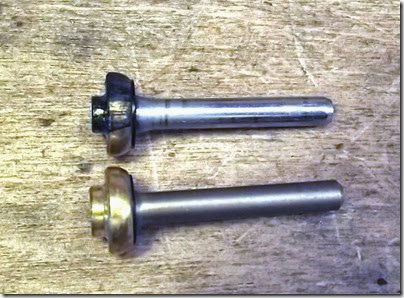 Interestingly the current replacement valve is the same length, while both are shorter than those used on interim models that have a pressed in pin to lengthen the valve stem.
 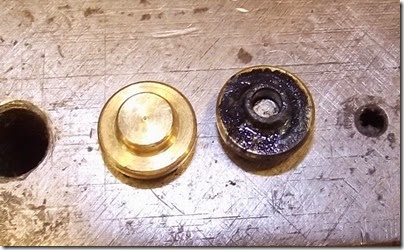 But the boss on the end is larger on the replacement…
 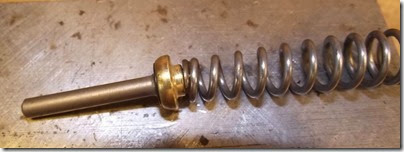 And will not fit in the end of the exhaust valve spring.
 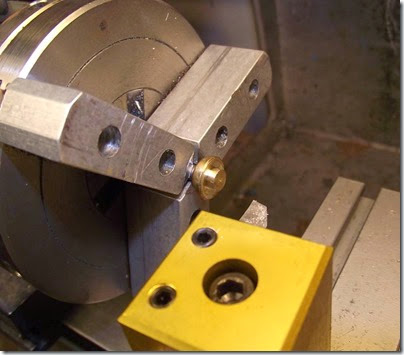 So I decided to take a bit off, hoping that there was enough material.
  And it appears there was.
 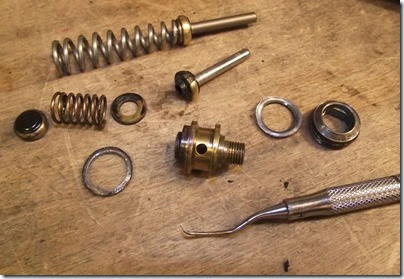 I dug out the other lead seal – on later models a rubber seal is used for the forward seal.
 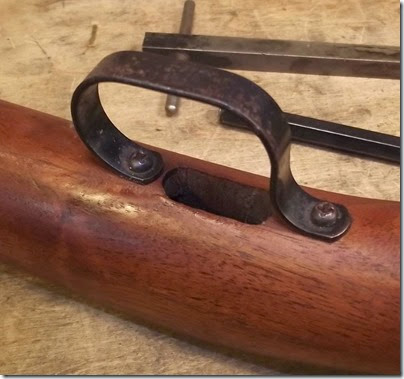 The trigger guard needs removing.
 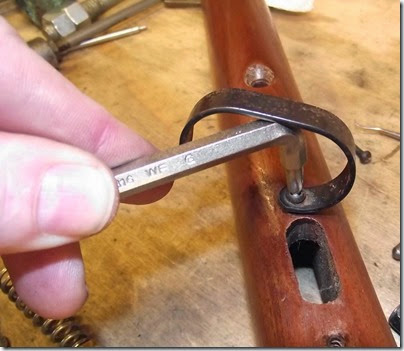 An offset screwdriver does the trick.
 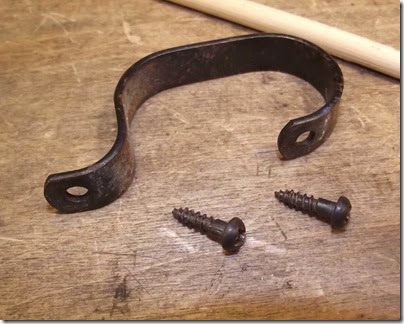 Will have to clean it up a bit.
 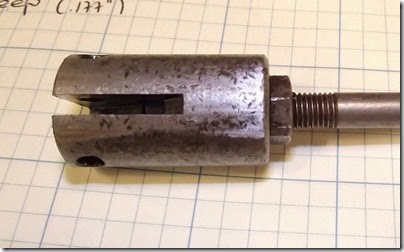 Interesting dings in the pump rod linkage.
 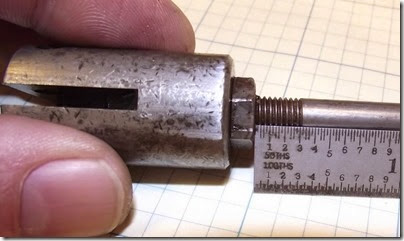 Lots of adjustment left, so I should be fine making a pump cup adapter.
 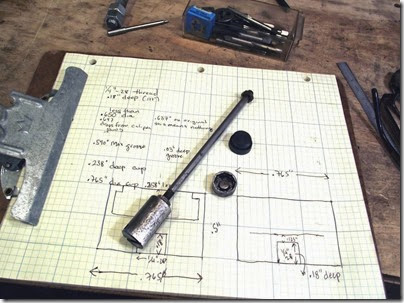 Preliminary sketches and measurements.
 So now I need to make the cup adapter, clean all the parts and refinish the stock. Should take a while.

No comments:
Post a Comment