
A piece of 0.250" tool steel a bit longer than a Crosman .22 cal bolt.

Faced the ends.

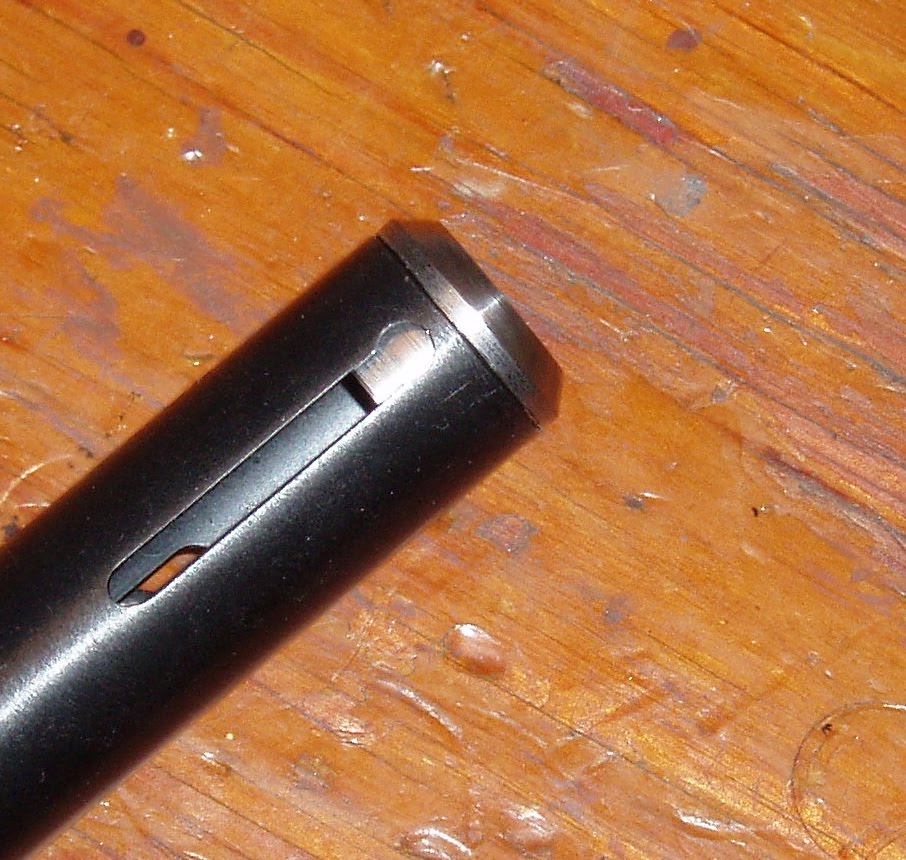
Turned down to create an extended nose.

Shaped a ball-end with a file.

Cut the angle.

Mounted the bolt in a small machinist vise and secured it to the drill press table. Spotted then through drilled with a #29 bit--the tapping size for #8-32. Not shown: Tapped using the drill chuck for alignment.

Back to the Taig to add a rare earth magnet to the rear of the bolt. Same procedures as previously covered here. Once you have a bolt-hold open, you can't own a Crosman without. Loading is that much easier.

With the bolt completed, I moved on to the gas tube end cap. A small piece of 0.750" diameter steel rod was faced.

Didn't have much length of rod to hold on to, so I switched to the steel 4-jaw chuck. Cut the step to fit into the rear of the gas tube.

Cut right to the shoulder leaving a nice clean corner.

Spotted, the drilled successively larger to 5/16"--the diameter of the hammer spring. Didn't drill completely through--a bit more than halfway. Not shown: Used an end mill to produce a flat bottomed hole.

Then spotted again and through drilled with a #3 drill bit.

Followed by a 1/4-28 plug tap.

Finished with a tap wrench as the tap began slipping in the Jacobs chuck.

Thinned the head of the cap and added a taper.

Needs a couple #8-32 threaded holes.

Mounted the gas tube in a padded vise and centered on the hole using a drill bit as a hole size gauge. I forgot to write the size down. The bit just fits through the hole. This centered and aligned the work to the bit.

Put the cap into place and secured it with a bar clamp. Then spotted the hole.

And drilled through with a #29 bit.


Followed with a #8-32 plug tap.

Couldn't get enough leverage turning the chuck by hand so I removed the vise and switched to a tap wrench--leaving the tap started in the work.
More coming.

No comments:
Post a Comment