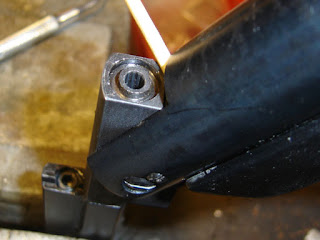
I removed the seal and found a bunch of shims already in place.
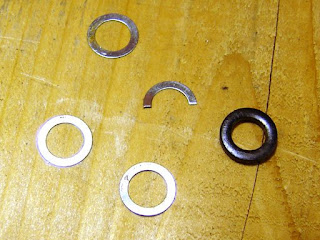
I'm not sure if the half round one was intentional, or just a broken shim. I decided to omit it.
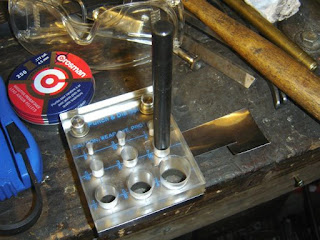
I linked to this technique earlier, and was excited to try it. First you insert the shim stock in the die, and mark the center of the OD with a transfer punch.
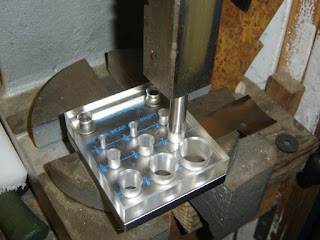
Then you (making sure that the shim stock doesn't shift!) punch the OD of the washer out.
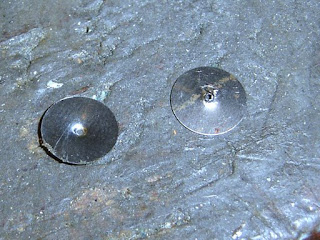
Two blanks.
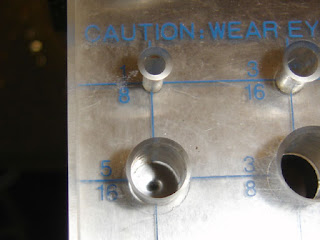
Then you insert the blank into the die again, for punching the ID.
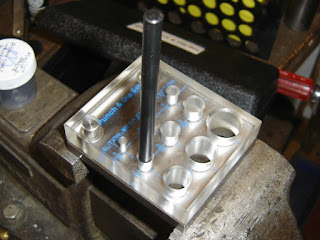
You use a transfer punch to align the blank with the die.
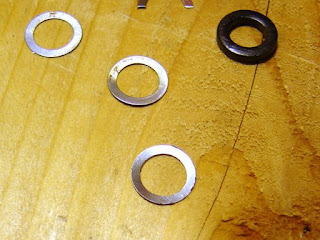
The front washer is the one I made. I made two .005" thick washers which, when added to the existing shim stack, allowed the pistol to lock up solidly, and eliminated any "blow by" in the breech.

1 comment:
Nick,
I don't think the half shim you found was a breakage. I've found similar pieces like that, too. Most recently in my Remington Summit. I think that perhaps the factory was trying to fix a barrel droop issue.
Nicely made shims by the way.
Derrick
Post a Comment