
The valve components were covered with oxides.
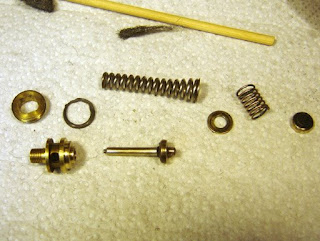
I cleaned them up with steel wool and a fine wire wheel.

The inlet seal was extruded and hard...I'll replace it with a teflon seal since they seem to work well.
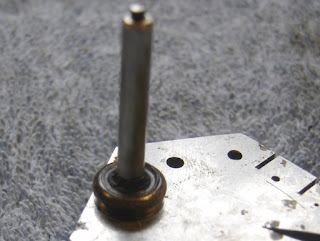
The exhaust valve seal was also hard and extruded.

So I dug it out and de-crimped the cup.

Last time the de-crimping made the cup look rough so I decided to make a die to smooth out the cup a bit and restore it to roundness. It has an OD of the ID of the cup and a hole for the stem to fit through.

The outer die is basically a tube.
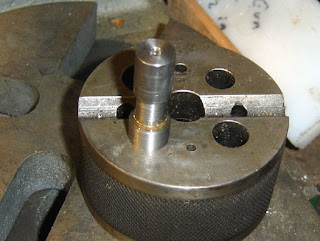
I pressed the cup though on the arbor press.
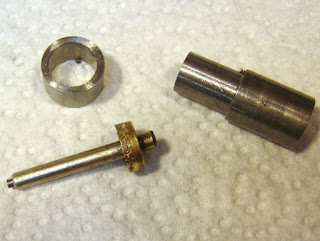
It restored the roundness.

I cleaned it up with a file on the lathe.

I used the same crimping die that I showed in the previous Benjamin resealing post.
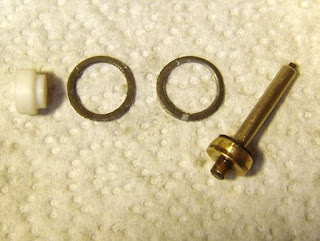
The new seals. The right lead seal is a bit tweaked.

Two seals? Last time I resealed I only used one? That's because I missed one that seals the valve body (337 Outlet Valve Seat) against the air chamber. It was luck that it stayed in place and worked.

This shows the two lead seals needed.
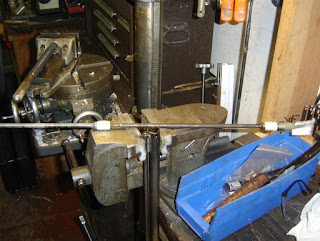
I hate cleaning out the tube and air chamber. This is two Irwin bit extensions with a holder for some ultra-fine scotchbrite pad. I wrapped masking tape around it so it wouldn't scratch up the tube.

Used with some light oil it scours out the deposits without messing up the surface of the tube. I then clean everything out with paper towel wads held with a parts grabber.
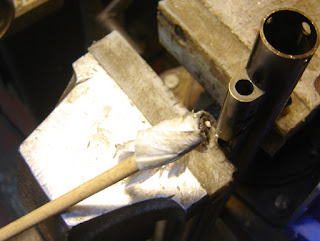
For the air chamber I use oil and some paper towel held in a slotted dowel. Just keep cleaning until the paper towel comes out clean. It takes forever.

No comments:
Post a Comment