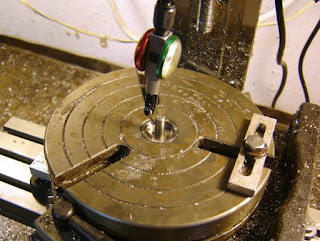
Centering the 6" rotary table under the Taig mill spindle.
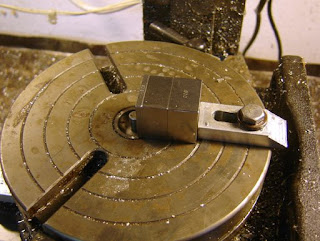
A stop set against a stack of gage blocks.
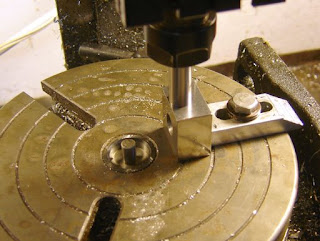
The spindle moved over for a .75" radius.
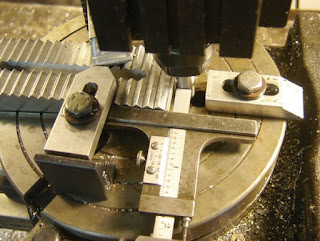
The butt blank aligned with a vernier depth gage. I didn't need it perfect as I was going to cut a little larger than an exact .75 radius to leave some room for sanding.
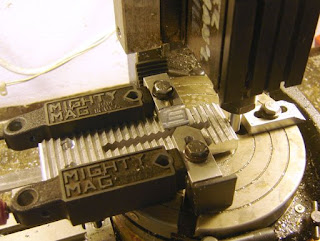
Keeping with the imprecision, two Mighty Mag magnets are used to make a channel that the butt part fits in.
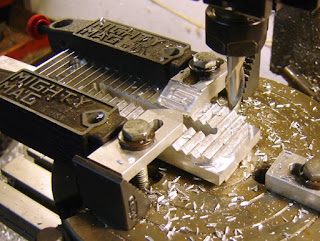
Halfway down the part.
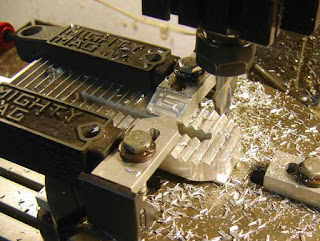
The radius done. You can see a shim sticking out in the center, that's to keep from milling the surface of the rotary table.
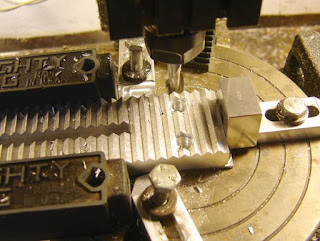
The other end getting clamped up.
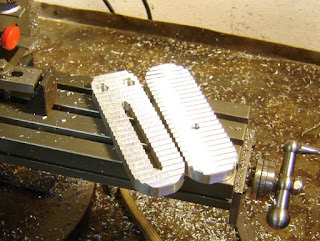
All four radiuses done. Next is sanding, blending and deburring.

No comments:
Post a Comment