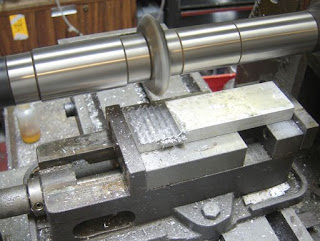
I finally get some use out of my Barker horizontal mill.
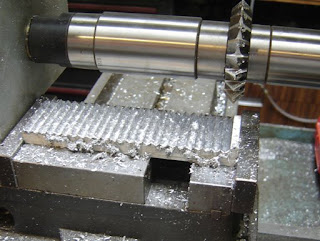
A nice series of rather coarse vee grooves.
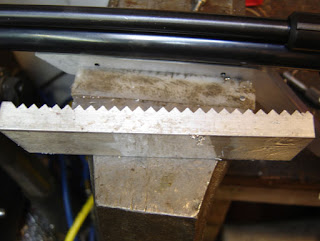
Next time I'll make them half as deep and spaced half as much apart, but for now this is great.
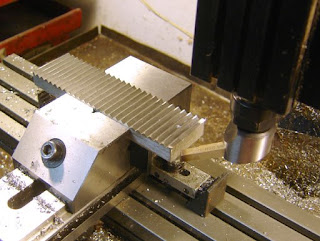
Taking off the sharp tops with a flycutter. This will allow some clearance for any schmutz that gets between the two pieces.
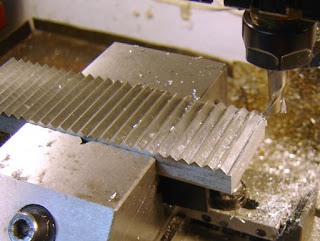
Trimming the ends.
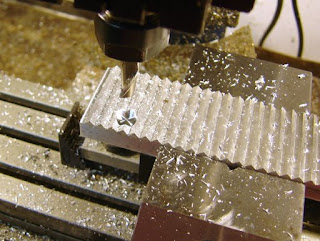
Spotting for the mounting holes.
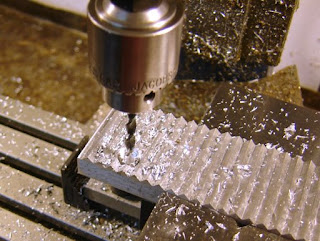
Drilling one hole...
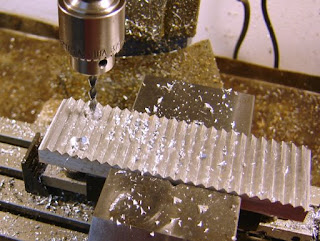
And the other...
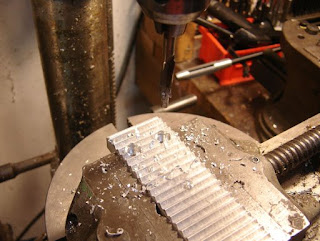
Counterboring for the #8-32 mounting screws.
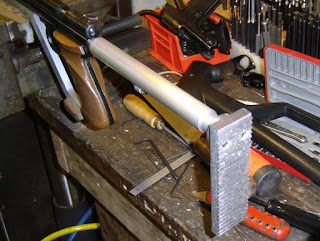
25% done, and it fits on the stock.

No comments:
Post a Comment