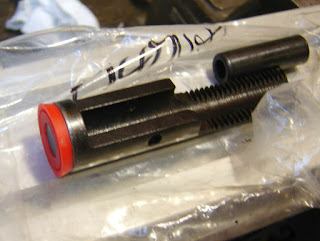
The front and rear piston seals were snapped on. This was a tad difficult and I had to use a lot of force to get them on the dovetail buttons.
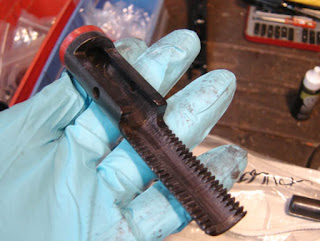
A thin coating of moly. I wasn't sure how much or what to lube but figured a thin coat wouldn't hurt.
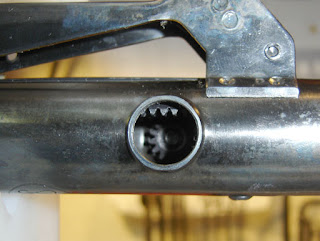
The front piston is pushed all the way forward into the tube, then the right hand pinion is inserted and the cap screwed down.
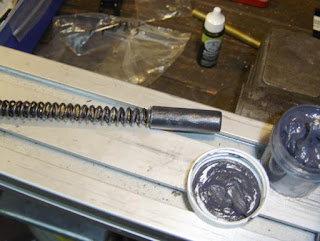
Some Maccari "tar" for the spring and spring guide. Not too much though.
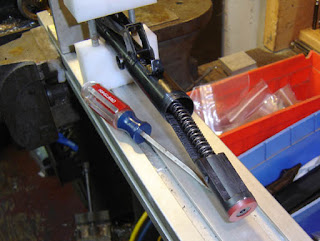
The spring and the rear piston were inserted and then compressed. This time the piston was inserted at an angle and then turned counter clockwise to engage the right hand pinion. Then the left hand pinion was inserted.
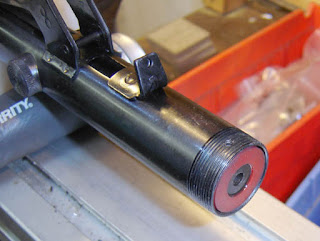
This was the end state. Now we enter some murky waters...
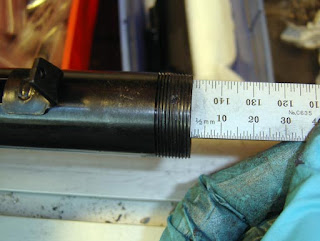
The instructions say that the gap should be .7mm from the edge of the tube to the rear piston face. However I could only get either about .3mm or about 2mm (corresponding with the now locked rack pitch?)
The instructions make no mention of the thickness of the step on the washer, however I heard that there were many different thicknesses used in servicing dependent on the gap.
Finally, I was pointed at the manual for the Diana Model 75 rifle, which uses the same system, that says with the correct washer installed, there should be a gap of .3mm between the washer step and the tube end. However the dimensions of the Model 75 are different than those of the Model 10 pistol.
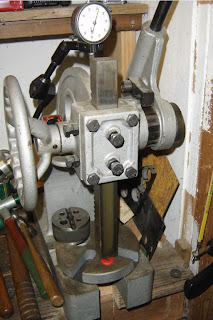
At this point I became curious about how much the piston seal could be squished.
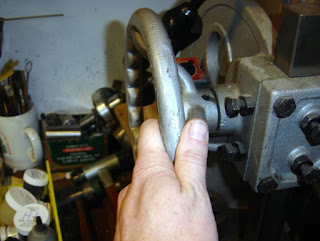
With hand pressure only on the arbor press, but certainly a comparable amount of force to the spring load, going by the feel when pressing in the rear piston against the spring slightly by hand.
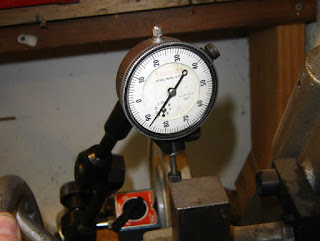
I measured .007" "squish" (.18mm).

With no load on the rear pinion, the force from the spring is not equalized, and 2 times the normal force is on the front piston? I need to think more about this...

With the correct preload, the forces are equal. Presumably this is desireable.
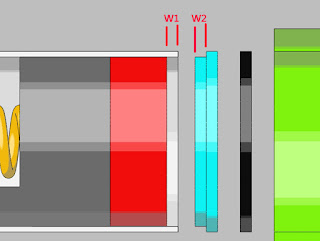
So, assuming the .3mm figure for the Diana 75 is correct, W2-W1=.3mm
Putting on the stepped washer (remember, it was stamped ".8") that was installed in the piston, I measured a gap between the end of the tube and the washer step of .38 mm. So if I made a new washer with a step thickness of .72mm (.028"), that should result in a gap of .3mm
Again, this is assuming that the .3mm figure is correct.
Returning to the "squish" test, this means that preload is .3mm for the two seals combined, or .15mm per seal of preload. This amount is pretty darn close to the .18mm of "squish" for one seal, within about .001" which is about as fine a tolerance as I want to work to.
I am just pretending that washer "b", in the above drawing, has a negligable effect on preload and merely takes up the shock of the rear piston that is cushioned in the front piston by the air compression before the pellet leaves the bore. But who knows?
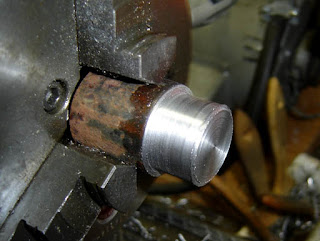
A new stepped washer was turned up.
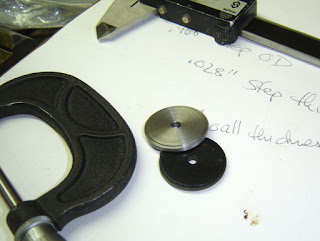
Deburred and checked.
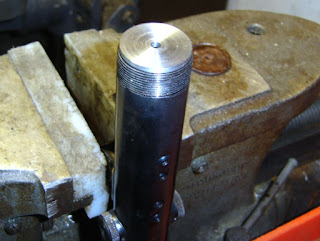
I found that having the tube vertical was helpful.
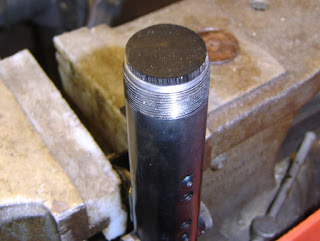
I made washer "b" from some 80 durometer urethane sheet.
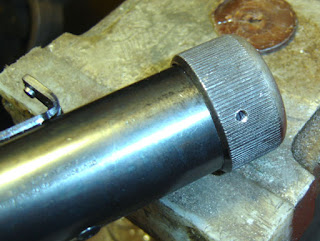
Unfortunately the cap wouldn't screw all the way on.
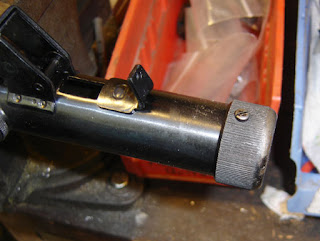
So I carefully sanded down the thickness of the rubber washer until the cap would screw on to where the screw holes lined up. I then reinstalled the screw.
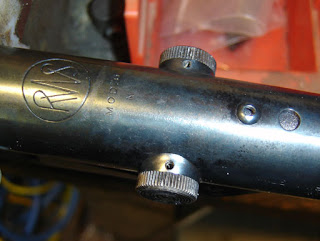
Then the pinion caps were checked to see that the holes lined up and the lock screws were installed.
Next installment: some more installment...

6 comments:
Nick, to restate what I've said before, keep it up. Yours is one of the most entertaining and interesting blogs I've ever seen. I subscribed to your feed and check on you nearly every day. I enjoy being a vicarious machinist.
TC
Thanks TC! Another installment sometime tomorrow.
Nick,I have just started out ot perform this very operation. Ca I find your complete description somewhere? Where can I order parts? Thanks, Mike B
Hi Mike,
This is the complete saga, the first post has a great link to an article that I mostly followed:
Resurrecting A Diana Model 6M Pistol, Part 1
http://anotherairgunblog.blogspot.com/2008/05/resurrecting-diana-model-6m-pistol-part.html
Resurrecting A Diana Model 6M Pistol, Part 2
http://anotherairgunblog.blogspot.com/2008/05/resurrecting-diana-model-6m-pistol-part_13.html
Resurrecting A Diana Model 6M Pistol, Part 3
http://anotherairgunblog.blogspot.com/2008/05/resurrecting-diana-model-6m-pistol-part_14.html
Resurrecting A Diana Model 6M Pistol, Part 4
http://anotherairgunblog.blogspot.com/2008/05/resurrecting-diana-model-6m-pistol-part_15.html
Resurrecting A Diana Model 6M
Pistol, Part 5
http://anotherairgunblog.blogspot.com/2008/05/resurrecting-diana-model-6m-pistol-part_17.html
Resurrecting A Diana Model 6M
Pistol, Part 6
http://anotherairgunblog.blogspot.com/2008/05/resurrecting-diana-model-6m-pistol-part_19.html
Resurrecting A Diana Model 6M
Pistol, Part 7
http://anotherairgunblog.blogspot.com/2008/05/resurrecting-diana-model-6m-pistol-part_21.html
Resurrecting A Diana Model 6M
Pistol, Part 8
http://anotherairgunblog.blogspot.com/2008/05/resurrecting-diana-model-6m-pistol-part_24.html
Also there's a complete index of all my blog posts here:
http://anotherairgunblog.blogspot.com/2008/05/blog-index.html
Hello, I just bought a used RWS 6M and it is in really good shape. I am new to these and just want to know if there is anything I should check or do before I try and fire it? Thanks for the help. Ted
My email is discover0401@hotmail.com
When you first break the barrel see if you notice small pieces of white plastic around the breech & transfer port - if it's there then the seal may have started disintegrating. If you can chrony the pellet then you can see if it's shooting at around the proper velocity.
Post a Comment