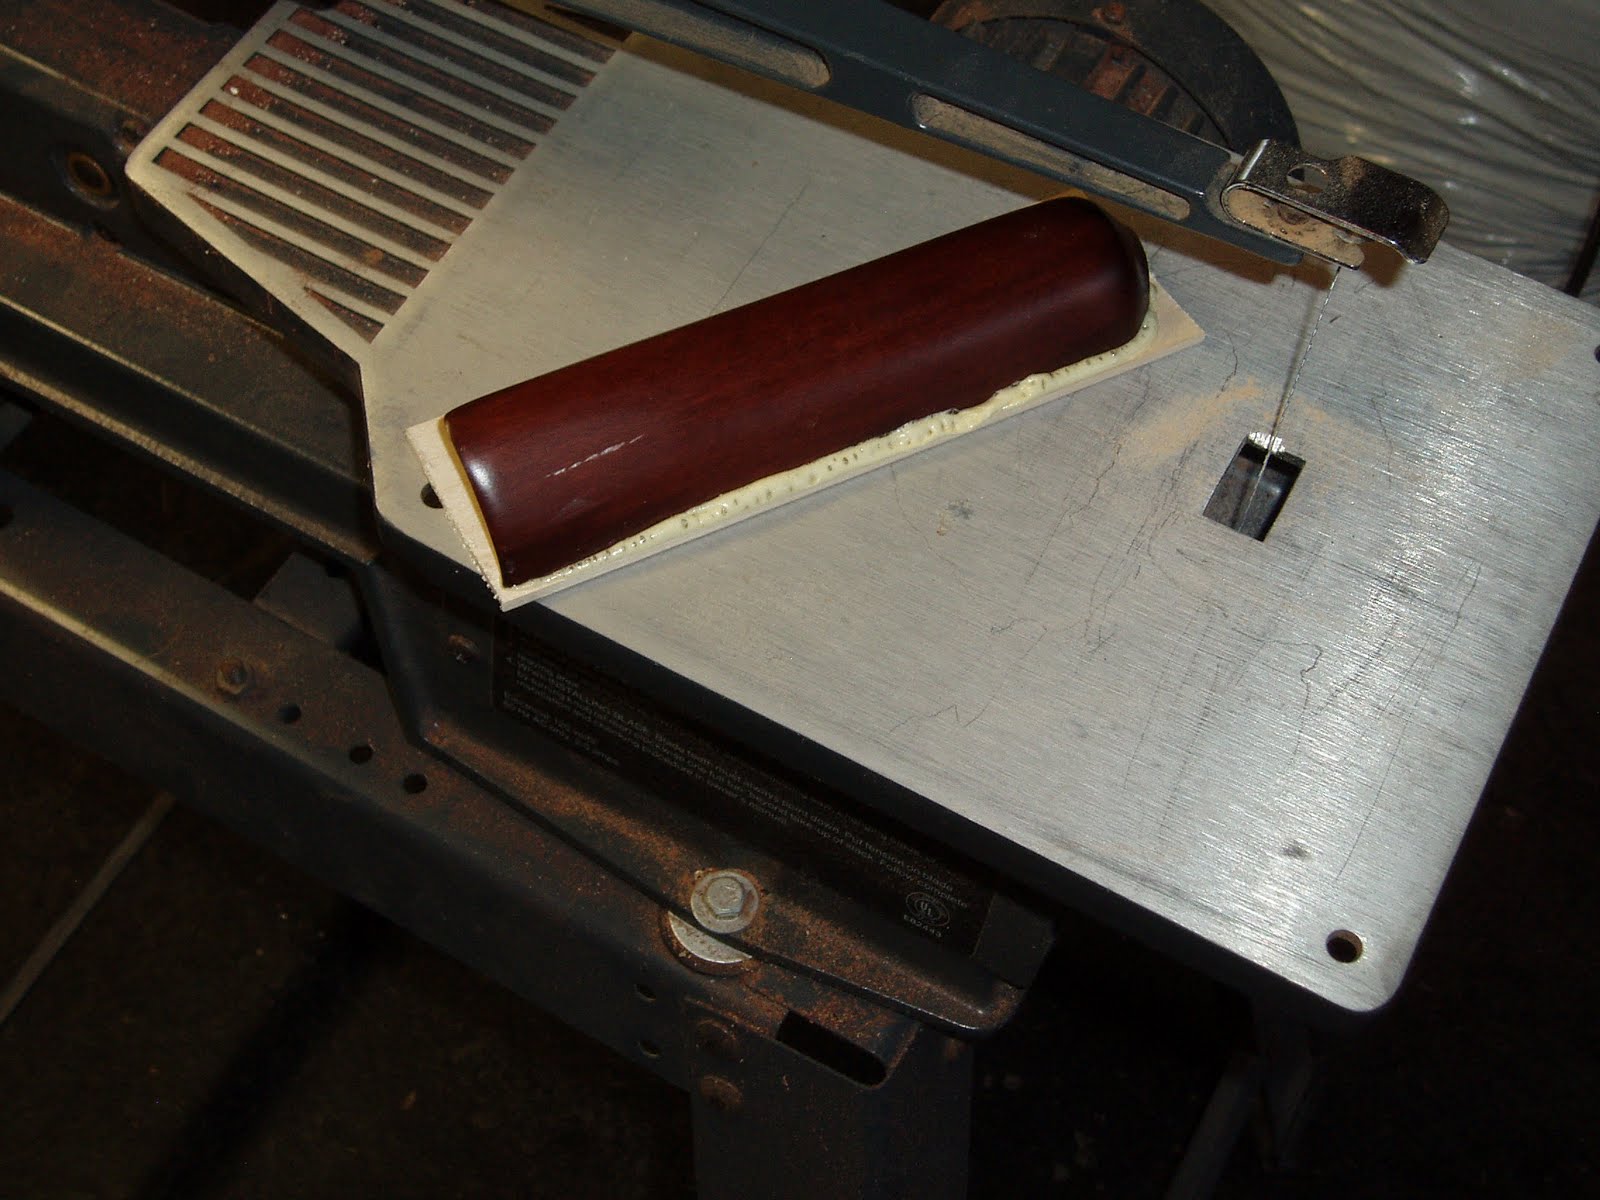
Back at it.
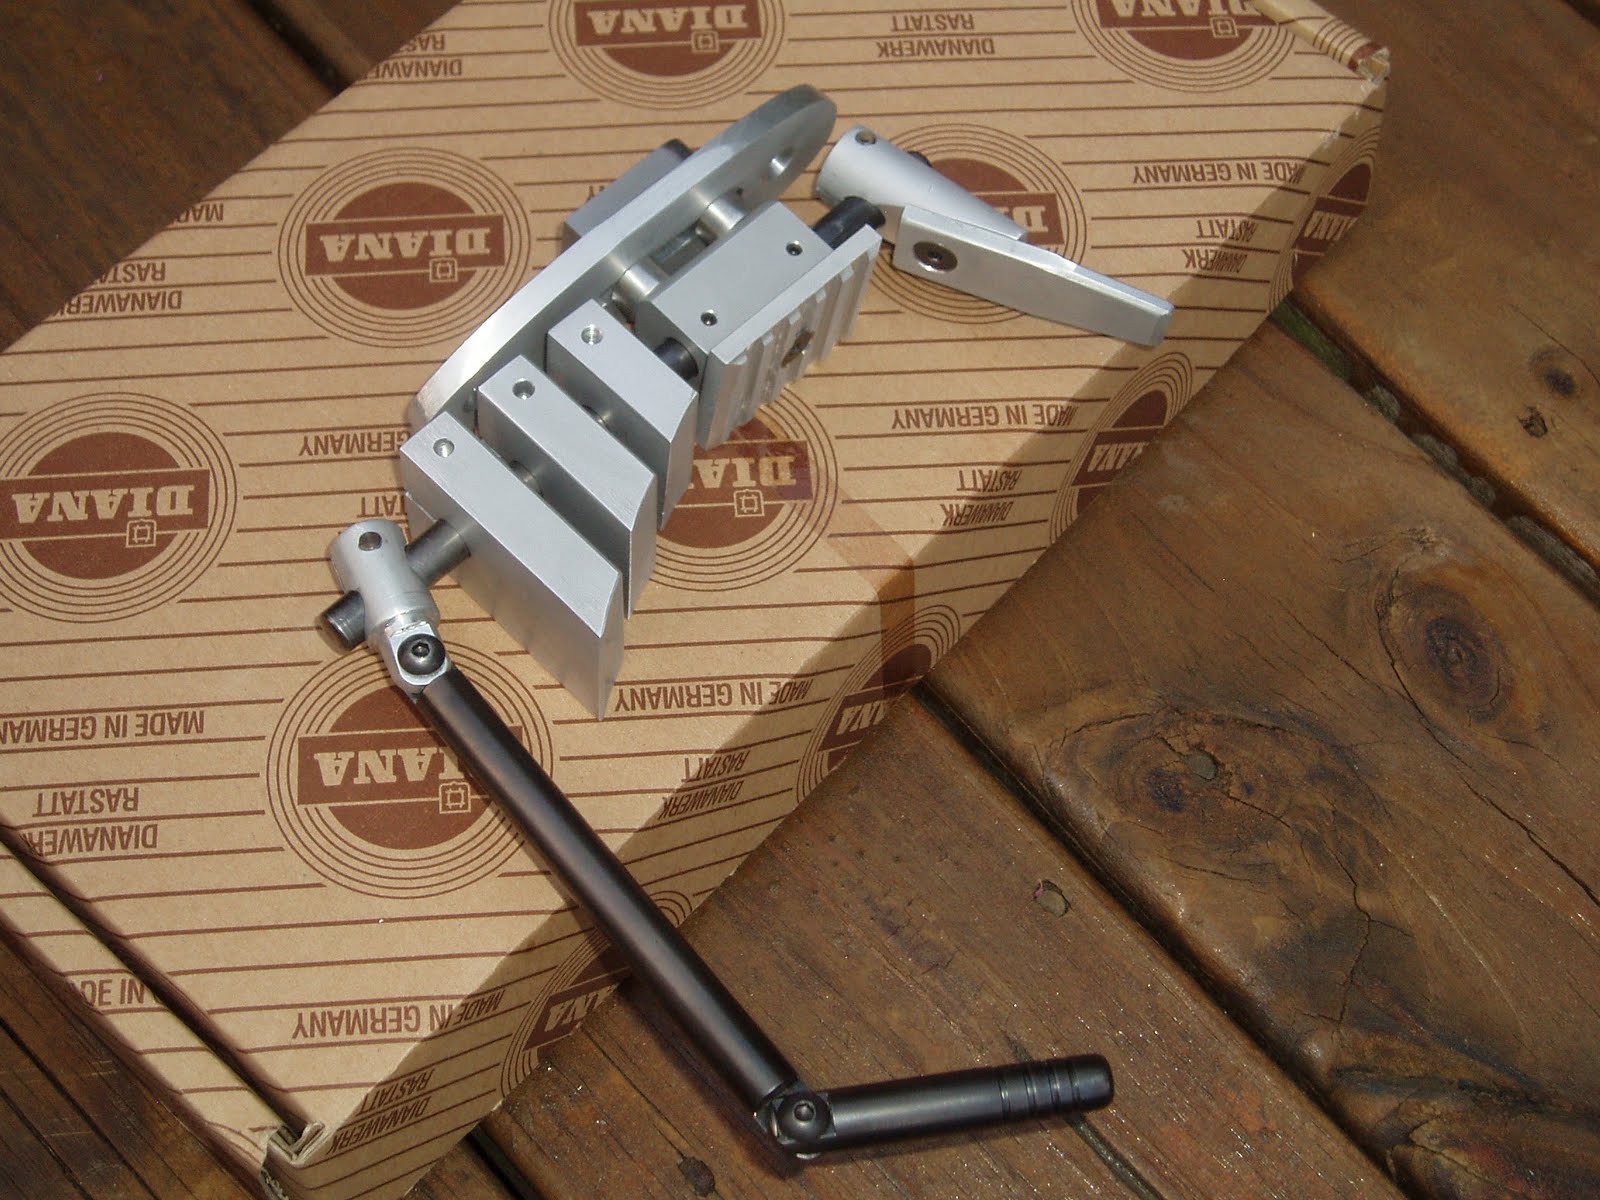
With the baseplate done, I can finally attach the buttplate to the rifle and shape and adjust as required to get a good fit.

First wanted to take the corners off the shoulder blocks and add a curve.

All three blocks got the same treatment.

Not going to show it all here, but tried to carry the curve through the three pieces.

The scratched up aluminum look wasn't going to cut it. I wet a piece of 500 grit emery cloth with some WD40. Any light oil would probably work just fine.

The trick is to keep the piece flat and sand gently, but briskly in the oil.

A slurry of aluminum dust and the abrasive is created. This puts a fine scratch pattern on the piece--a nice matte gray. Sanded each piece, each side.

Also finished the accessory rail to match. The cohesive finish will help tie the gun together aesthetically and keep it from looking like a hodgepodge collection of parts.

Tried assembling the plate to the base, but using separate mounting nuts wasn't going to work. The stock has a groove cut in the butt from the factory. Regular nuts just spin on the mounting bolts. I'd have to take off the baseplate each time I made a vertical adjustment. Making a single nut that's close to the groove width and depth solves the problem.

Started with this nasty, rough cut, out of square, piece of steel scrap.

Could've milled or fly cut but I chose to just face both ends in the lathe.

Then cleaned up the wide flats, then the sides.

Here it is next to the baseplate. It's trued up to within a few thousandths. More than good enough for a nut.

Transferred the hole spacing to the piece, spotted and through drilled.

Tapped each hole M6 x 1.0mm. OK, I started the holes. Couldn't finish them by turning the chuck by hand.

Clamped the piece in aluminum jaws and finished with a proper tap handle and some cutting fluid.

Rounded the top off on the belt sander to match the groove in the stock. That lets the piece slide slightly further upward.

It's pretty thick. Wet sanded the piece like the aluminum. Serious overkill for something no one will ever see once installed.
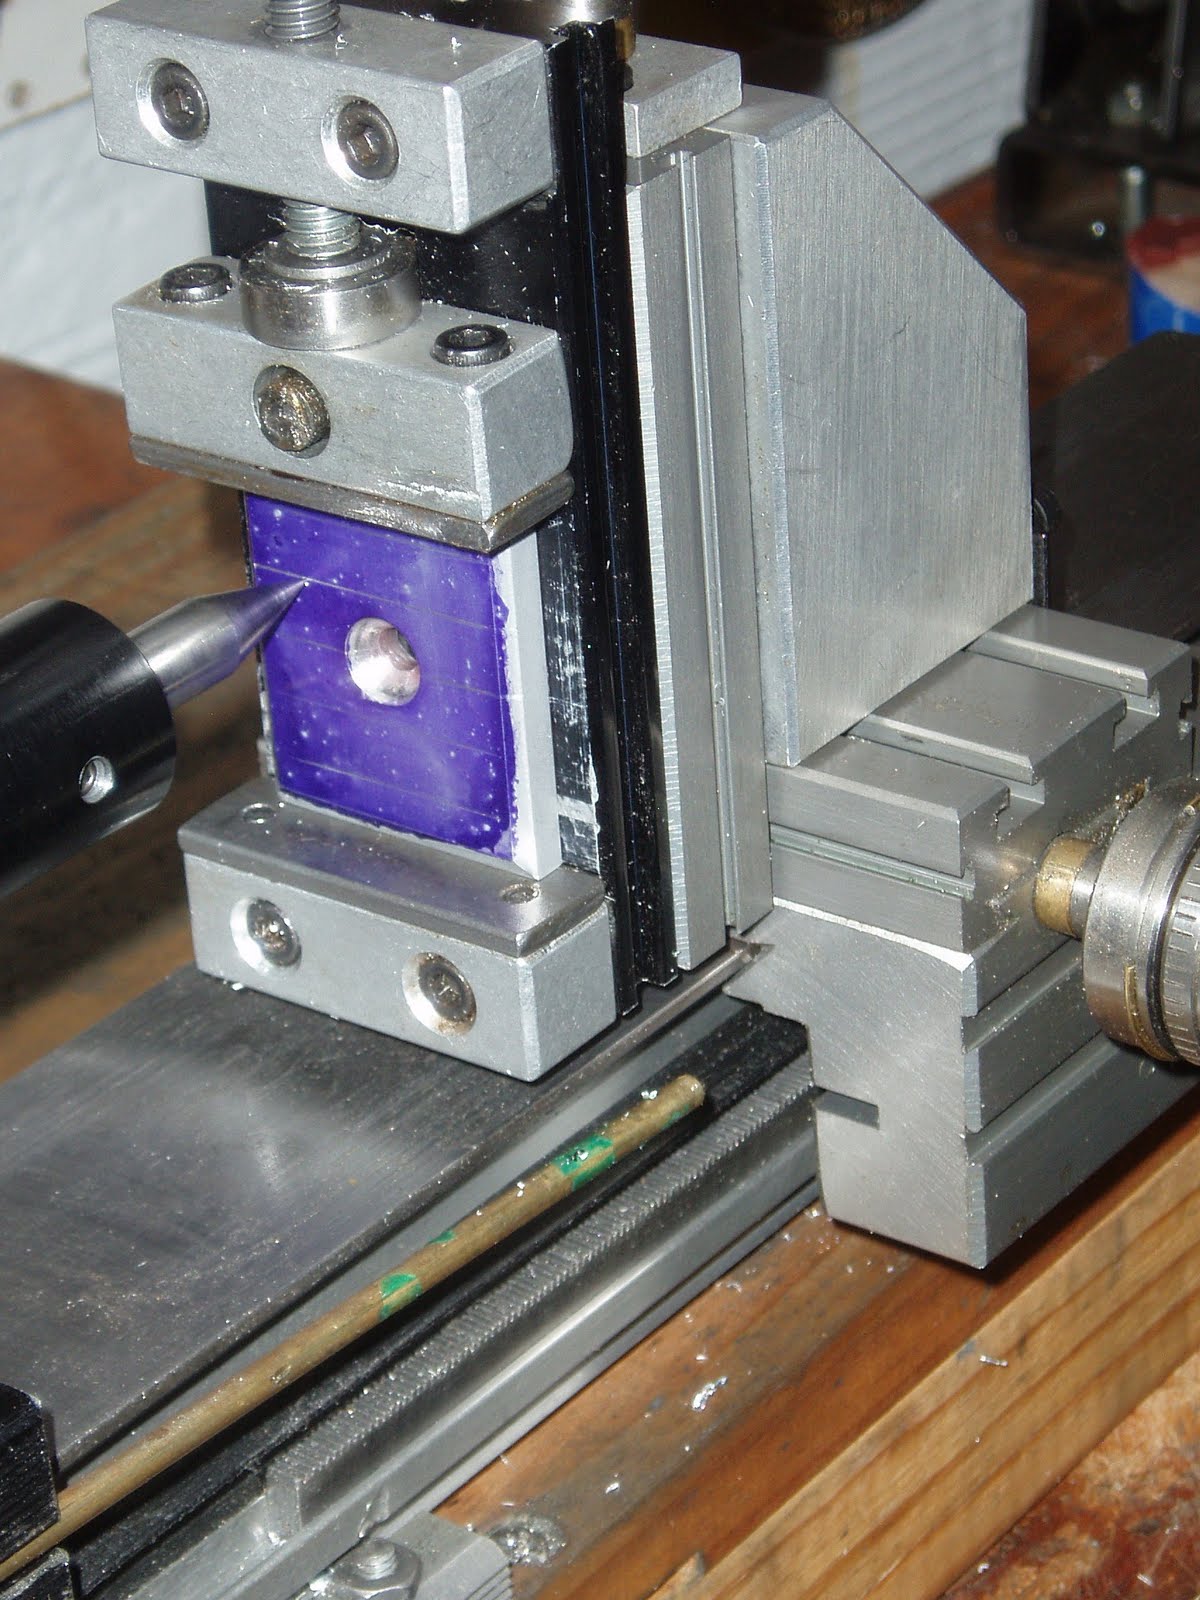
I test fit everything and wanted more purchase on the buttplate. Some grooves on the shoulder piece will help and add some visual impact. Did the layout then mounted a pointed indicator to center.

Traded the point for a 3/16" center cutting endmill. Arbitrarily set the depth and made a single pass.

Barely stopped myself in time. Had to remove the endmill holder with the cutter and replace it with another to hold the pointed indicator to center for the second groove. If I'd pulled the endmill, I'd have lost the location it was seated to in the holder and each groove would be a slightly different depth. Tedious, but there were only five grooves.


Did some clean up. Leaving the grooves as milled. I like the cutter marks. The rest of the piece was wet sanded again to fix the matte finish and remove burrs.

Final test fit to the baseplate.

Blued the steel hook and main rod with Van's cold blue.

The custom nut.


Got some stock work to take care of next before this all comes together.
More soon.
 Yeah, there was layout to find the locations for the holes. The 1/2" holes allow for easy insert manufacture from a piece of stock aluminum rod.
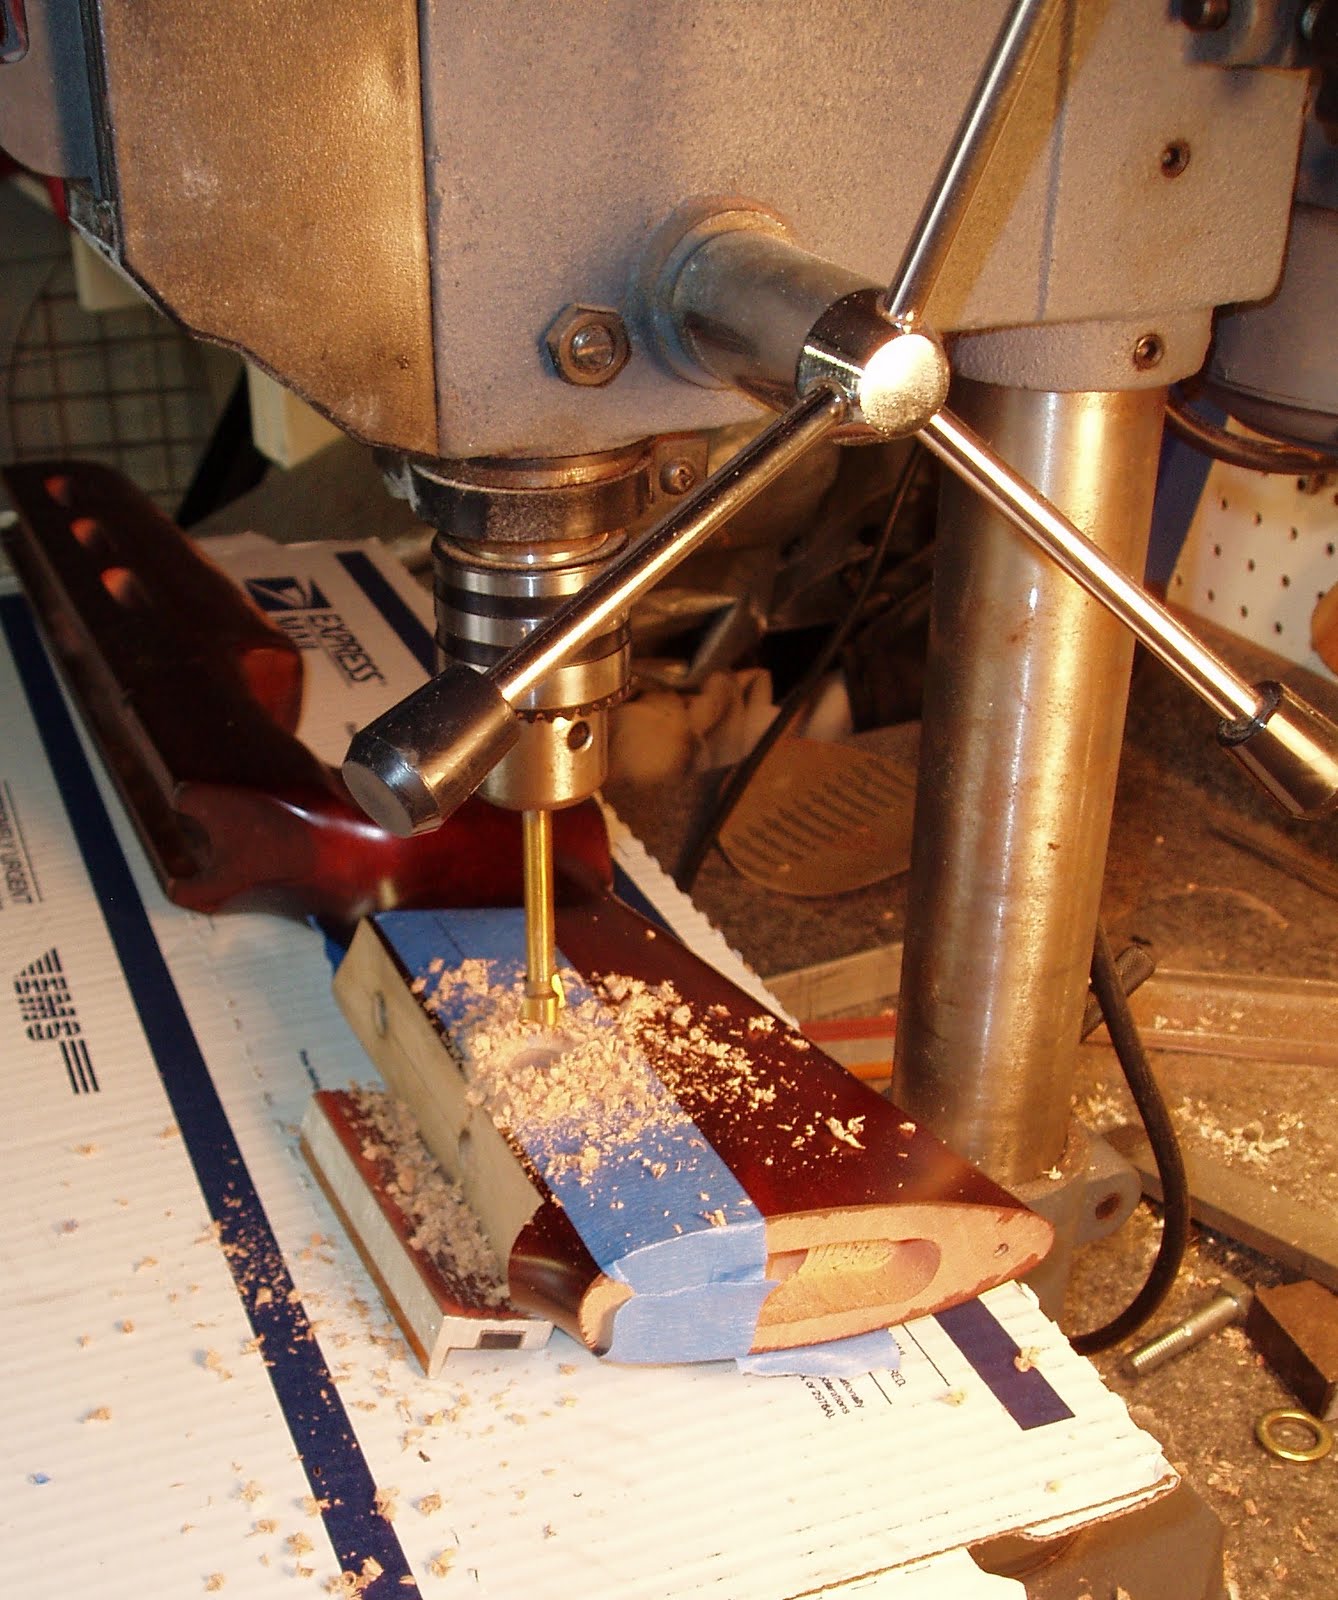


 I'm tempted to make a slightly flared maple grip cap to get some extra length on the short (for me) grip. Since it's taken this long already, I'll probably do it.
 Assuming that the dark areas are mineral streaks. I've no idea what kind of wood this is. Hope it stains well. Let me rephrase that. I hope it stains well the first time, as I have no desire to sand it out and start anew.
More soon.
Assuming that the dark areas are mineral streaks. I've no idea what kind of wood this is. Hope it stains well. Let me rephrase that. I hope it stains well the first time, as I have no desire to sand it out and start anew.
More soon.