In the
last post, I mentioned my frustration with the QB77 and its oversize loading trough. (The QB77 is an early version of what we now refer to as the QB78.)
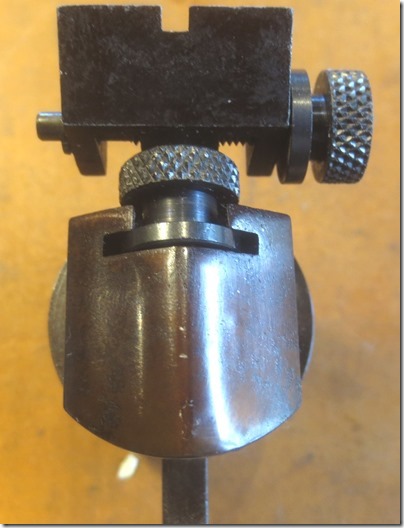
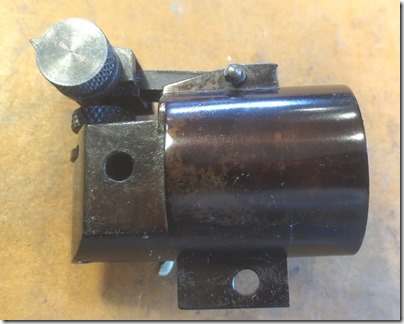
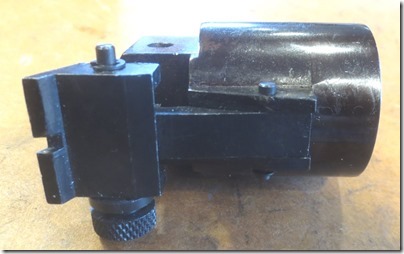
Here, the barrel has been removed from the breech.
A .177 wadcutter easily fits sideways in the wide trough. This happens far too frequently and isn't especially helpful while loading. As a solution, I'm following through with my initial reaction to re-barrel the rifle to a larger caliber. Since I've got
similar rifles set up in .22 caliber, thought I'd just jump this one up to
.25.
Those are .177 Hobby pellets on the left, .25 Benjamins on the right. Quite a size difference when you see them side by side!
Normally, this is where the project would hit the wall. Purchasing a .25 caliber barrel blank from Track of the Wolf, Lothar Walther, or Weihrauch is an expensive undertaking for such an inexpensive rifle. A new barrel would easily cost more than I have in the rifle--and then some. Fortunately, we've got Crosman.
Bought a couple .25 caliber barrel and breech block assemblies for the Benjamin Trail XL .25. Don't remember exactly what they cost, but they were very affordable. $18 or $20 maybe? Incredibly, the Benjamin barrels match the 14mm diameter of my QB's barrel. To get as much barrel length as possible, I need to separate the barrel from the block.
This rivet must be removed.
And the barrel pressed out.
Muzzle is threaded M12-1mm.
Tapped out the rivet.

Heated the block with a torch and drove the barrel right out with a brass drift and a hammer.
No drama. So far, pretty easy.
A standard QB barrel is about 21-1/2" long. After I machine the Benjamin barrel to fit, it'll be about 17-3/4" in length --essentially 3-3/4" shorter than the stock barrel. Wish it was longer as it would probably add some velocity, but that's the trade off for the low price. Not shown: I first cut the barrel down at the large notch closest to the breech end. This gave me enough uninterrupted length for cutting the loading trough, o-ring grooves, and transfer port.
Turned down the breech end to slip fit into the QB.

Drilled out the rifling lands with a letter G size bit--0.261". Drilled about 3/4" deep. Just eyeballed it and wanted to go deep enough to barely clear the (soon to be drilled) transfer port.

Transferred the location of the three o-ring grooves based on the QB barrel and cut them with a parting tool.

Faced and re-crowned the muzzle.
Put the barrel in a 5C collet and collet block then went to the milling machine and did some edge finding.
Spotted the transfer port. Again, the original QB barrel was used for all the locations.
Drilled the transfer port hole.
A shallow dimple for the breech set screw.
Milled away 1/2 the diameter for the loading trough.
A small milled flat opposite the loading trough cut provides clearance for the clamping screw that anchors the breech to the gas tube.

Done?

Deburred, blued and found some o-rings.

Barrel fits the breech, but the loading bolt doesn't fit into the barrel. Had to turn down the length behind the o-ring groove to about 0.255" as it was hanging up in the loading trough.
Ok, so here's the .177 pellet again in the original QB barrel...
Compared to a .25 caliber pellet in the newly cut loading trough. Amazingly, with some fiddling with the bolt o-ring size, it smoothly chambers and fires with zero leakage at the breech. Was sure there would be trial and error cutting the leade. Actually, I expected to have to make a new bolt.
Almost done. Since the Benjamin barrel is 3-3/4" shorter than the original, it doesn't reach the end of my extended gas tube. Cut a piece of 16mm carbon fiber tubing.
Made an M12-1mm threaded sleeve from aluminum and epoxied it in place.
Butting the carbon tube against the barrel band will hide the transition.

May cut another piece of carbon later to cover the rest of the barrel all the way back to the breech.
Here's what you really want to know. The velocity is just over 400 fps with that .25 Benjamin dome. Slow, but the .25 Benjamin pellet weighs four times as much as a .177 Hobby pellet. It hits with a solid thwack. After I shoot the gun dry of CO2, I'll play with the valve and look for some additional velocity.
There's more coming soon. Check back.
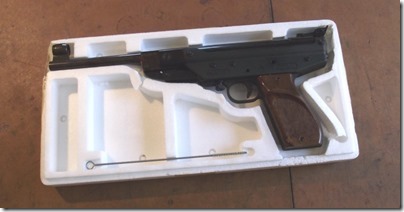
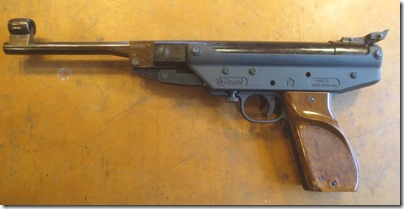
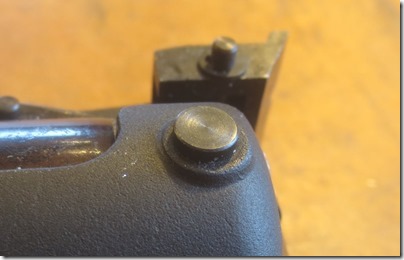
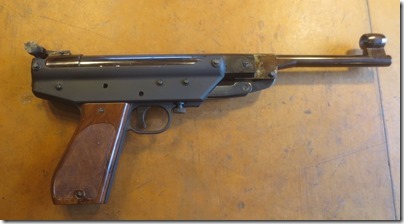
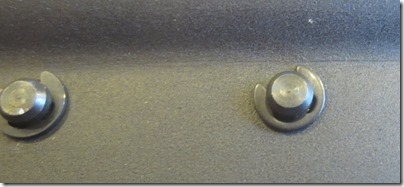
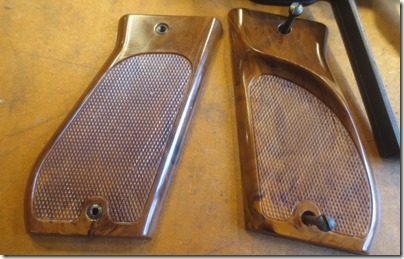
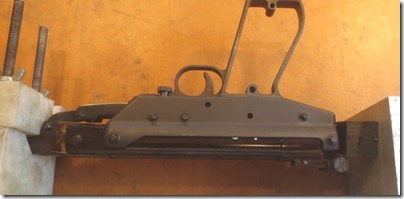
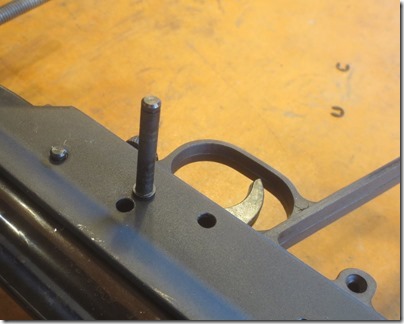 I then started removing pins, starting with the middle ones and ending at the one that retains the end cap. Notice the clips…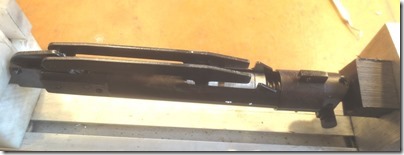
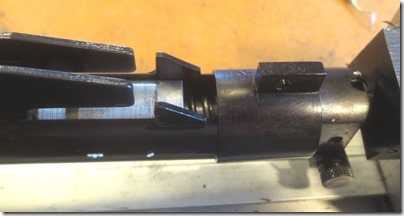 Backing off the tension. If I were to do it again I would first remove the read sight and I would carve a dedicated block to mate the profile of the end cap. But this works. The spring is under more tension than I would feel comfortable dealing with without a compressor.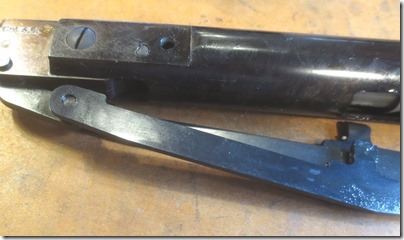
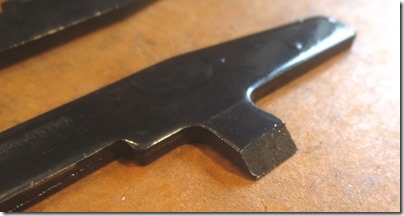 I must have attention deficit disorder as these pics were the next on my camera. Nothing too exciting about it, just need to pay attention to the handedness of the cocking arm when reinstalling.
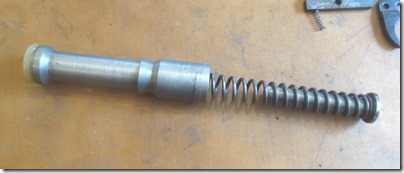
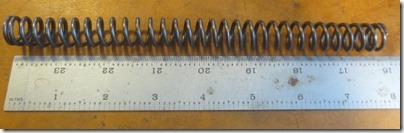 Moderately long spring in ok shape.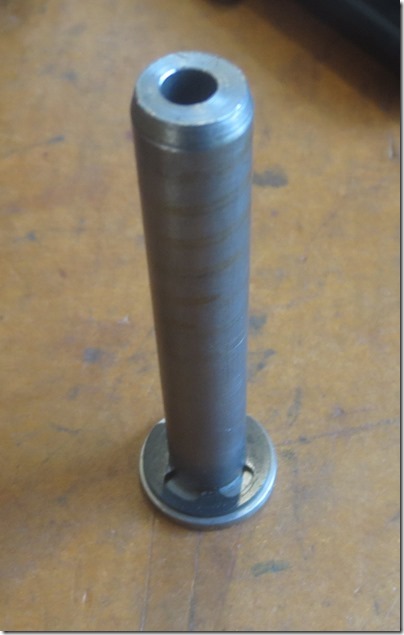
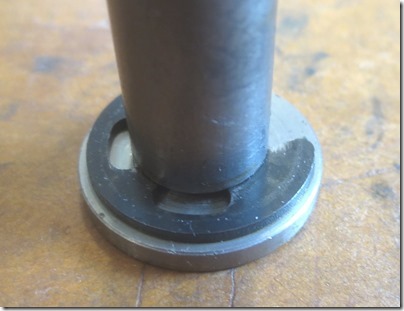 I swear this pistol was produced by the e-clip lobby. As best I can tell the clip functions like a washer allowing the spring to rotate against the spring guide.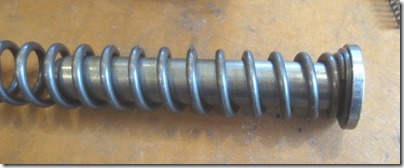
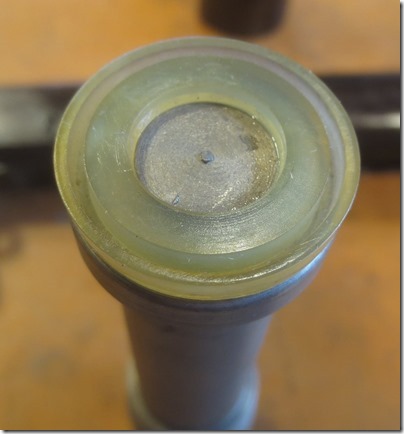 A good condition seal.
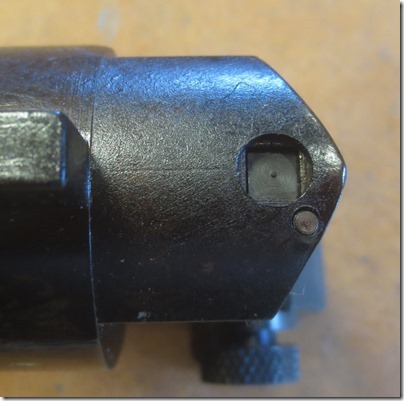 The rear sight is well engineered and integral to the cap.