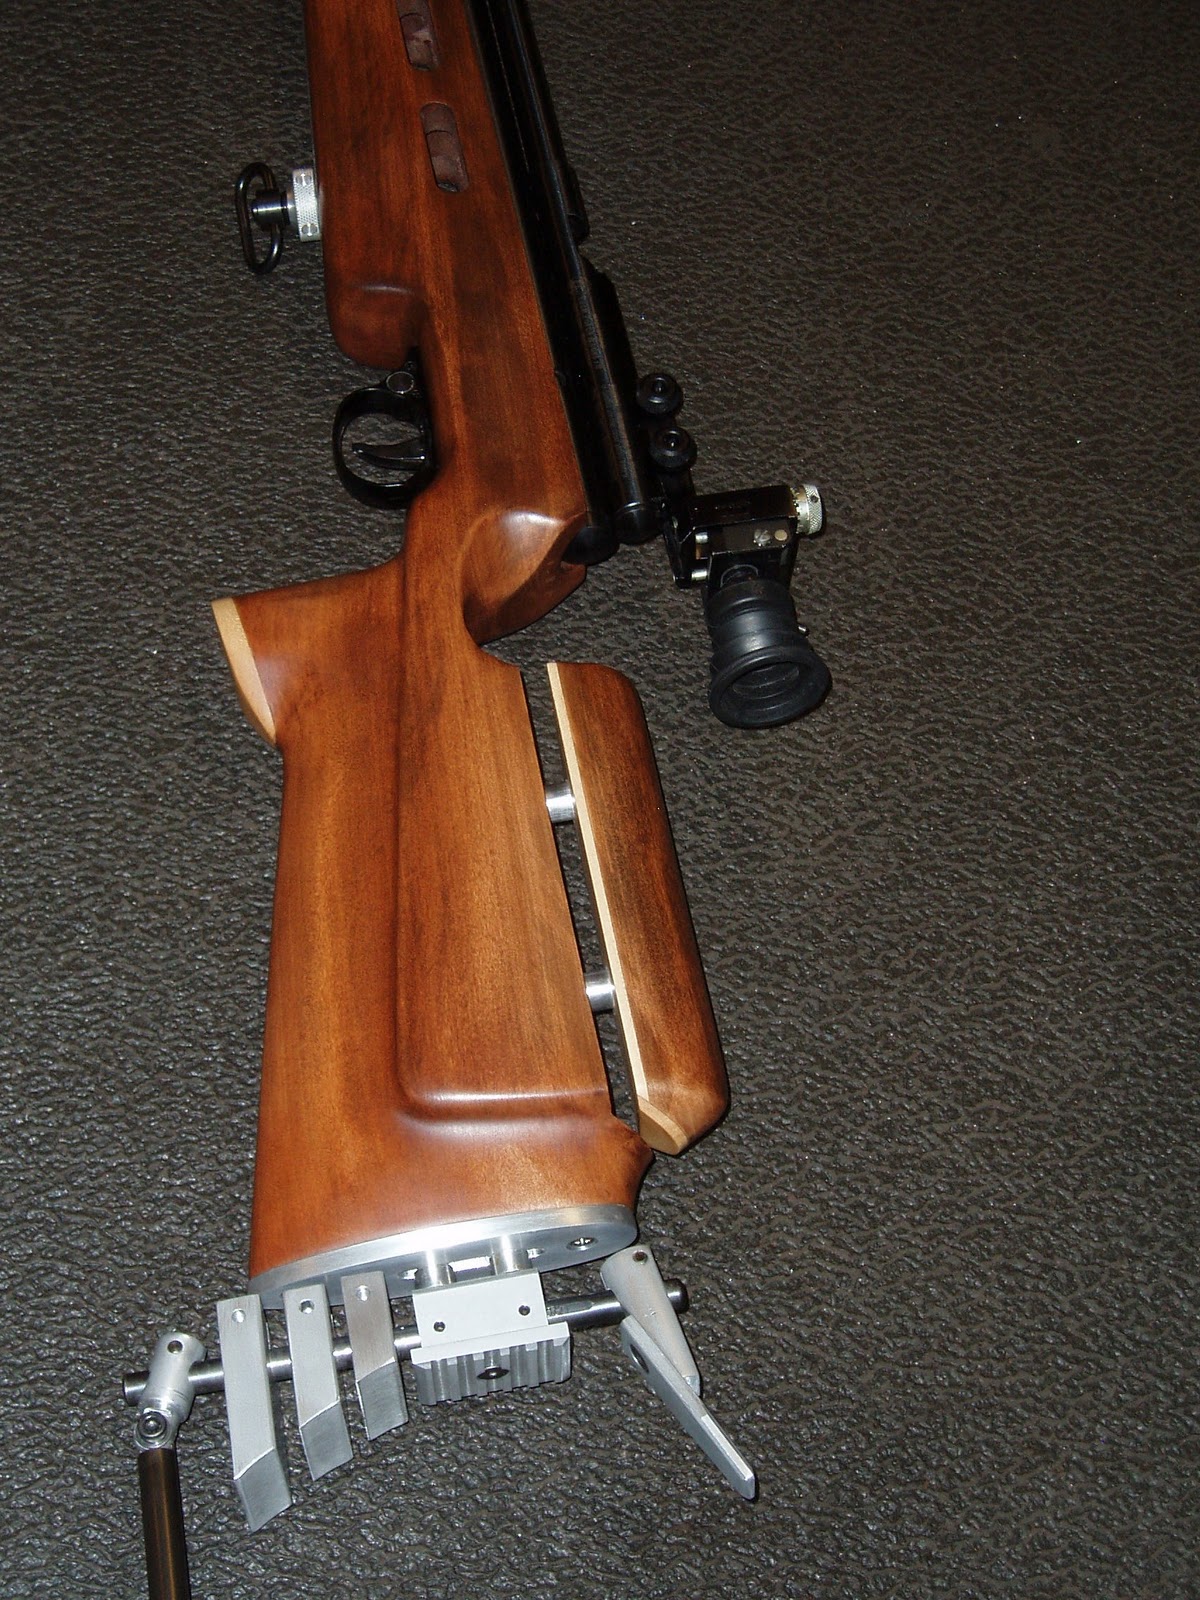
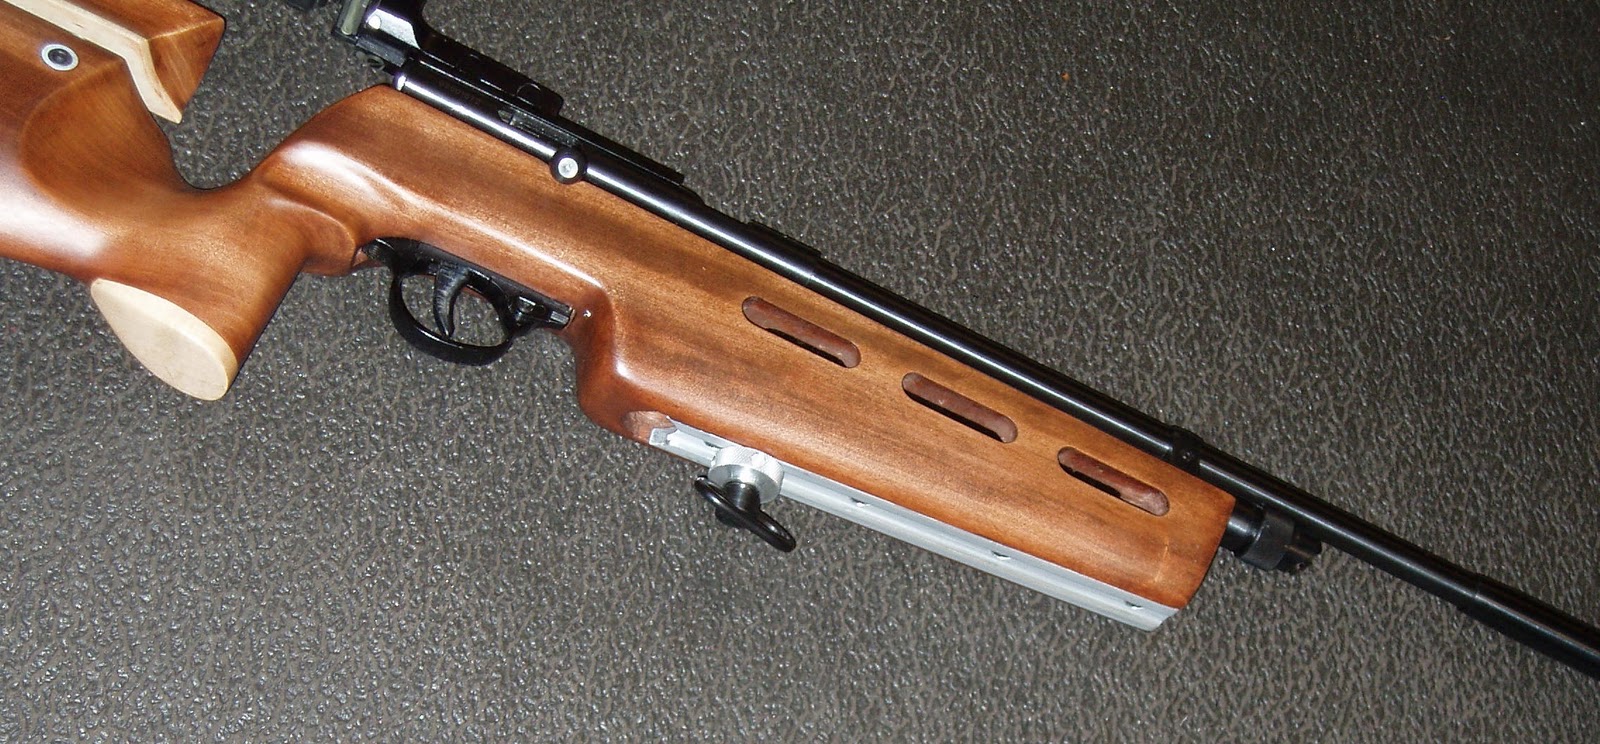
Still slowly cranking away at this one.
Needed a little more length on the grip, so I sanded the bottom flat.

Note the small lip at the rear of the flat. I'll angle the grip spacer to match.
Then cut a block of maple. Wish I'd had a thinner piece, but it wasn't worth a trip to the mill.
Traced the outline of the base onto the maple block.
Then cut out the profile.
Followed up by lots of monotonous sanding. Just had a rough mental image of how I wanted it to look.
Sanded away over half the thickness.
Glued it together, but couldn't find a clamp to hold the cap in place. Some vinyl electrical tape (gaffer tape to our British friends) did the trick.
All glued up and no place to go?
More blasted sanding. Look at the odd dark streaks in the stock. Yet, there's almost no grain to speak of.
OK, more sanding to reshape the finger groove and make the stock better fit my hand.
A quick wipe of the butt with mineral spirits sort of shows what the wood will look like when stained.
Rather bland, but still nicer than that heavy factory finish.

I thought that the cheek piece hardware should be finished before staining the stock. Since the vertical adjustment rods are such a tight fit into the cheek piece, I know it'll be impossible to glue them in place as they are. The glue will create an airtight fit and cause pressure to build up to push the rods out of position like pistons.

Spotted the end of one rod...

Then through drilled a small vent hole to allow the air to escape.
Both rods drilled.
A little 2-part epoxy. Ah, I filed flats on the rods so the securing screws had something to bear against. Without the flats, the rods will get scarred from the screws then stick in the close tolerance holes making further adjustment difficult, if not impossible.
Glued and good to go. Remembered to align the flats before the epoxy set up.
Final test fit. Now for the threaded bushings to lock the cheek piece in place:
Grooved for glue with the parting tool.
Cleaned up the face with the same tool. I must have cut it to length, too--probably with the same parting tool.
Spotted then through drilled with a #19.
Tapped M5 x 0.8mm.
Counterbored for the head of an M5 socket head cap screw.
Test fitting before the glue. A 0.500" steel rod is being used to seat the insert against. To remove the insert, the screw is threaded in and the insert backs out. Before removing, though, I traced the protruding end against the buttstock with a scratch awl. As you can see, I already finished the insert on the right.
It's filed to the scribed line.
Ideally, this angle mates seamlessly with the side of the buttstock.
Again with the epoxy.
Seated. Could've filed off a few thousandths more, but it's close enough. Sanding the stock will level it.

There was additional sanding to bring the stock to 220 grit, then in my haste to get some color onto the stock, I completely forgot to fill the grain. Then again, there really wasn't anything to fill.

Started with a coat of Varathane walnut. Had good luck with this color in the past. It's sort of a medium brown.

Didn't pay much attention to the slots in the forend. Other than removing the old finish with stripper, I didn't bother sanding inside them. Too easy to slip and elongate or funnel out the edge of an oval.

After an even coat of the walnut color, I did a thin wipe with a red mahogany stain. Lot of old school guns have French red in the finish so I was hoping for some similar color.

Rubbed in the red mahogany then whisked another coat of walnut onto the stock. The mineral streaking is still there, but there's not much in the way of a grain pattern. Got a couple small dark areas where I didn't sand quite enough, so I'll go back and do some spot repair after this dries. Then a bunch of coats of Tru Oil or something similar. Lastly, I can fit the baseplate and assemble all those component parts into some semblance of a rifle.
As always, more soon.


 Set the accessory rail in place and ran the screws home.