Sunday, February 3, 2013

Refinishing a Sheridan Stock -- Part 2

Making progress on the Sheridan stock. 


Here's the cuts of maple and rosewood glued together.  Outline of the buttstock has been traced as a cutting guide.


Planed the sides down to make sure there were no gaps.


A couple minutes on the scroll saw and it was pretty close. 


Used the sander to get it even closer.


Sanded the butt of the stock on a granite plate one last time to make sure it was dead flat. 


Test fit--it's just laying on the bench against the stock.


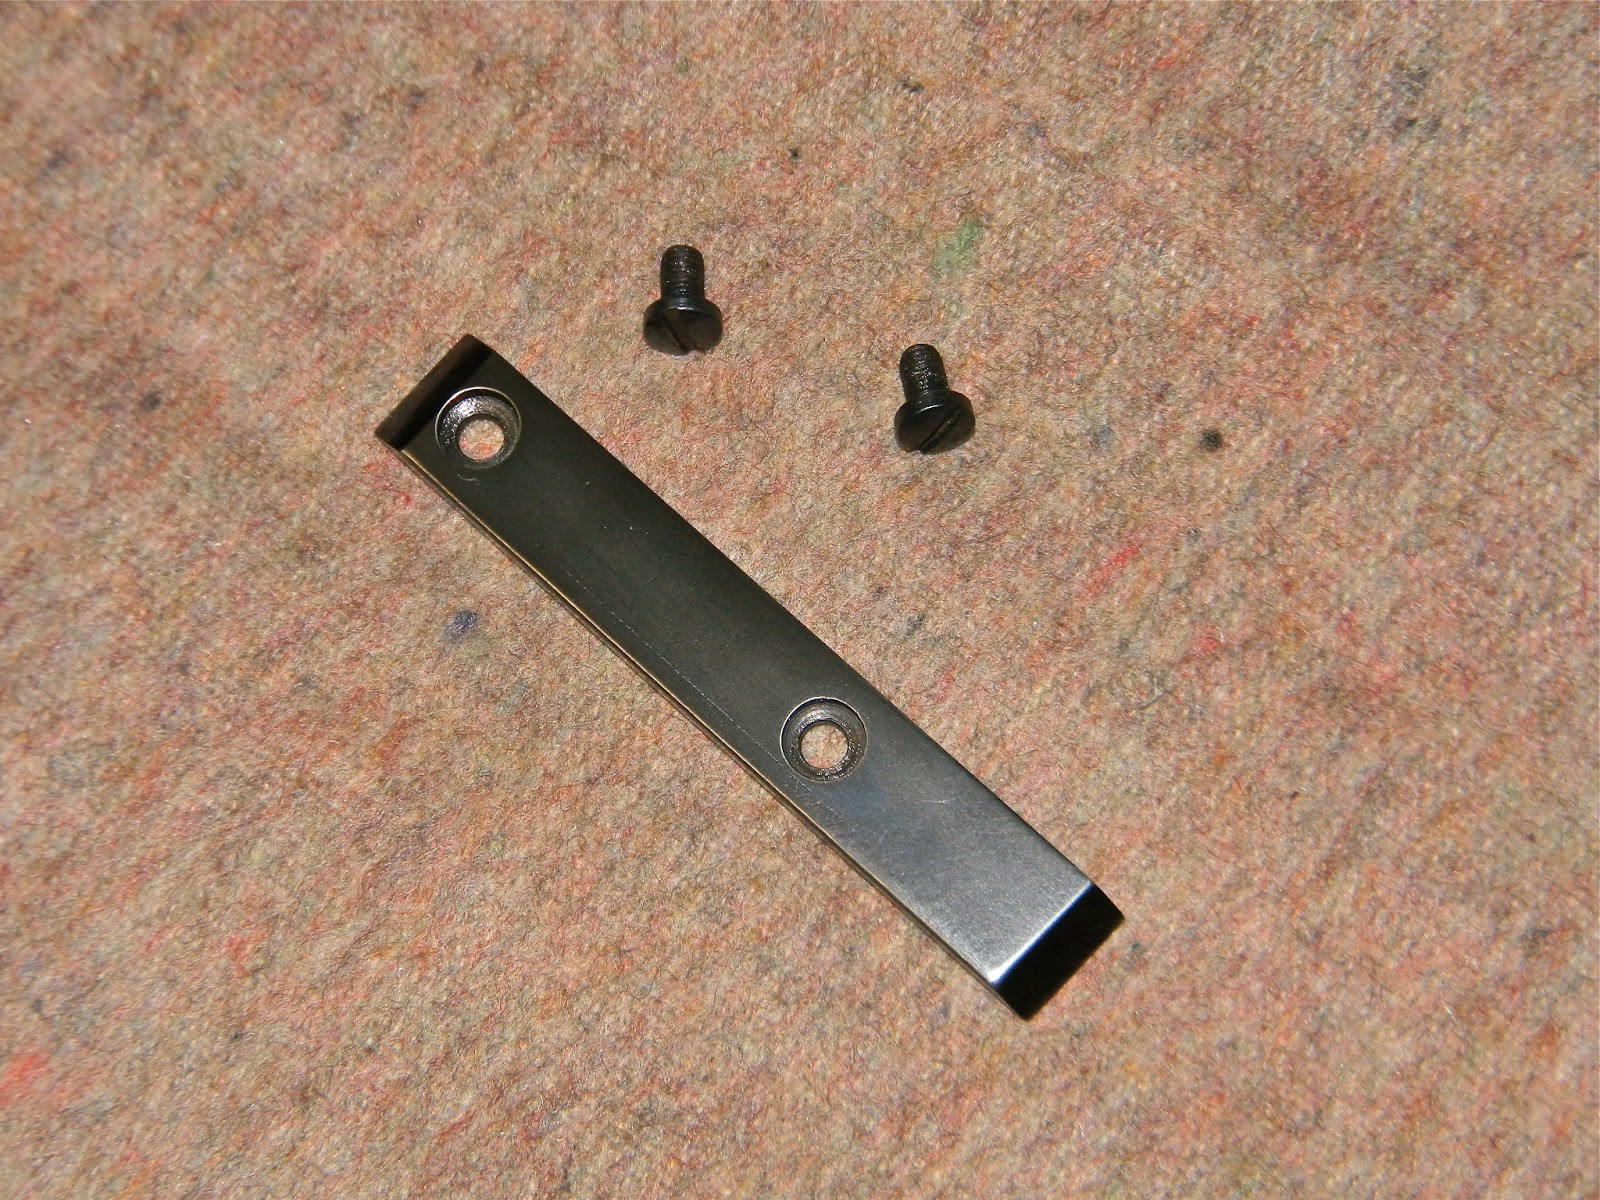
Drilled a couple holes in the spacer and transferred the marks to the stock with an awl.


Drilled the stock.


Counterbored the spacer.


Glued the spacer to the stock with Gorilla Glue.  The screws allowed the spacer to be pulled tight leaving no gaps.


After the glue was completely dry, I used a tiny plane to shape the spacer to exactly match the stock.  Took care to carry the stock angles through.


Not shown:  Sanded the joint after planing.


Used the dark walnut color from Minwax.


The flash makes it look much lighter than it really is.


 This is closer to reality.


I'll put many coats of Arrow wood finish on the stock over the next few days.  It'll act as a sealer and a grain filler, as well as protect the stock from the elements.  And I still need to install a butt pad.  Or plate.  Or something.

Thanks for reading.  Check back soon.

Thursday, January 24, 2013

Sheridan Stock Limbo

Project update:  Trying to get back to the Sheridan refinish, but the cold weather is thwarting me.  It warmed up to almost 20 degrees today by midday!  But now, it's 13 and dropping.  I need to get into the garage to do some sanding, but my fingers are numb after fifteen or twenty minutes.


Still figuring out what to put on the end of the stock.  I was short on recoil pads so I made a run to a local gun shop.  One of these may or may not make it onto the Sheridan.  Yep.  Decisiveness at it's best.


Regardless of which buttpad or buttplate is used, the rifle still needs a bit more length of pull.  To that end, I cut two pieces of 1/8" thick maple and a piece of Bolivian rosewood.  I've had some problems using cuts from this particular piece of rosewood in the recent past.  Had a reaction to it similar to having poison ivy.  Needed a steroid shot as well as additional medication.  Fun stuff.  Wore gloves and a mask while making the cuts. 


Sandwiched the rosewood between the maple.  Used Gorilla Glue.


Clamped it in a bench vise between some thicker maple boards and cranked it down tight.  Gonna let it dry for the night.

It's not supposed to warm up for a few more days, so I may temporarily shelve this project and start something I can work on in the basement.  Where it's warm.

Sunday, January 20, 2013

Refinishing a Sheridan Stock -- Part 1

Here's the second of the two Sheridans from friend, Sandy.


It's in great shape, save for a few nicks and scratches in the wood finish.


Wiped with a maroon ScotchBrite pad--sort of highlights the marks in the wood.


Nice grain.


Removed the action screw and knocked out the two roll pins that secure the forearm to the pump lever.


The rear of the trigger guard is held by a screw.


The front is held by a rivet.  "Was" held by a rivet.  It was a real headache to remove.  I, uh, won't be using it on reassembly.


Started the sanding with 150 grit. Amazingly, Guineness makes all my projects look better.


Ouch.  There's a pretty good ding in the forearm.


Even with the sander, it took some time.  The paper kept glazing over as it loaded with the varnish.  I think I went through three full sheets of sand paper--a quarter sheet at a time.


Hopefully, I'll be able to pull out the grain contrast.  Undecided as to the butt of the rifle.  The length of pull could stand to be longer and I'm not sure if I'll add a rubber recoil pad or use the old Morgan from the old QB77 project.  Also conflicted as to exactly how much fancying up I want to do to the stock. 


The forearm before sanding.


The plain buttstock was bothering me.  Leave it or change it?  Kinda like put up or shut up.


Put up wins.  Now it's, Pachmayr Decelerator or Morgan?  Contrasting wood spacer(s)?  Reshape the forearm?  Ahhhhhh, too many choices at the moment.   Another Guinness.  The rest will wait.

More soon.

Saturday, January 12, 2013

Walther Sight Cover Plate

Nick and I are now at 650 rambling airgun posts and counting. Yeeeow!

I need a cover plate for the Walther LG55 target rifle formerly owned by Volvo.  Apologies, as I've blogged cover plates for various rifles before and they're always pretty much the same.   With all the various airguns in the pile, there are a multitude of small projects like this--and right now, this one is calling.


Look at the gaping holes on top of the base block probably made for some field sight that I don't have and likely never will.  This rifle is set up with a target aperture at the end of the spring tube and there's really no place for an open notch sight on this kind of gun.  Has anyone even seen such a sight for a 55?  There's even a counterbored hole for a pin to resist recoil.   Yeah, Walther goes all in.  However, the holes for this nonexistent mid-ship sight are tapped M4 x 0.5mm.  This is not the normal 4mm pitch--which is 0.7mm.  I looked pretty hard and couldn't find any M4 x 0.5 screws in the US.  It was easy to find both taps and dies, but the actual fasteners?  Nope.  None.  Of course, in my haste, I'd already cut the plate, squared the sides and done the layout before realizing this.  So, the plate sat on the bench.


Finally, I went through my box of airgun pieces parts.  There, I found some extra grip screws for a Weihrauch HW45/Beeman P1 in the correct pitch.  Maybe this fastener is common in Europe.  The project was back on track.


Try to keep this short.  0.500" wide cold rolled piece of steel.  It's 0.125" thick.  Cut to length, did some layout for the mounting hole locations and started drilling through holes.  Used a #25 bit. 


Couldn't find a suitable endmill to counterbore for the screw heads, so I had to make a suitable cutter from a reground drill bit.  Had to cut it really short to minimize flex. 


Milled the front and back edges to match the angles on the Walther's breech block.


Gave the sides a finish pass.


And a 0.750" endmill to take a clean up pass on the top.  Probably should've used a fly cutter, but the machining marks polished out without too much effort.


Wet sanded it (WD40) down to 420 grit on a granite plate.


Hit it on the buffer for a few minutes, then blued it with Van's cold blue.


Installed and done.  Angles carry over pretty well.


Looks like it's been here all along.

More soon with blog #651.