It's in great shape, save for a few nicks and scratches in the wood finish.

Wiped with a maroon ScotchBrite pad--sort of highlights the marks in the wood.
Nice grain.
Removed the action screw and knocked out the two roll pins that secure the forearm to the pump lever.

The rear of the trigger guard is held by a screw.
The front is held by a rivet. "Was" held by a rivet. It was a real headache to remove. I, uh, won't be using it on reassembly.
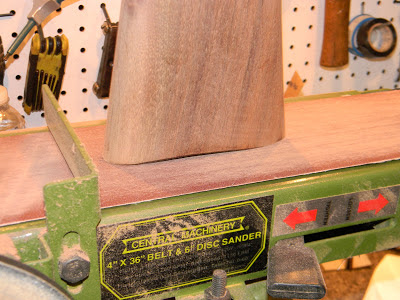
Started the sanding with 150 grit. Amazingly, Guineness makes all my projects look better.
Ouch. There's a pretty good ding in the forearm.

Even with the sander, it took some time. The paper kept glazing over as it loaded with the varnish. I think I went through three full sheets of sand paper--a quarter sheet at a time.
Hopefully, I'll be able to pull out the grain contrast. Undecided as to the butt of the rifle. The length of pull could stand to be longer and I'm not sure if I'll add a rubber recoil pad or use the old Morgan from the old QB77 project. Also conflicted as to exactly how much fancying up I want to do to the stock.
The forearm before sanding.

The plain buttstock was bothering me. Leave it or change it? Kinda like put up or shut up.
Put up wins. Now it's, Pachmayr Decelerator or Morgan? Contrasting wood spacer(s)? Reshape the forearm? Ahhhhhh, too many choices at the moment. Another Guinness. The rest will wait.
More soon.


3 comments:
Quick question, did you just sand or did you use a varnish remover first? I am not questioning your method, but want to understand if there is any potential side effects or using a chemical process. Thanks in advance. I love the blog.
In this case, I just sanded it off. The finish was pretty thin. I've used paint strippers before with good success and I might have used one this time if the stock didn't have so many scratches to remove. Please feel free to question my method, I'm just winging it here.
Can you explain how you got the pins out our what kind/size of till was used?
I'm trying to do the same thing.
Thanks.
Post a Comment