On I go…
The barrel and magazine just popped out. I’m not sure whether that’s a good or a bad thing. The barrels seems to have been bulged to be a press fit in the valve assembly.
Did I mention it was rusty?
The roll pin that holds the front sight and barrel plug thingy in.
I punched out the pin.
And gently tapped the piece out using a chopstick as a drift. Bamboo chopsticks are wonderful tools. It was difficult to slide the barrel out – The shroud was dented so I had to massage it with some pliers.
This die cast part is formed around the barrel. It allows the sight to be screwed in as well as helping align things.
There’s a notch for the magazine to pass through.
No seriously, it’s rusty.
I removed the piercing pin retaining nut.
All the piercing parts. Looks like another Crosman 38 style assembly.
The leftmost washer was stepped on the underside.
The valve stem is rusty…
The seal is completely gone.
The BB shuttle?I’m guessing this is actuated by that flat piece in the left side of the action.
The shuttle.
That plastic piece covers the magnet (presumably for BB feeding).
You can see bits of steel fuzz on it.
So now I have to clean the damn thing and see if I can even get it to cycle, much less work. Not particularly optimistic given my failures of late. But we’ll see.
Saturday, September 10, 2011
Crosman Powermatic 500 Disassembly, Part 3

Friday, September 9, 2011
Crosman Powermatic 500 Disassembly, Part 2
On I go…
I removed the CO2 clamp & screw.
One screw on the other receiver half.
Notice how corroded the screw is…
This freed up the valve assembly. One spring was unhooked.
The valve assembly with barrel and magazine attached.
It’s important to take pictures of how spring hooks are oriented.
Everything is rusty.
The trigger group.
It’s somewhat interesting and different.
This piece pivots on that pin.
Let’s take more pictures. It will help.
You know it hasn’t been shot when it has cobwebs.
The grease has dried out completely.
I punched out the one, longer, pin.
Interesting spacers.
I tried to remove the shorter pin but it seems swaged – best to leave it. I can clean around it.
More to come…
Thursday, September 8, 2011
Crosman Powermatic 500 Disassembly, Part 1
Having hit a velocity wall with the V-350 I decided that a slight change of pace was in order. So I dug a Crosman Powermatic 500 out of my pile of airguns.
Not a bad looking rifle, with the same lines as most other Crosman air rifles of the era.
It has an inline BB magazine above the barrel.
There’s a bit of corrosion.
Power Matic 500
More corrosion. This isn’t inspiring confidence.
This is where the CO2 cartridge goes, The plastic plate which hides it is missing.
As is one forestock screw.
Time to begin by removing the buttstock.
The stock is really heavy. I believe that this is a Croswood stock.
Removing the one remaining forearm screw.
The knurled CO2 nut needs to come off.
I clamped the nut in the vise to get the punch started on the roll pin and then removed it so I could rotate it 90 degrees to fully tap it out.
Notice that the forearm isn’t lightweight like a plastic part – it only has enough material removed for the parts to fit in.
The “barrel” band holds the shoud to the stock.
I removed three screws.
And carefully separated the halves. Nothing shot across the room, which is always a good thing.
As you can see the innards are corroded and full of cobwebs.
I took a bunch of views to make reassembly easier.
Notice that the safety is missing.
Another view…
Not really that complex although I’m unsure how the mechanism works.
More to come…
Tuesday, September 6, 2011
Tech Force TF79 / AR2078A Upgrades--Part 9
 Yeah, there was layout to find the locations for the holes. The 1/2" holes allow for easy insert manufacture from a piece of stock aluminum rod.
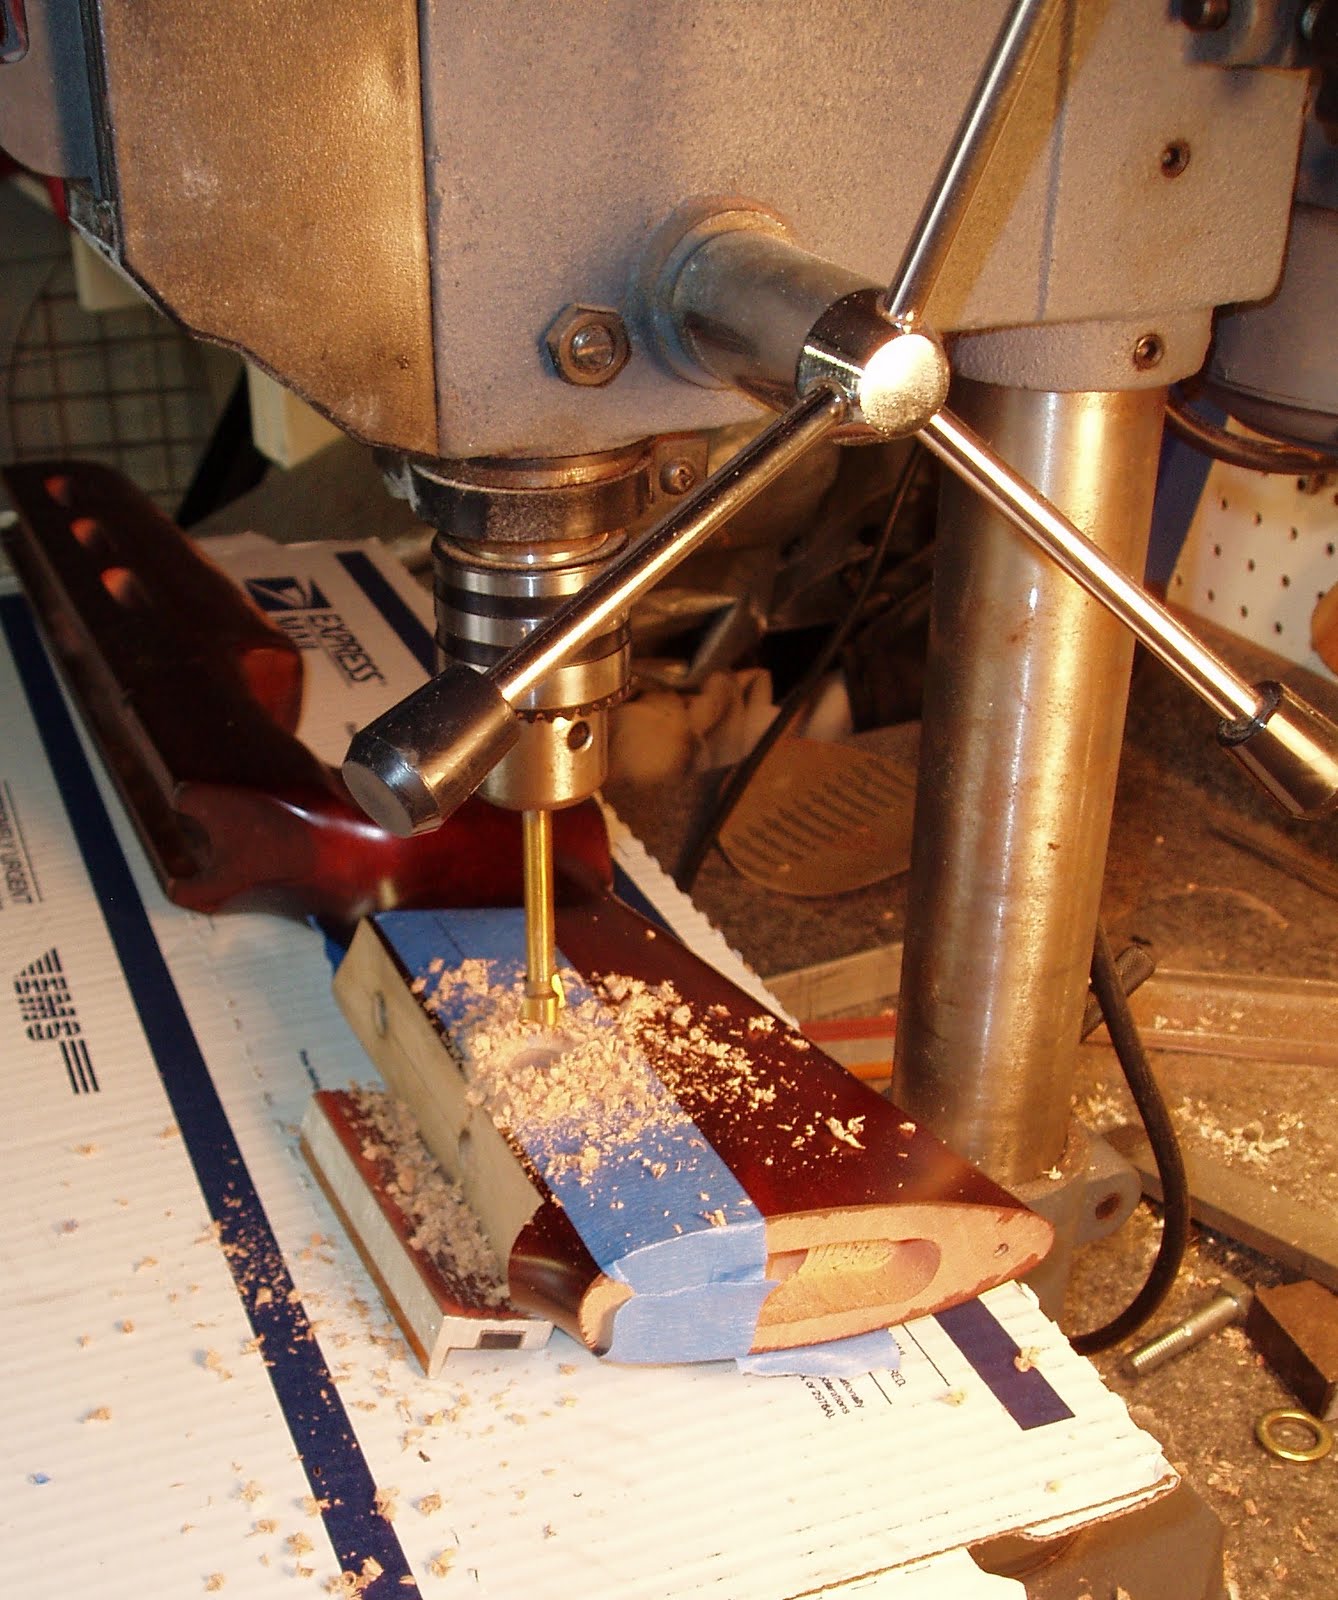


 I'm tempted to make a slightly flared maple grip cap to get some extra length on the short (for me) grip. Since it's taken this long already, I'll probably do it.
 Assuming that the dark areas are mineral streaks. I've no idea what kind of wood this is. Hope it stains well. Let me rephrase that. I hope it stains well the first time, as I have no desire to sand it out and start anew.
More soon.
Assuming that the dark areas are mineral streaks. I've no idea what kind of wood this is. Hope it stains well. Let me rephrase that. I hope it stains well the first time, as I have no desire to sand it out and start anew.
More soon.
