Still plugging away at the TF79.

Needed to screw the accessory rail into the slot. Since the bottom of the forearm is sloped, it was a simple matter to angle the drill press table until all was level.

Skipped over the layout for the hole positions. Drilled through the rail into the stock--this both spotted the holes in the rail and pre-drilled the stock for the mounting screws.


Removed the rail, returned the table to zero angle and through drilled the rail for the mounting screws.

Countersunk the heads. Ran deck screws home and the rail was done--for now.
Turned to the other end of the gun. The TF79 stock is pretty short and I need a bit more length of pull. Like to have an Anschutz or Centra adjustable butt plate, but the cost is pretty steep.

I sketched up a few ideas and started cutting aluminum. Started with a short piece of 1" round stock. Ideally, this would've been about a 3" long piece of 1" x 1.5". Didn't have any on hand and didn't want to wait a week. If this proves to be insufficient, I'll remake this piece later.
Faced the ends. Important to get them flat and parallel for the next step.

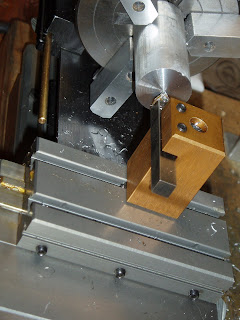
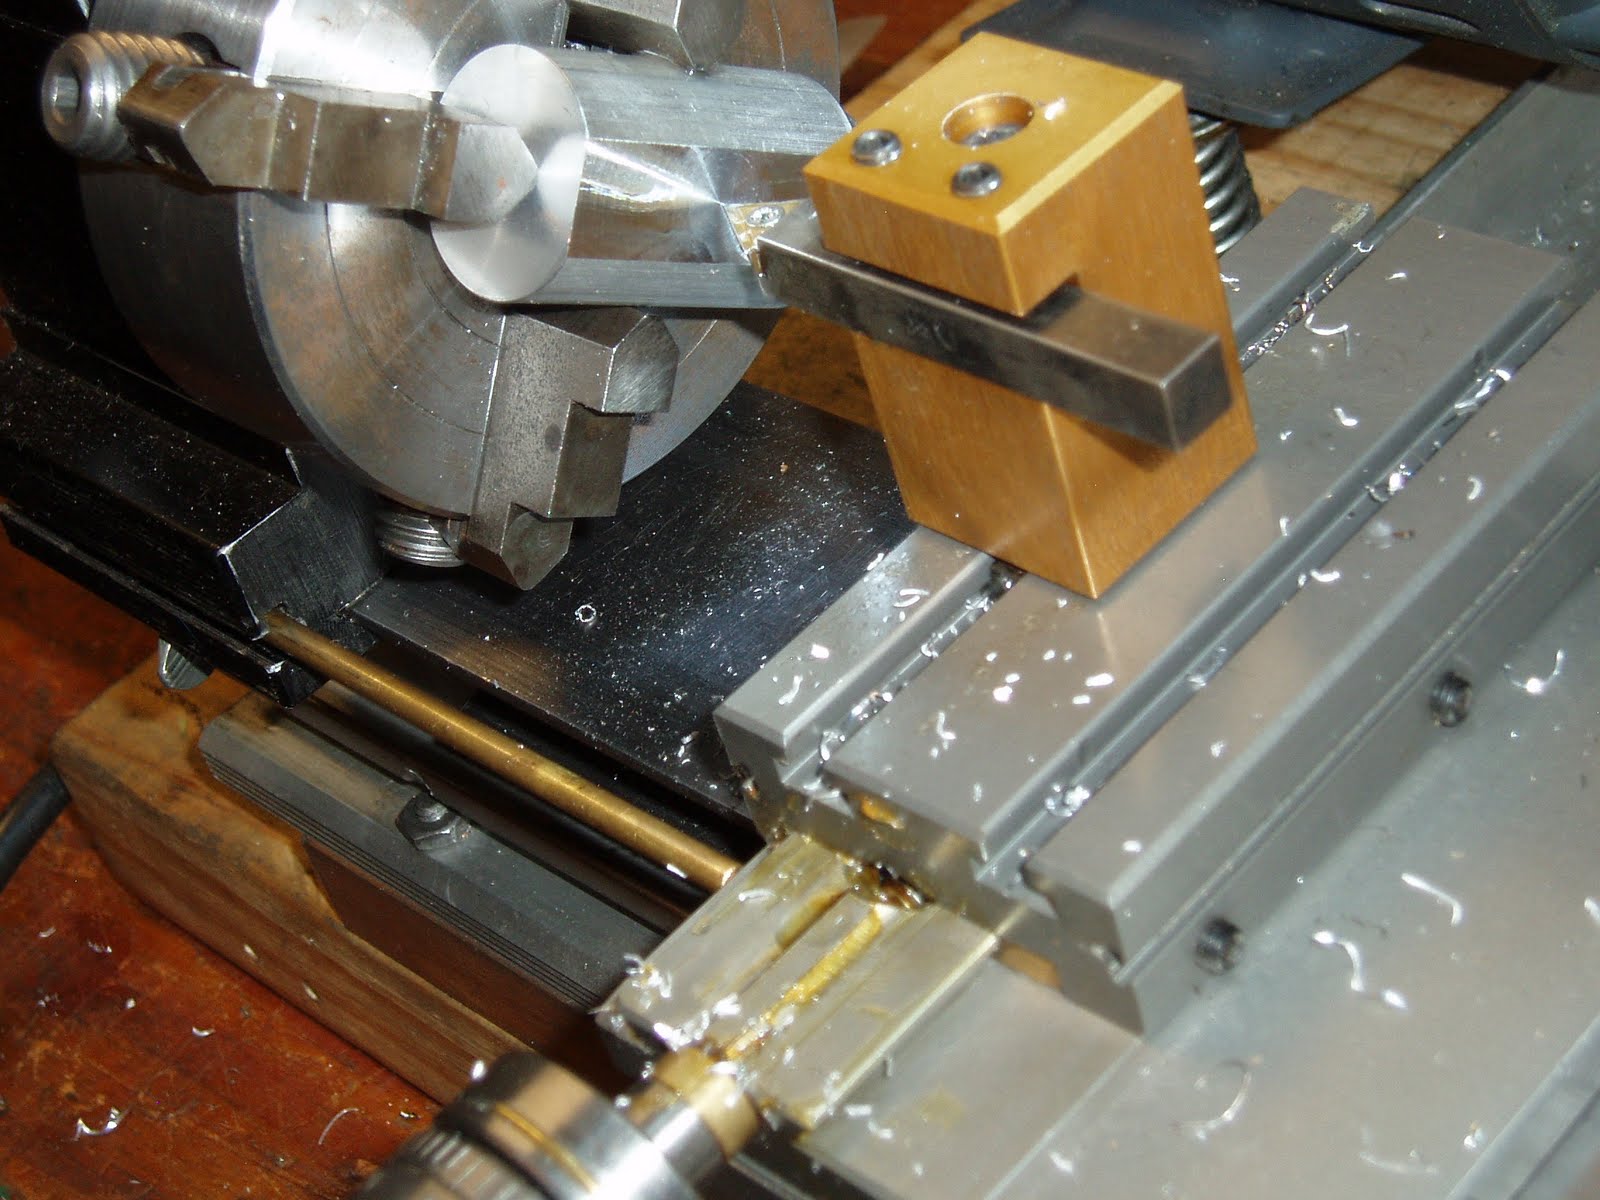
Switched to the 4-jaw and chucked the rod lengthwise.

Turned a flat


Flipped the piece 180 degrees--placed the flat against the base of the chuck-and cut another face.

Wasn't trying to get the flats the same width, but I did want them parallel to each other. Measured the width at one end...

Then the other. Looks parallel within about .0005" over 2". That's some testimony to the Taig lathe's accuracy.

Cutting another face. Now, I want the next opposite side to be exactly the same. Bottomed the depth stop against the carriage after finishing the cut. Flipped the piece.

Measured the OD and subtracted that from 1"--the original OD measurement of the piece. Got 0.125" (pure luck that it was 1/8") Locked the carriage against the depth stop then moved the stop 0.125" inward. The next cut is finished when the carriage bottoms out on the stop.


Layout time. This is the adjuster block for the butt plate. I want it to fit over a 3/8" steel rod and hold part of the butt pad.

It'll need a 3/8" hole drilled lengthwise as well as some various anchor and mounting holes. The hole locations are not critical, but they are constrained by space due to the small piece of aluminum rod I started with.

Tackle the 3/8" through hole first. Spotted, then drilled.

Part of the layout involved center finding for two M4 setscrews. These will keep the block from moving on the 3/8" rod.

Spotted, drilled, tapped.

Also need two recessed M6 mounting bolt holes. The M6 bolts will attach the block to an as-yet-to-be-crafted aluminum base plate attached to the stock.

Through drilled, then counterbored for the heads.

The M6 socket head cap screws are recessed so the heads sit under the 3/8" rod. Tight fit with almost no room for error. This is where that larger piece of aluminum would've made things easier.
More soon.
 Needed to screw the accessory rail into the slot. Since the bottom of the forearm is sloped, it was a simple matter to angle the drill press table until all was level.
 Skipped over the layout for the hole positions. Drilled through the rail into the stock--this both spotted the holes in the rail and pre-drilled the stock for the mounting screws.

 Removed the rail, returned the table to zero angle and through drilled the rail for the mounting screws.
 Countersunk the heads. Ran deck screws home and the rail was done--for now.
Turned to the other end of the gun. The TF79 stock is pretty short and I need a bit more length of pull. Like to have an Anschutz or Centra adjustable butt plate, but the cost is pretty steep.
Countersunk the heads. Ran deck screws home and the rail was done--for now.
Turned to the other end of the gun. The TF79 stock is pretty short and I need a bit more length of pull. Like to have an Anschutz or Centra adjustable butt plate, but the cost is pretty steep.
 I sketched up a few ideas and started cutting aluminum. Started with a short piece of 1" round stock. Ideally, this would've been about a 3" long piece of 1" x 1.5". Didn't have any on hand and didn't want to wait a week. If this proves to be insufficient, I'll remake this piece later.
 Faced the ends. Important to get them flat and parallel for the next step.
 Switched to the 4-jaw and chucked the rod lengthwise.
 Turned a flat

 Flipped the piece 180 degrees--placed the flat against the base of the chuck-and cut another face.
 Wasn't trying to get the flats the same width, but I did want them parallel to each other. Measured the width at one end...
 Then the other. Looks parallel within about .0005" over 2". That's some testimony to the Taig lathe's accuracy.
 Cutting another face. Now, I want the next opposite side to be exactly the same. Bottomed the depth stop against the carriage after finishing the cut. Flipped the piece.
 Measured the OD and subtracted that from 1"--the original OD measurement of the piece. Got 0.125" (pure luck that it was 1/8") Locked the carriage against the depth stop then moved the stop 0.125" inward. The next cut is finished when the carriage bottoms out on the stop.


 Layout time. This is the adjuster block for the butt plate. I want it to fit over a 3/8" steel rod and hold part of the butt pad.
 It'll need a 3/8" hole drilled lengthwise as well as some various anchor and mounting holes. The hole locations are not critical, but they are constrained by space due to the small piece of aluminum rod I started with.
 Tackle the 3/8" through hole first. Spotted, then drilled.
 Part of the layout involved center finding for two M4 setscrews. These will keep the block from moving on the 3/8" rod.
 Spotted, drilled, tapped.
 Also need two recessed M6 mounting bolt holes. The M6 bolts will attach the block to an as-yet-to-be-crafted aluminum base plate attached to the stock.
 Through drilled, then counterbored for the heads.
 The M6 socket head cap screws are recessed so the heads sit under the 3/8" rod. Tight fit with almost no room for error. This is where that larger piece of aluminum would've made things easier.
More soon.
The M6 socket head cap screws are recessed so the heads sit under the 3/8" rod. Tight fit with almost no room for error. This is where that larger piece of aluminum would've made things easier.
More soon.

No comments:
Post a Comment