Back to the Model 99…
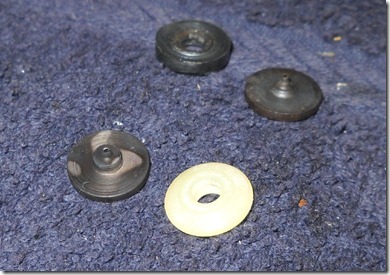
I got out one of my sets of Crosman 357 parts:
38-128 End Seal and the 38A027 Pin (Piercing pin)
I reassembled the valve with the original seals in place, as I’m more concerned with functioning at this point than leaks. If it functions & feeds but leaks then I’ll address that afterwards…ominous foreshadowing #1
As I guessed, the Crosman model 600-29 ring is the part used in the Model 99. As always there’s an exploded drawing up on the Crosman site. The ring is worn but I figured it would work for testing.
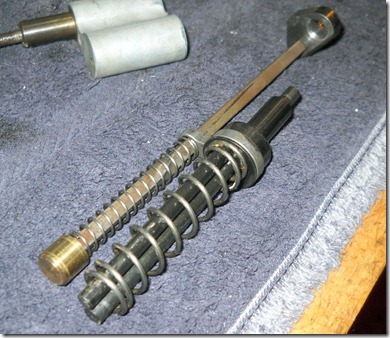
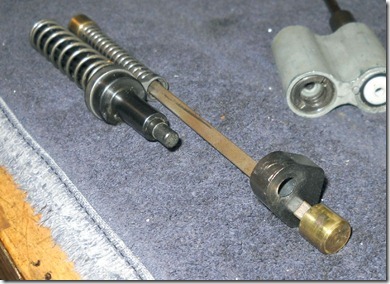
It was a little tricky to figure out how the parts were aligned, After a few tries I got it right.
Test fitting the assembly.
Another view.
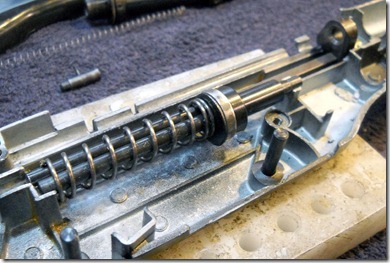
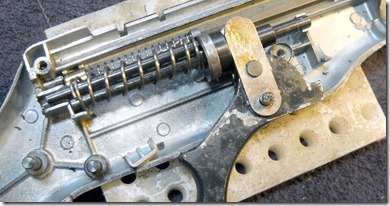
Lever fitted in place, it was a bit of a puzzle to get it in, requiring me to retract the feed mechanism while keeping the parts all in place. I suppose I could put all the parts in at once (and may try that when I reassemble it again…ominous foreshadowing #2)
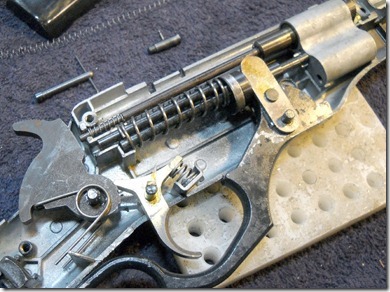
Trigger and valve in place.
The barrel in place.
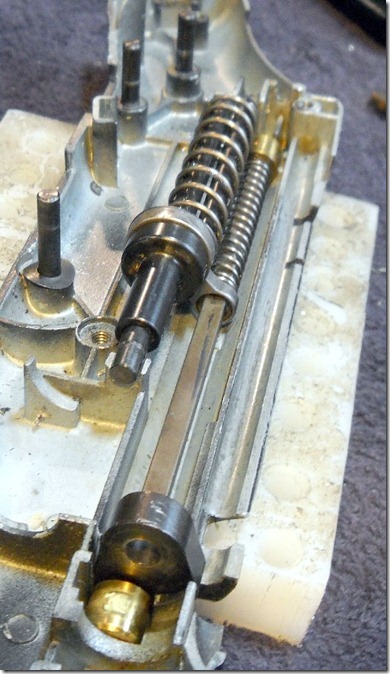
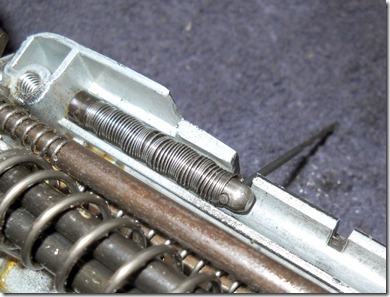
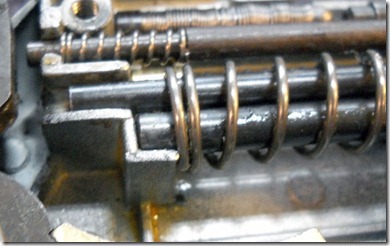
Now how to shoehorn the extremely flexible magazine spring into the recess?
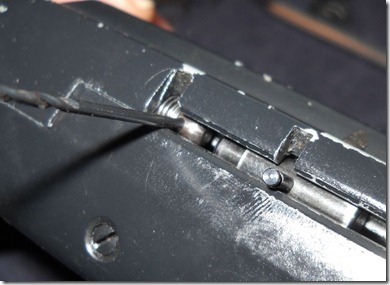
Happily I noticed a small hole drilled in the nose of the rear guide, which allows you to hold the spring back with a small drill bit. There’s a helpful notch cut in the receiver for just such a purpose.
I realigned the spring end so the cut end wasn’t preventing the halves from being reassembled.
This shows how the drill bit retained the spring. I just pulled out the bit and the spring expanded in place.
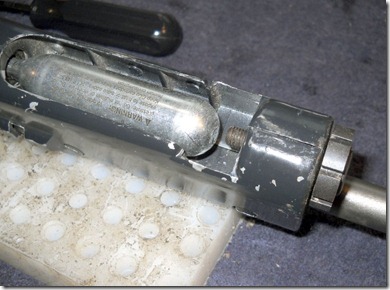
This is what happens when you don’t pay attention…piercing screw was reversed. So I had to disassemble again and flip it around.
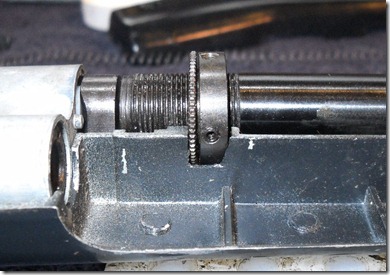
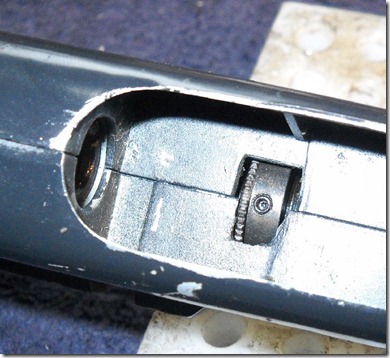
Which is good as the exploded drawing says to set the length of the barrel beyond the nut to 17/32”
Presumably further adjustment and locking can be performed from the underside.
The rifle feeds and shoots! But I can hear an extremely small gas leak so I’ll have to tear it apart and make a new exhaust valve seal as well as inspect for any missing parts as the diagram of the valve is somewhat different from what I have.
I was somewhat disappointed to learn that the rifle only cocks to the low power setting with the lever, for full power you have to thumb the hammer back manually after cocking.
The wear on the cam ring means I have to be deliberate when cycling the action, giving the shuttle a little oomph so it will pick up the pellet.



2 comments:
Great pictures and explanation Nick, thanks!
I have a Model 99 in fairly good shape, that has been stored pretty well since I was a kid (a number of decades ago), and your info will be extremely helpful in getting it cleaned and operational again for my son.
I'm in Colorado, and I wonder if you might point me in a good direction for replacement parts, particularly the seals, which are original on mine.
Thanks a lot for the help!
Hi Larry
For reseal kits, parts and service you can try Bryan and Associates, Mac1, Precision Pellet or JG airguns.
http://www.bryanandac.com/
http://www.mac1airgunstore.com/
http://www.airgunshop.net
http://www.jgairguns.biz/
Nick
Post a Comment