On I go…
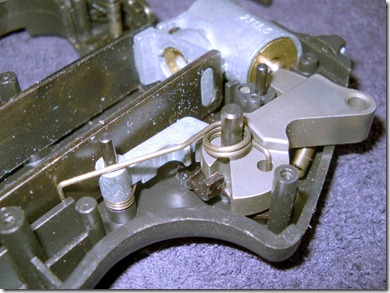
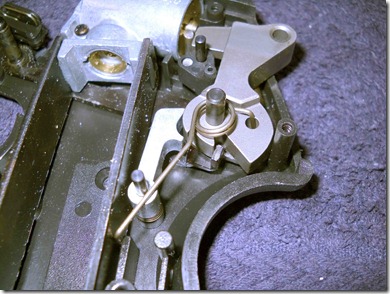
The Hammer mechanism is a little complex.
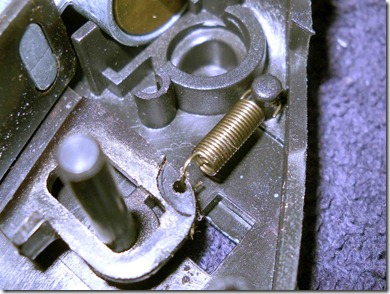
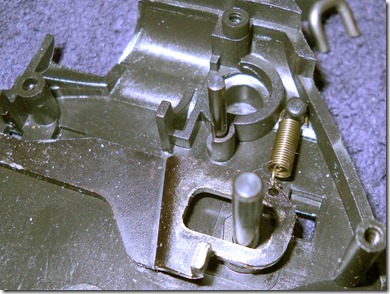
Notice the position of the hammer spring.
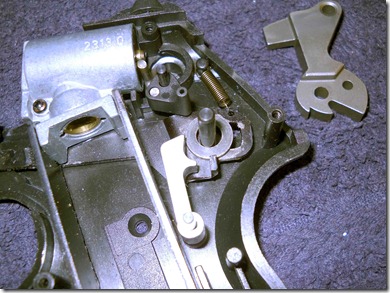
Hammer removed.
That oversaturated part is the sear? The transfer bar underneath pulls it off the hammer.
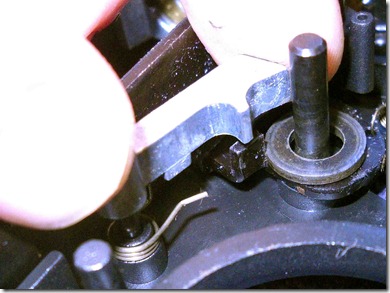
Notice the spring.
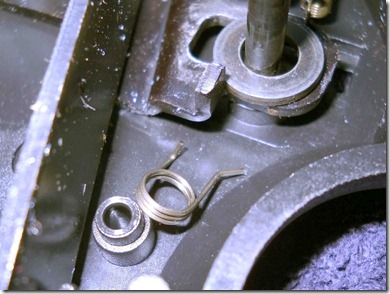
Lift it off.
The spring.
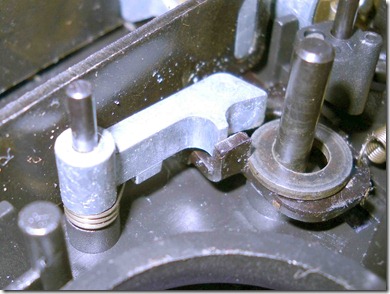
More detail of the parts, in case.
Hammer transfer unit swung into place in front of the valve stem.
Removed and the transfer bar is finally almost exposed.
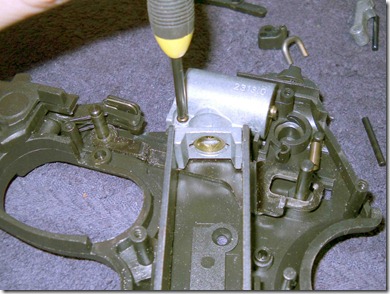
Removing the valve assembly.
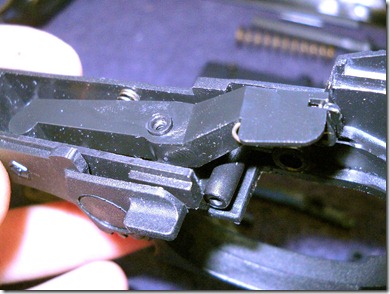
Now the transfer bar is free…
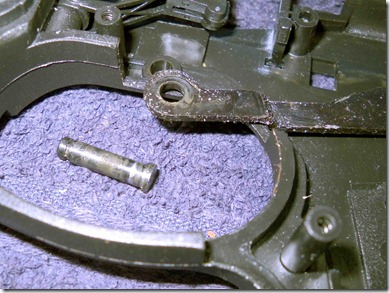
Headed pin pushed out through the right sideof the grip frame.
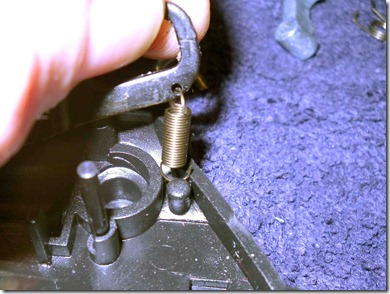
The spring is unhooked by rotating back.
Leaving this in the grip frame.
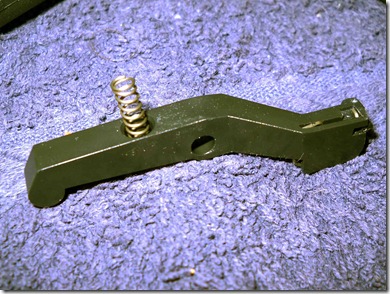
Pulling it up, careful not to lose the spring.
It’s a fairly stout spring.
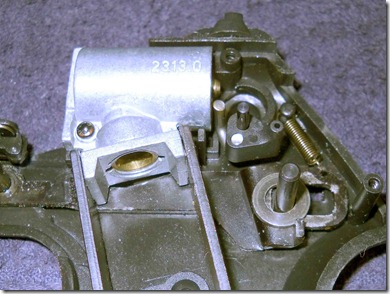
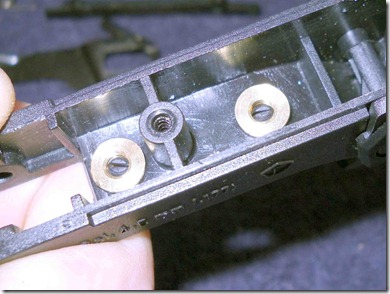
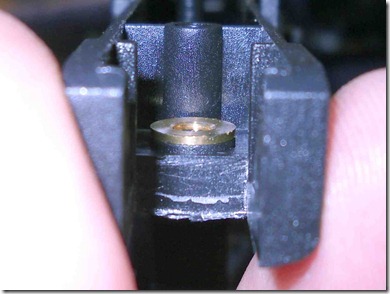
Brass inserts in the grip frame.
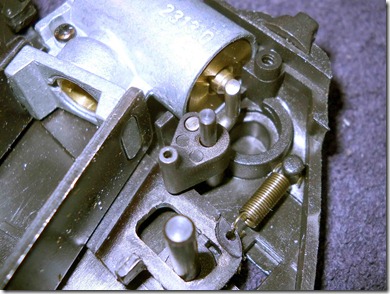
Front view.
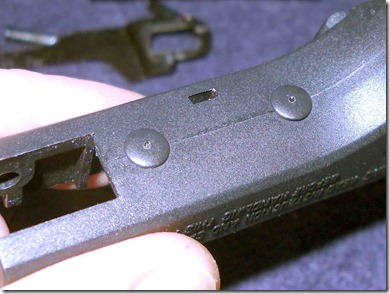
Plastic plugs. I’m assuming this is where a laser sight would mount on those versions that come with a laser sight.



7 comments:
jeez, what a nightmare.
That's a heck of a disassembly... Sorry, Nick, next time I'll send you something with fewer parts!
Nah, it was fun, now getting it back together agin...
Ive put back an now the trigger jams
Nick:
I recently purchased a used PT80 online. When I load a CO2 cylinder the gas all escapes from around the puncture point. There appears to be no seal or gasket of any kind around the puncture mechanism. Is a red seal or gasket missing? A diagram I have indicates a part #13810 might fit here as a seal. Is this what I need to correct the problem? Thanks for the help.
It needs a seal. I don't know the part#, I just made one myself.
https://anotherairgunblog.blogspot.com/2010/10/gamo-pt-80-co2-cartridge-seal.html
Nick
Thx nick this helped me out pt80 back together u saved me from buying a new one thx alot
Post a Comment