I’ve detailed how I made a replacement breech screw for my 150 already, and Derrick has shown how to dismantle one. But I figured that I should clean up my 150 as it was looking worn and neglected. A perfect, or even relatively good job was not on the table given how much wear and rust there was but I’m happy with the outcome.
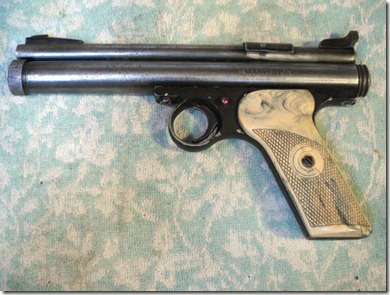
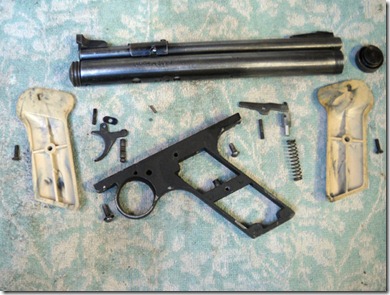
My old 150. Notice the rust speckles, worn bluing and the dark checkering in the grips.
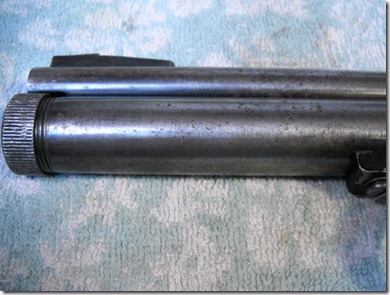
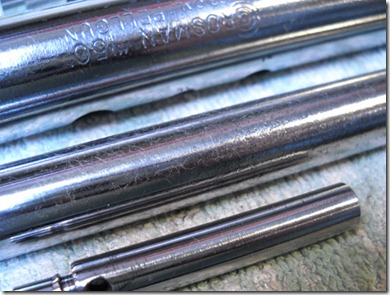
The tube and barrel were both pitted.
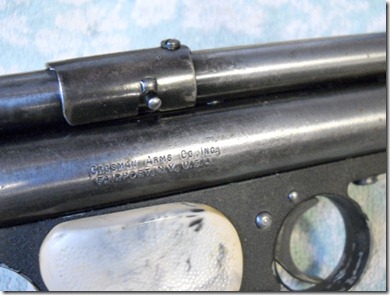
You can see my new screw up top.
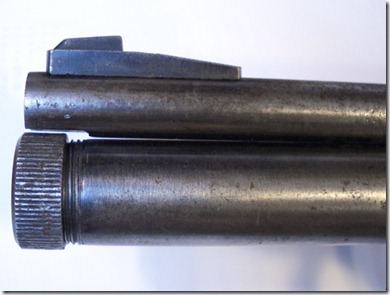
The barrel wasn’t flush against the tube.
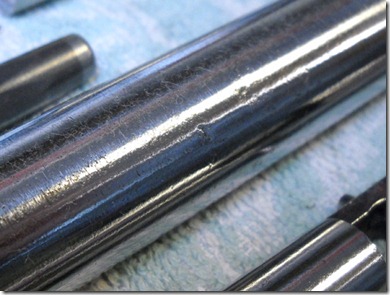
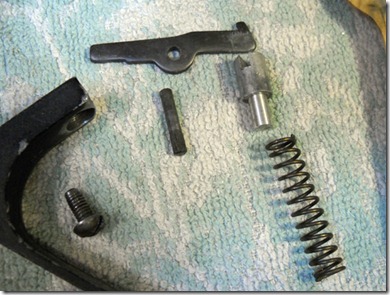
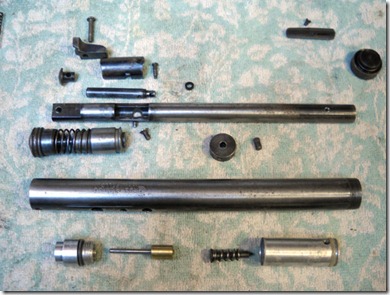
I brushed, sanded, scrubbed and polished up the tube and other external parts as best I could. I didn’t want to sand the pits all the way out as I suspected I wouldn’t have much tube left.
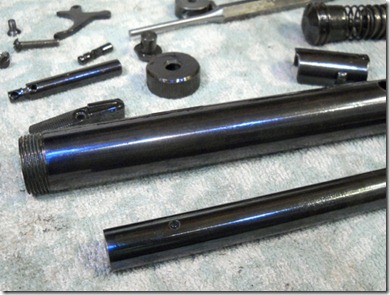
Blued the parts with Oxpho blue, several coats w/ steel wool between. Oiled them up afterwards.
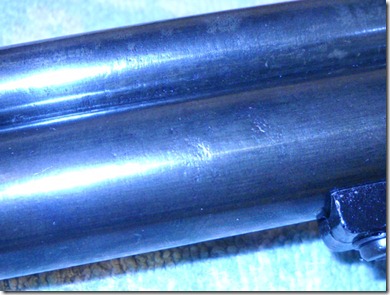
You can still see the pits.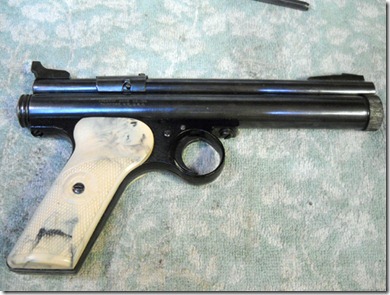
Back together. Looks better I think. I fixed the barrel float issue by using an o-ring instead of the thicker transfer port seal that was there.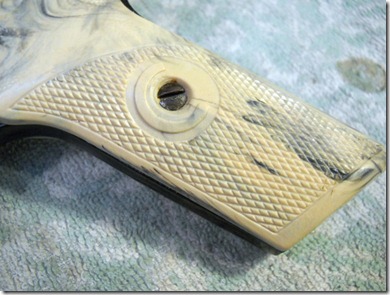
I spent a lot of time scrubbing the grips with a toothbrush and detergent. Got them cleaner. Notice the small cracks at the screw hole.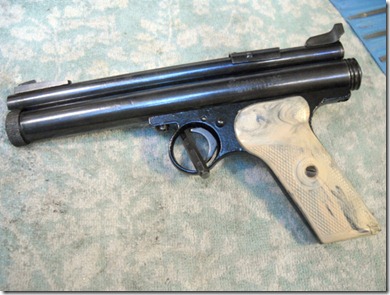
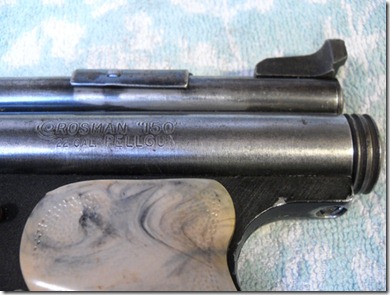
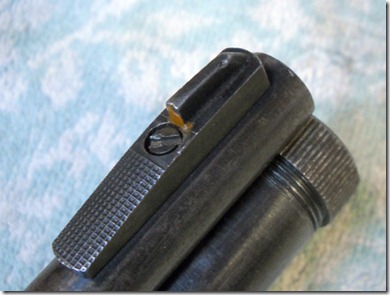
Another view. The blue is light, but at least it’s relatively even. This really did nothing mechanically to the pistol that would aid its function.

1 comment:
These are always a great read. It is exciting to hear about how you can give CPR and bring the air gun back from the brink. Makes me want to keep a lookout for a beat up rusty hulk and say here, how about this used abused derelict.
You have a talent and time i don't have and I thank you for sharing the exploits.
je
Post a Comment