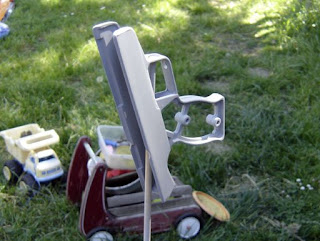
I took the grip frame over to my friend's shop and sandblasted it. I did several coats of auto primer, sanding in between, then about 8 coats of black semi-gloss Rustoleum.
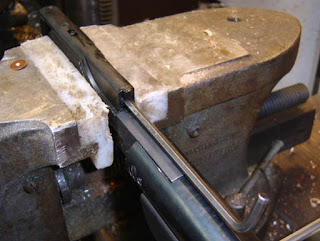
Removing the shroud spring screw.
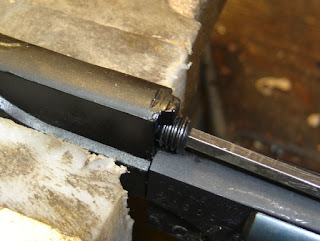
Backing it out slowly.
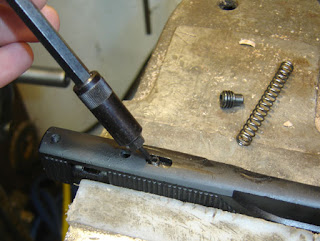
The retention and pivot screw.
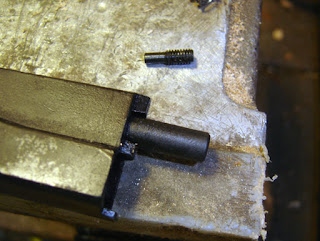
Removed and the plug is slipped out.
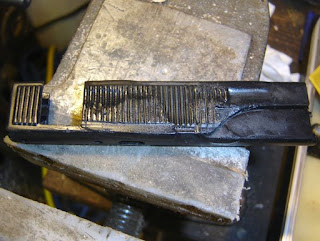
I had played with it a bit earlier (compare it to the original condition at the end of this post) and shot it with gloss black, but it was just too rough given all the work I'd done.
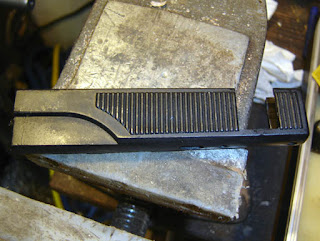
This is the other side, which is how it should look.
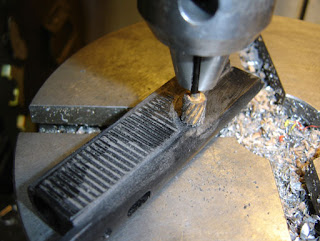
I locked my drill press spindle and chucked up a rotary file. This allowed some controlled routing of the curves. I had debated making an entirely new shroud from aluminum, but just didn't feel it was worth the effort.
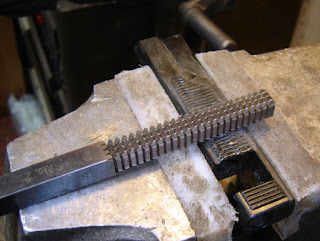
This is my "poor man" checking file, which is a thread repair file. Very handy for picking up checkering and repairing it!
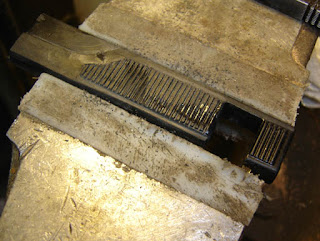
This established the spacing and cut down to depth.
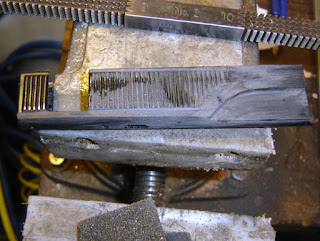
I further refined the grooves with a triangular file, and sanded the shroud all over. I also used a little plastic model putty where there were some air bubbles from the toasting it received.
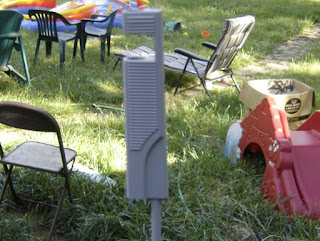
Just as with the grip frame, it got several coats of primer, then semi-gloss black.
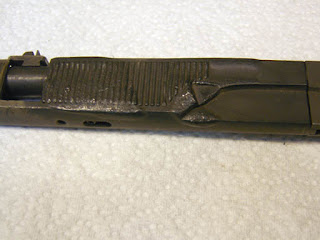
This is a reminder of how it looked when I received the pistol.
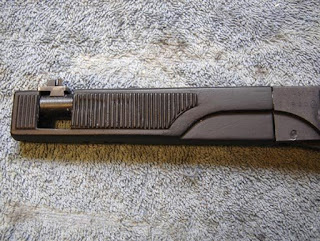
And this is how it looks now. Still not perfect, but from a few feet away you hardly notice the difference.
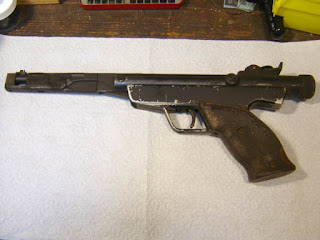
Again, this is how it looked when I received it.
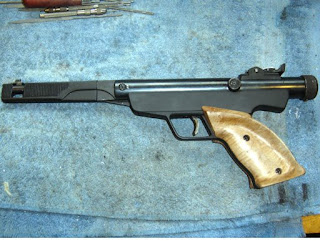
I think it looks much better, and as a bonus, it actually will propel a pellet out the barrel!
I forgot to mention that I had measured the velocity with the chronograph after rebuilding the action, and I get about 435 fps with the somewhat heavy Crosman premier lights and wadcutters, which is in line with what the velocity should be (450 mentioned in Airgun Digest).
I took 5 quick shots yesterday and scored a 41 out of 50, which is slightly better than my typical scores with one of the Daisy 717 pistols. I should shoot even better as I get used to it.
The overall cost was $99.30 for the pistol with shipping, plus $35.00 for the seals and some lube, $5.00 for the wood I made the grips from and a few more dollars for spray paint, sandpaper and such. So for under $150.00 I now have a pistol that would go in perfect condition for between, oh, $150 and $250. So maybe it wasn't entirely worth it financially, but I sure learned a heck of a lot about the Giss piston system, and other airgun-smithing techniques. We all have to start somewhere!

4 comments:
Great resurrection job. I thought that shroud was a goner. Flat finish sure hides more problems than hi-gloss!
Derrick
Yes it does! I think that the gloss shows the contours through highlights, where the flat finish evens things out admirably.
Great Job! The "before & aftre" pix really shocked me! Being a mechanic engineer, I almost want to start collecting vintage airguns and resurrect them just like you did right away! But airguns over 2.5 ft/lb are considered illegel where I live! So, what make me curious is, how the Giss piston system shoot after you resurrected it?(I do believe it kicks before) Does it really vibrate less ,or even vibrate free like those pneumatic ones?
It has no detectable vibration, as the Giss system counters the recoil of the front piston with the rear one. Of course to really tell you would need a vibrometer of some sort...
I'd say just find an old broken airgun and start learning! It's fun!
Post a Comment