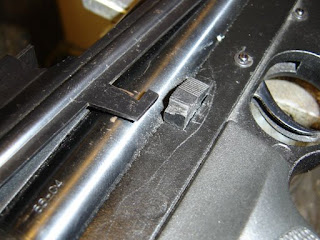
The pistol did indeed have a chunk out of the safety! It didn't effect the functioning at all but I felt I should fix it. I debated contacting Cometa for a replacement or making a new one from scratch but in the end decided to rely on everyones favorite fixall, JB Weld.
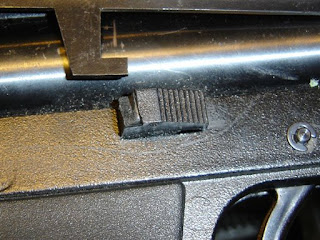
I think what happened is that the owner forgot that the switch was blocking the cocking arm, and he sheared it off by forcing the arm up. Generally if you feel you have to force something on an airgun, you're probably wrong and should inspect the situation further.

First I drilled some angled holes into the switch with a hand drill.
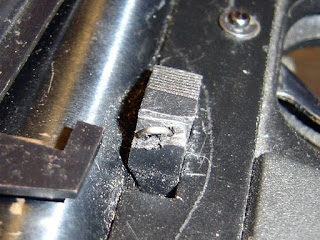
Then I bent and fitted a piece of wire, as a staple.
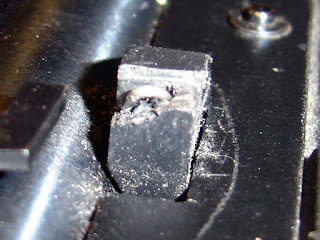
The staple ends had a small amount of JB welt smeared on, and into the holes and I pressed it in.
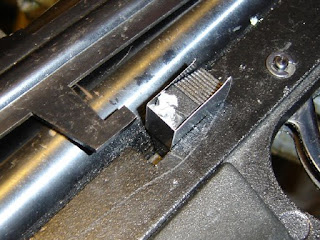
I made a dam around the safety from some .005" thick shim stock. I oiled the sides of the shim so it wouldn't stick to the JB Weld.
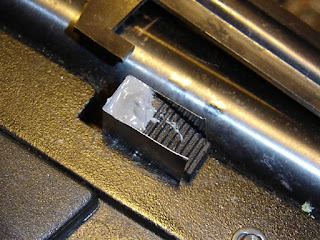
And filled the area to overflowing with JB weld, working it in so that it made contact with the whole surface.
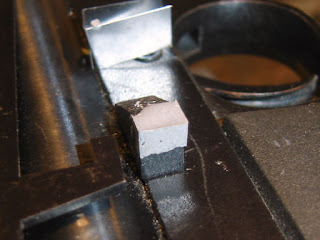
After leaving about 20 hours to harden I pulled the form off.
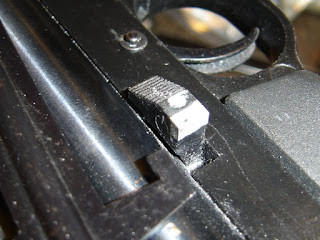
I then carefully filed the JB Weld down so that it was level with the surfaces of the switch.
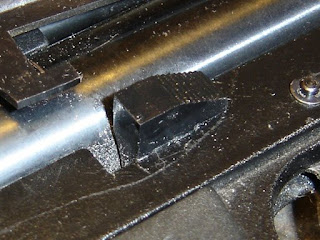
I then relied on one of my other favorite airgun repairs, the black paint pen. When I showed the repair to Felice, in spite of having seen the broken safety earlier, she couldn't understand what I had repaired. In and of itself that doesn't mean much as I suspect she may not pay close attention to my airgun blatherings. I shot the pistol several times and checked to see if the JB Weld was holding, and it looks good. As long as I remember not to force the cocking arm that is...

No comments:
Post a Comment