Monday, November 7, 2011

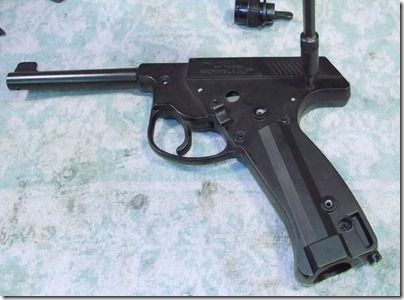
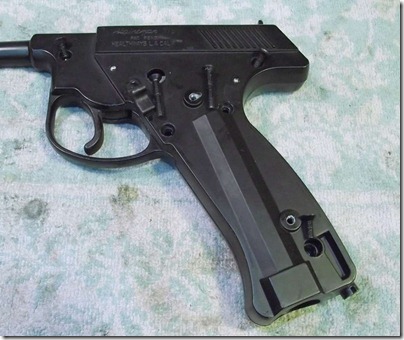
Healthways Plainsman BB Pistol Disassembly, Part 2

On I go…

11041121
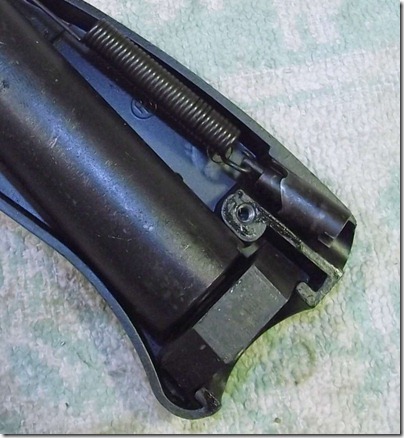
The power adjuster and spring that connects to the hammer.
11041122
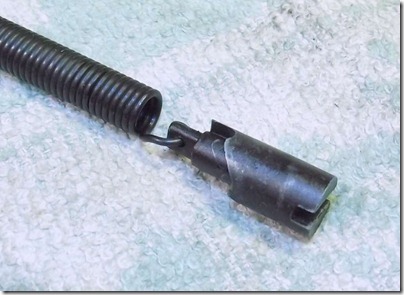
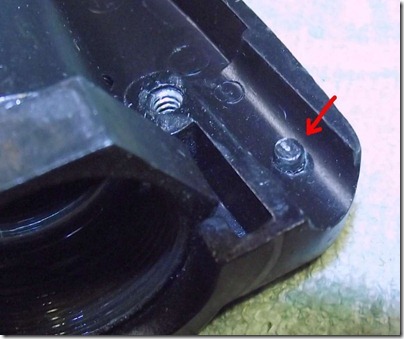
The power adjuster has three discrete notches around the periphery.
11041123
Which mate with the molded pin sticking out of the channel.
11041124
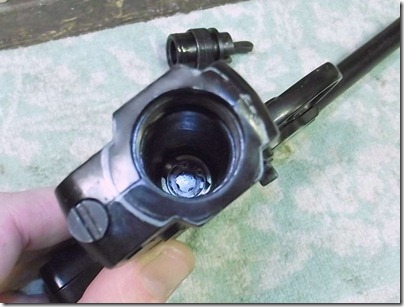
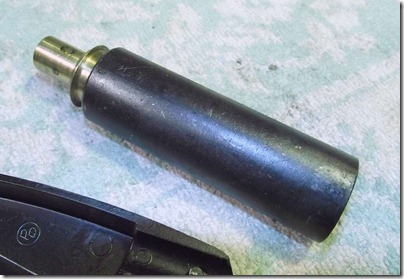
The CO2 cartridge chamber and valve assembly.
11041125
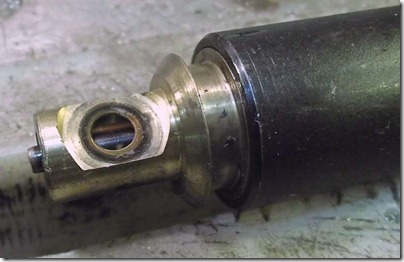
Notice the flat face of the exhaust valve.
11041126
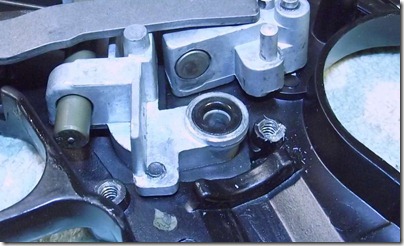
The flat face sits against the o-ring and gas travels through.
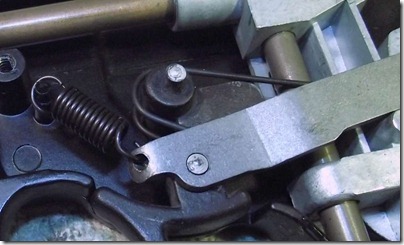
11041127
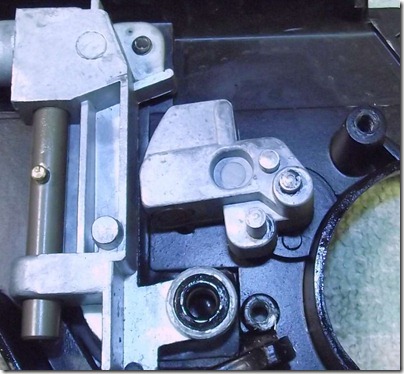
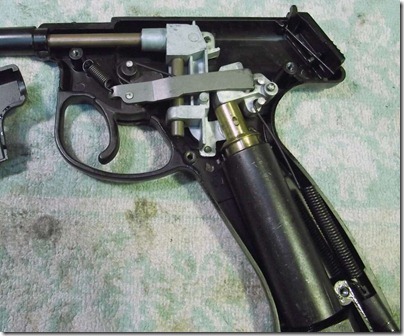
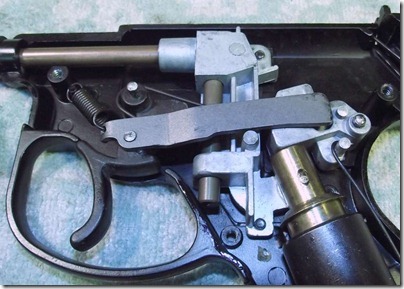
What the heck, let’s call this a sear.
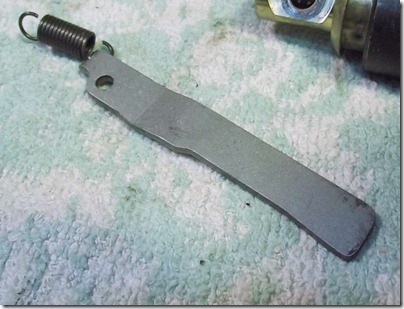
11041128
Just a flat bar with a dogleg.

11041129
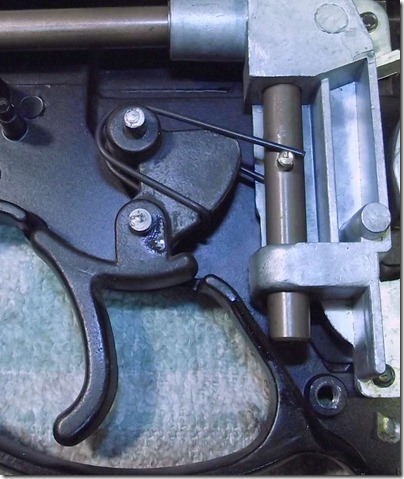
Notice the spring on the hammer passes above the pin in the BB feed mechanism in front and below in the back (relative to the orientation of the pin…)
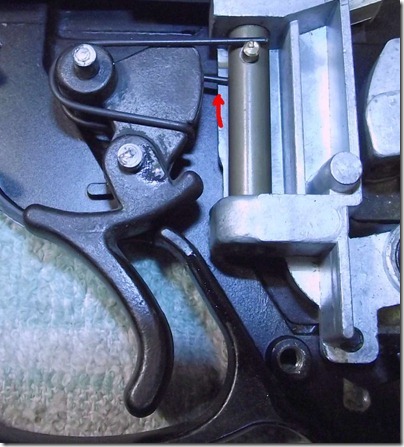
11041130
When the trigger is pulled it move the feed mechanism up.
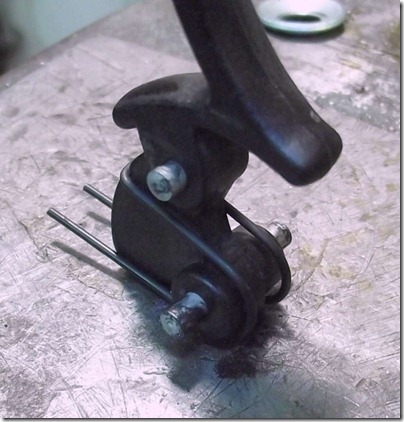
11041131
The trigger and spring.

11041132
The hammer. 

11041133
It has a steel insert.

11041134
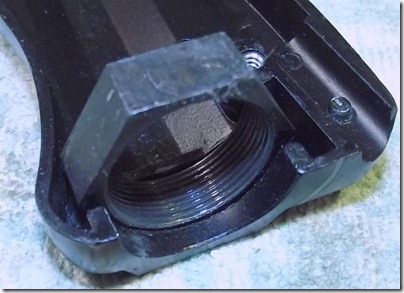
A large nut for the piercing cap sits in the frame casting.
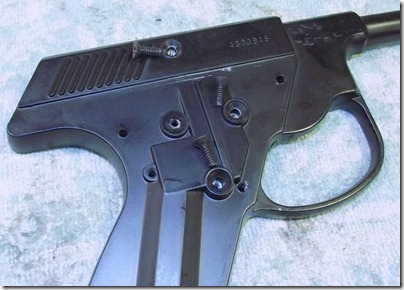
11041135
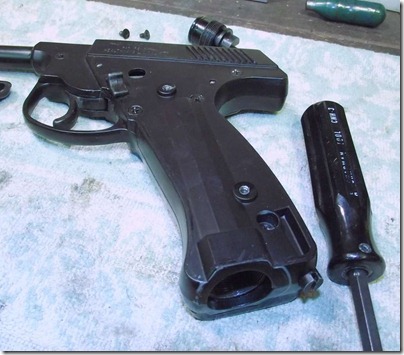
Right frame has three screws that are removed.
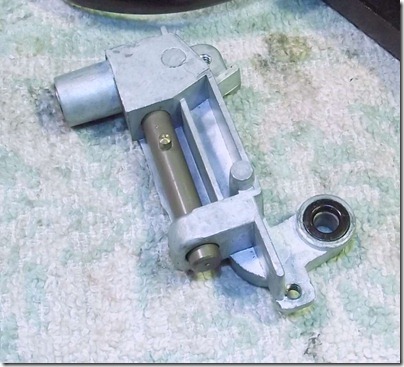
11041136
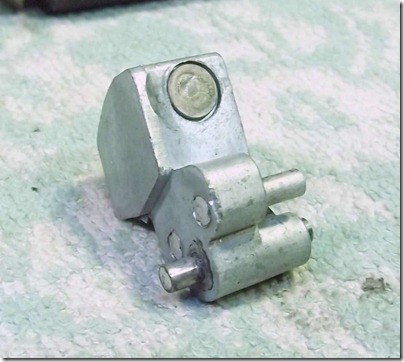
And the BB feed mechanism comes free.
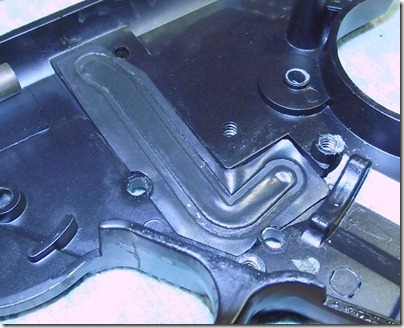
11041137
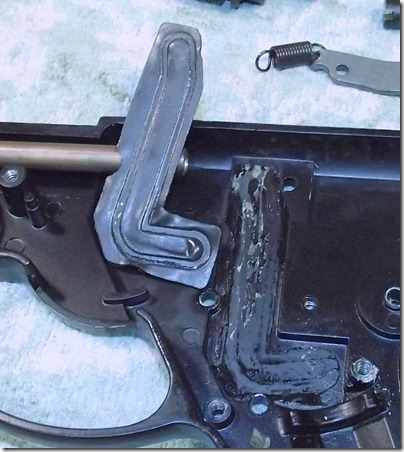
Huh, a flat rubber gasket.

11041138
It was glued (probably with rubber cement of some sort) to the frame.
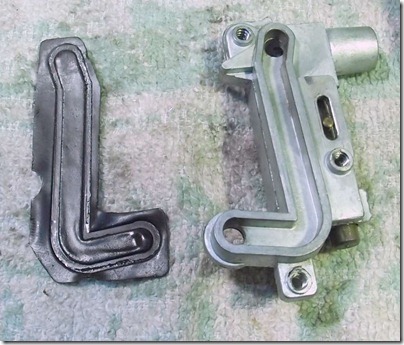
11041139
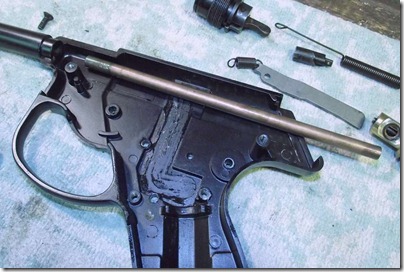
This is another first, the passage for the gas as it travels from the valve to the barrel is open on the side. The gasket seals it against the frame.
11041140 
The barrel slides out. The barrel seems to be copper tubing but I suppose it could be bronze.
More to come…
Sunday, November 6, 2011

Healthways Plainsman BB Pistol Disassembly, Part 1

I picked this up awhile back and forgot I had it! It’s an early Healthways Plainsman BB pistol. The CO2Airguns site has a great write-up about it with links to a few other articles on the pistol.

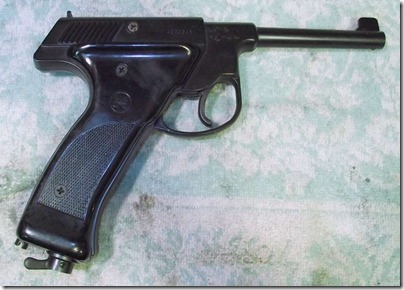
11041101
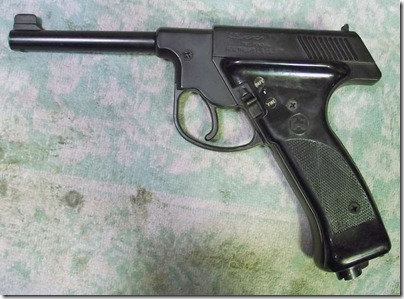
Sort of like a Colt Woodsman, somewhat like a Nambu… It’s not ugly, just oddly proportioned.

11041102
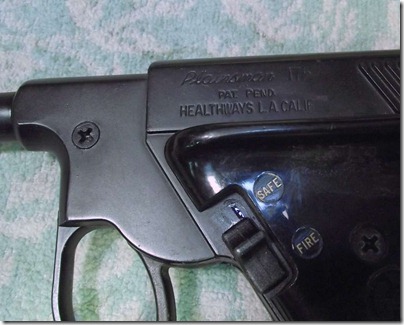
”Plainsman .175”, “PAT. PEND.”, “Healthways L.A. CALIF”.

11041103

The other side.

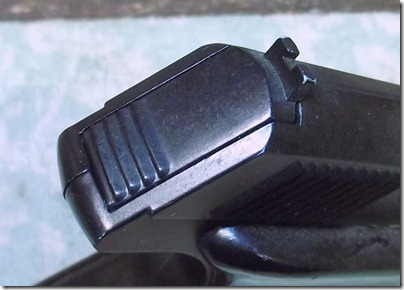
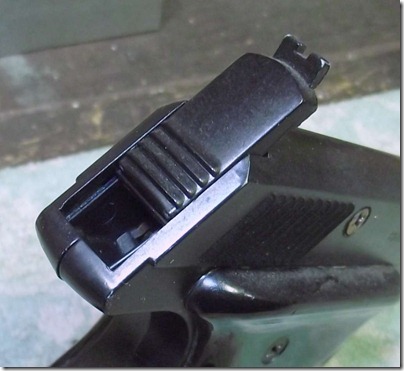
11041104
The rear sight doubles as the BB filling gate.

11041105
Well it’ll be hard to spill BBs, unlike other guns.

11041106
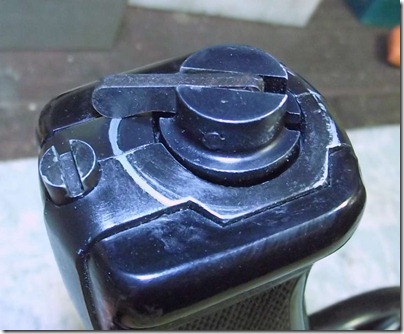
The lever actuated piercing cap. The screw head is for power adjustment.

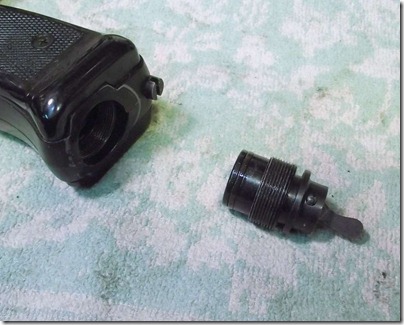
11041107
Unscrewed.

11041108
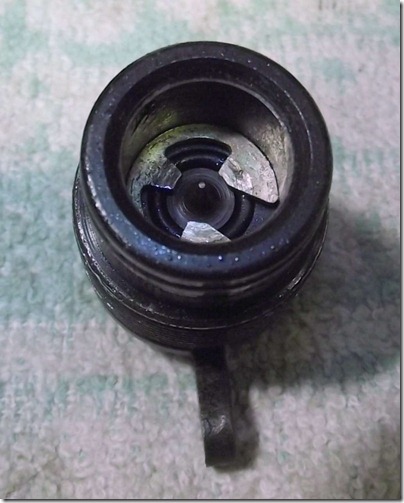
The CO2 cartridge is inserted neck down and the lever actuates that piercing pin.

11041109
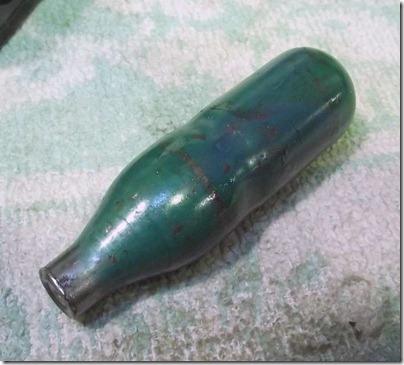
It uses 8g. CO2 cartridges. 

11041110
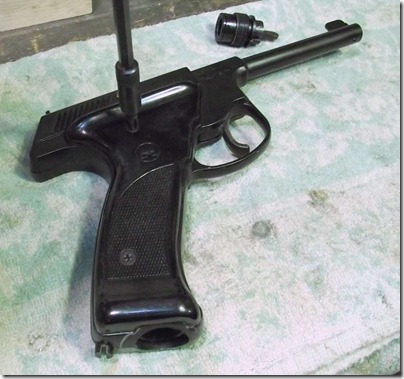
The left grip removed. 

11041111
Removing the right grip.

11041112
Right grip removed.

11041113
More valve elements down in the tube. 

11041114
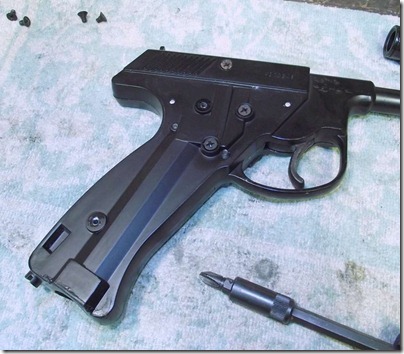
Removing the left frame screws.

11041115
Five screws of two different lengths.

11041116
Nothing flew apart when I removed the left frame side although the loading gate spring did come out.

11041117
A fairly simple mechanism. Which is good. 

11041118
The spring should be under the post extending from the loading gate.

11041119
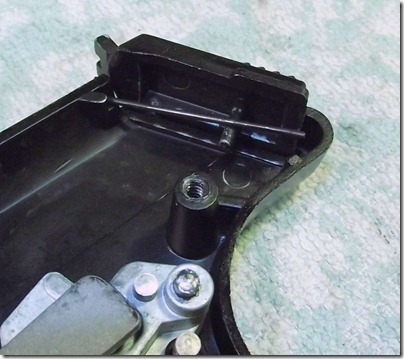
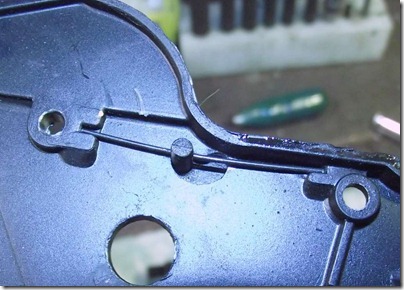
I find it interesting that they used a straight piece of spring wire both here and as shown below with the safety. I haven’t seen this type of spring in any other airgun.

11041120
The safety is captured by a piece of straight spring wire that passes through a hole in the post. Notice the semicircular slot.
More to come…

Wednesday, November 2, 2011

Overhauling the IZH 53M -- Part 2

Getting back to the IZH 53M after a short hiatus...


The steel rod came in to replace the plastic factory end cap with something a bit more substantial.  Before turning the piece, I installed some beater jaws into the scrolling chuck and trued them up with a small boring bar.


Sidetrack:  Also made some extra vise jaws for the Wilton, too, since I was working on tools, with tools.  Absolutely nothing to do with this post--but they're nice.


And definitely better than what came with the vise.


OK.  Yes, end caps.  The factory cap is plastic and, well, it's plastic...   I cock the gun, point it at the target and I'm staring at this piece of black plastic that the mainspring is bearing directly against.  Pointed at my eye.    I know it's fine and it's not going to break.  But still...


FrankB has me working in analog with this mic.  The end cap is 0.923" on the slip fit into the tube.  That'll be close enough. 


Chucked a piece of 1.125" OD free machining steel...


...and quickly brought it to size.  Removing the crosslide allowed me to test fit the compression tube to the cap without changing the set up.


Spotted with a center drill.


Gradually drilled a 0.500" counterbore.  That's a lot of steel shavings. 


Switched tool holders and used another boring bar to cut a stepped counterbore for the end of the mainspring.


The other day, I went through the extra mainsprings on hand and found a likely replacement; the original was slightly canted.


This is how it fits.


Need a spring guide to prevent the replacement spring from buckling.  The blue plastic piece came from the scrap box--it's part of an old spring guide from a Rock Shox mountain bike fork.  It's just slightly over 0.500" diameter.  Saved it for exactly this kind of project.


Chopped off the flanged end and set up a dead center to prevent the rod from flexing away from the cut. 


This will be the cap end.


Taking this down until it press fits into the cap. 


Once it fit into the counterbore of the end cap, it was pressed in and the cap was chucked.


A few thousandths went away in a couple light passes.   When the spring slid over the guide without binding, it was good.  Had this been a high velocity spring rifle, a tighter fit would be useful to quell vibration. 


Rounded the end freehand in the lathe with a file.


The gray smudges on the guide is moly grease transferred from the spring. I'll probably add a rotation washer, figure out how to secure the cap to the tube (and the guide to the cap) then shape the rear of the cap and blue it.

Should finish it up in another day or two.  Check back soon.