On I go…
With the barrel removed, I noticed that one of the washers looked suspiciously like a hardware store washer. Rusty too.
The other washer is a characteristic Diana stamped shim washer.
Underneath the wrong washer was another correct shim washer. So I probably have to make a replacement for the rusty one.
The piston was sleeved.
The sleeve and a washer that the end of the spring bears against.
With the sleeve removed the cocking shoe fell into the piston. Not sure how it goes back together but I bet I’ll figure it out. 
The rod in the piston is both spring guide and safety actuator.
I presume this square hole is what gets caught by the trigger assembly.
The piston seal seemed to be plastic at first.
But a gentle scrape with my fingernail shows it’s just dirty and compressed leather.
I cleaned it off with some alcohol.
I have no idea how to get the seal off. Any ideas? In a more sensible gun the steel bit there in the center would be a screw…
Saturday, October 15, 2011
RWS (Diana) Model 45 Disassembly, Part 2

Friday, October 14, 2011
RWS (Diana) Model 45 Disassembly, Part 1
I finally got around to opening up my RWS branded Diana Model 45. It’s the second one I own and was shooting slightly slower (730fps w/ 7.9gr. CPL) than the Original branded one (800fps w/ 7.9 CPL). You can see earlier aesthetic improvements/downgrades to the rifle here.
The rifle. I really need a larger workbench.
This was an unwelcome surprise. Sheared screw on the scope mount. It was shifting anyway and needs a stop so I’ll have to mess with it.
I punched out the dowel pin that retains the rear of the action (note, if you’re reading this and you don’t have a cross pin holding the action in, you don’t have an early model 45, you have the later one that is unlike this one.)
Two phillips head screws for the front action.
The action removed and inverted to show the trigger.
The cocking linkage.
Much better than welded ears for retaining the tube.
The safety pulled out to show the little interference bar. Compare position to the picture below.
The dowel pin that retains the action in the stock passes through the trigger assembly.
Mounted in the spring compressor.
I didn’t like that the force was applied to the end of the safety but what are you going to do?
Two pins removed.
Spring tension taken up and the trigger group removed. Things can start to fall out of the trigger group at this point so be observant.
I pushed the piston up as far as I could. Note the spring and guide on the bench, forgot to take a picture of them.
I need to remove the barrel to get the cocking linkage detached from the piston.
Lock washer.
That seems like an awfully thin pivot bolt…
Ah, there’s a sleeve that’s the actual pivot.
Which is a nice design as it avoids the screw being subjected to rotational forces and becoming too loose or tight.
The end of the linkage unhooks.
More to come.
Sunday, October 9, 2011
Aeron B96 CO2 Leak Quick Fix

The leak was coming from the top of the gas tube under the grip.

This cylindrical tool came with the pistol. The internal boss fits a notch on the CO2 cap.

The cap removed. The tool works for both the 12 gram cap as well as the bulk-fill. I'm thinking its best to do this after shooting all the CO2 out of the gun first.

The opposite end of the tool has two pegs

This fits into the grip (over the gas tube)...

...and engages the notches on the grip retaining lock ring.
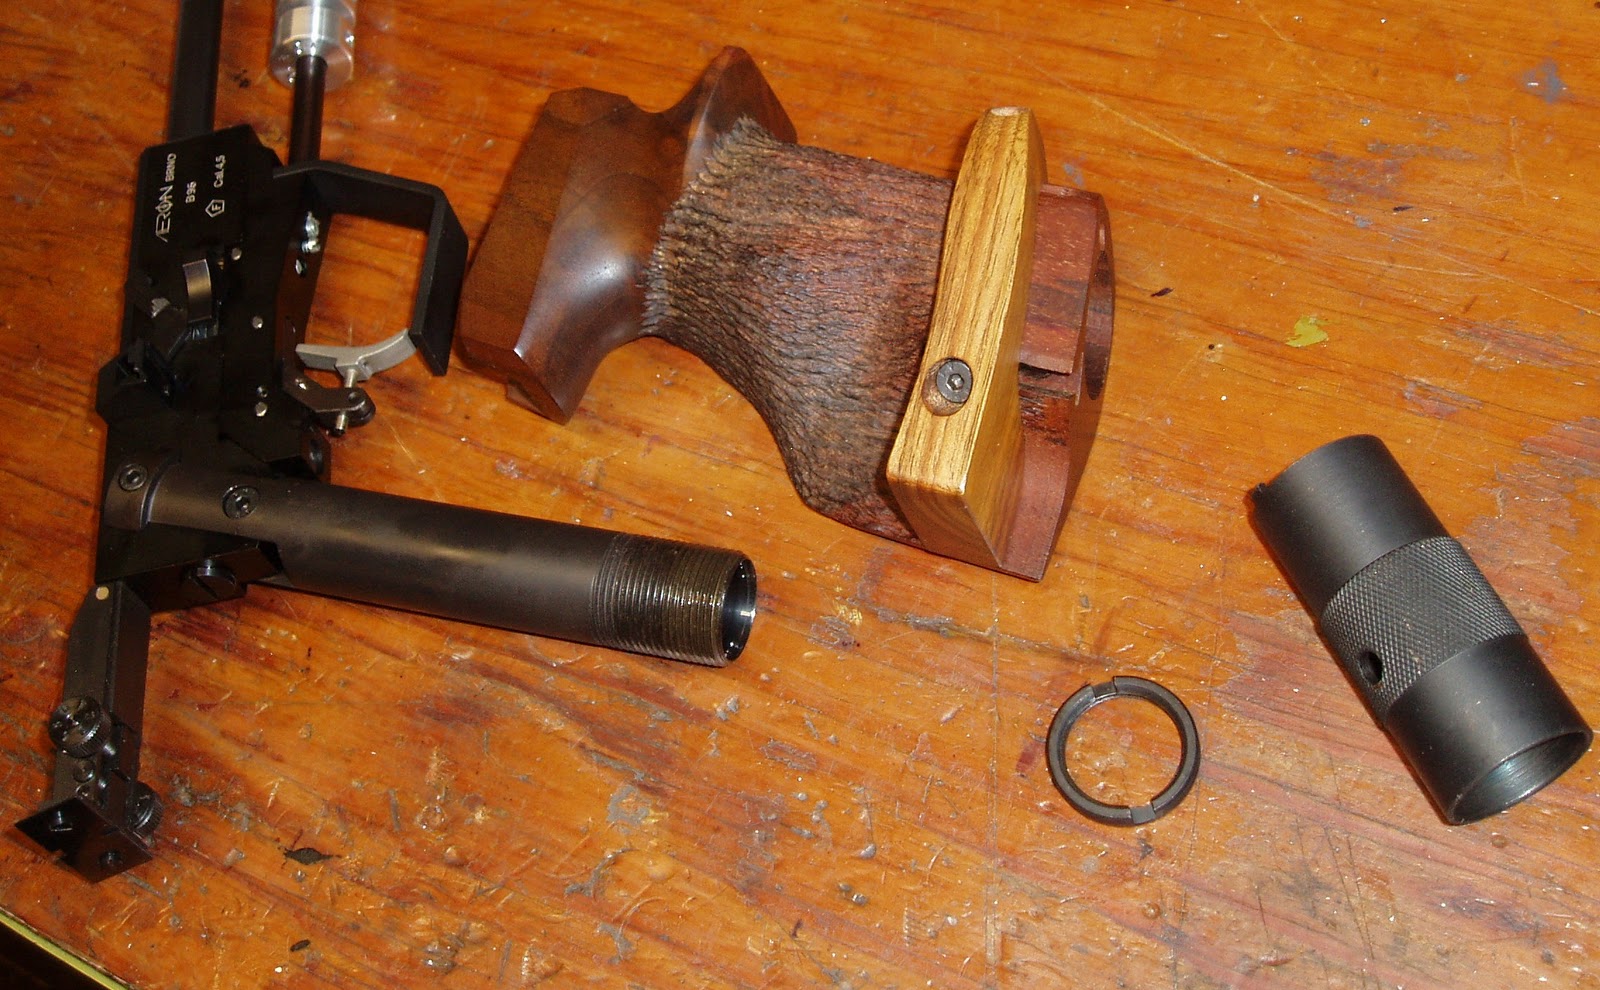
The entire grip slides off as a unit.

The two allen head bolts on the gas tube attach the tube to the frame.

Of course, they're metric. They need a 3mm allen wrench.

Removed.

Gas tube pulls right off. Note the CO2 transfer port just right of my index finger.

One of the side benefits of using Crosman Pellgun oil is relatively simple leak detection. This is clean now, but when taken apart last week, there was an obvious oil leak here.

The ring was pretty beat. I'm sure it's metric, but I'm not able to accurately measure it in this worn condition.

Found a couple o-rings that looked like they'd fit the bill. They're 5mm OD and 2mm thick. Only the o-ring on the left side is critical to sealing. Chose something that fits the counterbored hole in diameter and is a bit higher than the edge of the frame. It'll squash and seal when the lower bolt is tightened. The right side o-ring simply seals the underside of the allen bolt to the frame. It really only needs fit under the head of the fastener to work. I ended up wrapping the lower bolt threads with a couple layers of teflon tape as added insurance. Greased the o-rings with a silicone dive grease.

The top bolt allows for grip angle adjustment. Wish there was an index scale on the side to repeat the angle adjustment. OK, I really wish I'd thought ahead and marked a reference line. I'll just have to shoot it and adjust if/as needed. Yep. Tough job.
Friday, September 30, 2011
Frank B's FWB 124 Tear Down and Rebuild Part 2 Final
Finishing up Frank B's FWB 124.

Set the end cap/trigger housing onto a bench block and drove out the trigger pivot pin with a punch.

Removed the sear, trigger and trigger pivot pin.

Pressed out the rear pin, too. I don't have a good name for this part. It's after midnight... Uh, secondary sear?

The Maccari parts kit that Frank included.
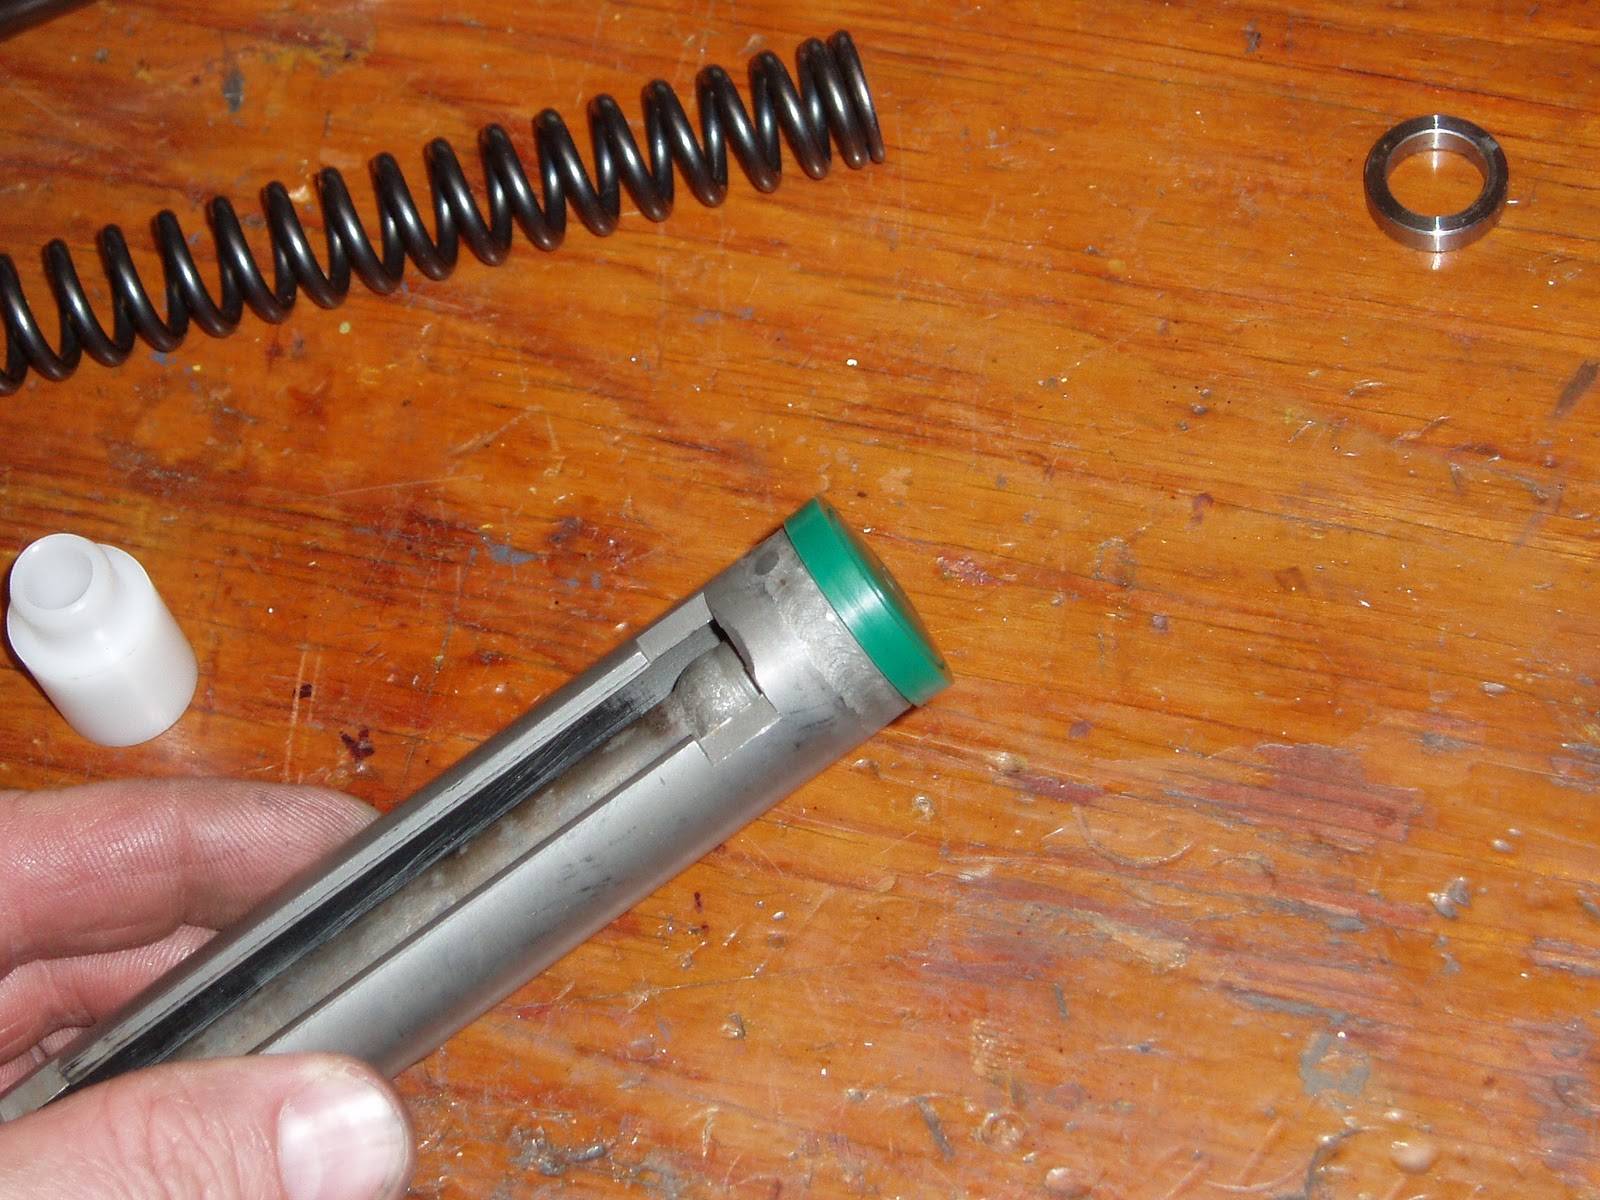
Started with the new seal.

Pressed right on.

Did a quick test fit into the compression tube and it was pretty tight.

For some, this is a somewhat controversial step, but the tube was so smooth inside, all the moly I rubbed into the walls of the compression tube was squeegeed forward by the piston seal. That's not good. I made a light pass with a flex-hone. The hone imparts a very fine crosshatch that will trap and hold lube for the seal.

The seal was still pretty snug, so I chucked it in the lathe and took a small file to the sides and removed a few thousandths. Then another test fit and another round of sizing until it was done.


The white bushing goes inside the piston over the cocking rod.

Like so.

Original FWB spring on top. Maccari below. Adding the length of the included spacers/bushings in the kit to the spring, the overall length is comparable to the factory part.

Most of the reassembly is a simple reverse of part 1. The breech block got a coat of a moly based grease. Pivot bolt was reinstalled. Trigger unit was reassembled after polishing all the contact points.

Burnished moly grease into the freshly honed compression tube. Installed the piston and cocking shoe, then the mainspring was lightly coated in Maccari heavy tar.

Whoops, forgot to show the steel bushing from the Maccari kit. It went on the spring guide. So, essentially, the spring is sandwiched between the plastic bushing at the front in the piston and the steel bushing at the rear on the base of the spring guide.

Carefully compressed the spring. Be mindful of the safety. Helps to hold it in place with a finger while tightening the compressor clamp.

Absolutely critical that the threaded hole be aligned before attempting to install the threaded lug. Cross-threading this could be an ugly repair.

Done. Just needs to be bolted into the stock.

Replaced the breech seal with an o-ring. Nothing complicated, just went through the bins until a likely candidate appeared. Frank will find a spare half dozen in the box.
After final assembly, I fired about 100 shots to get the gun settled in then set up the chronograph. The velocity average for 20 shots was 887 fps using RWS Hobby wadcutters. I think that's on the warm side for a 124. That's about 30 fps faster than mine. The gun has no vibration or twang. Just a very quick punch.
Ahhh, almost forgot the important part--how I adjusted the trigger. Here's the procedure: Turn the trigger adjustment screw in all the way. That will give a 2-stage but heavy pull with a very definite second stage. Back out the screw about a half turn at a time until you feel the second-stage get lighter--eventually, it'll disappear. Turn the screw back in--in quarter turns if necessary--until you can just feel the second stage pause. That's about as light as it'll get and still give the 2-stage feedback.
Shipped the gun back to buddy Frank. He'll get it later today.
