Thursday, July 28, 2011

Crosman V-350 BB Gun Disassembly, Part 2

On I go
07250127
I had to pump up the contrast to show the stamping on the barrel.
V-350 SLIDE ACTION
I probably should mention that you cock the rifle by sliding the barrel into the action...but more about that if/when I get it working...

07250128
Removing the front sight.
07250129
The threads are minimal, as the rust gives way.

07260101
The trigger guard is removed with two screws.

07260102
Punching out the trigger pin.

07260103
The trigger/sear is pulled out.

07260104
Trigger/sear, pin and spring.

07260105
The ball…it's the "barrel lock" so it presumably locks the barrel.

07260106
I carefully levered it out.

07260107
There’s a spring underneath.

07260108
The ball and spring.

07260109
Removing the piston seal. It stretched and came off. I’m not sure how to replicate it. I suppose I could try and reuse it but it is a bit scarred.

07260110
The hammer and piston assembly. The manual shows it as two pieces but as far as I can tell it’s one piece.

07260111
The "pop" valve cleaned up.

07260112
I removed the seal. It seems to be nylon.

07260113
The felt and o-ring are both toast.


So now I have to clean everything and try to reassemble it. I don’t know if the seals can be re-used. If I have to fit a new piston seal I may try an o-ring or make a copy of the teflon seal from polyurethane. Or I may try teflon. I will still need to examine the piston thoroughly to see if it could possibly be two parts.

Wednesday, July 27, 2011

Crosman V-350 BB Gun Disassembly, Part 1

07250101
I picked up this rusty Crosman V-350 BB gun a while back. It functions but is in rough shape.

07250102
The barrel is extremely rusty.

07250103
Two screws fore and aft remove the stock from the action.

07250104
Hmmm, a ball bearing. Crosman doesn’t have an exploded diagram or manual on their site but there are instructions here in the Crosman Service manual. (Very handy PDF!)

07250105
Another shot of the ball bearing and spring.
07250106
A band clamp is used as the front stock mount.
07250107
Knurled nut retains the barrel. It is called the "Tube Bearing" as the barrel slides into it.

07250108
A post (locating stud) for the rear stock screw also retains the spring. This is a spring piston gun, although a somewhat unusual one.

07250109
Another shot.

07250110
I think the rear sight is misaligned.Again you can see the rust.

07250111
Put it in the spring compressor.
07250112
Knocked the pin out.

07250113
Spring and cap. (Tube Plug and Stop Assembly).

07250114
The piston assembly, spring and cap.

07250115
Teflon seal.

07250116
It appears to be one part, unlike the drawing in the service manual.

07250117
Unscrewed the barrel retaining nut/bearing.

07250118
Unscrewing the hollow screw that guides the barrel.

07250119
The hollow guide screw.

07250120
A small ball bearing and spring are revealed in another hole when the barrel is rotated 90 degrees.

07250121
A spacer sleeve around the barrel.

07250122
The seal for the barrel. "Barrel cap".

07250123
Barrel sleeve/bearing and spacer and barrel.

07250124
The seal assembly has a pop valve.I’m nut sure why it’s so complex and to be frank I don’t think I will understand the entire mechanism until I have cleaned it all up and reassembled it.

07250125
The barrel cap is a somewhat complex part.

07250126
Inside. More to come…

Friday, July 22, 2011

Another BSF S20 WCM Tear Down Part 2 Final

Finishing up the S20 today.

Glossing over most of the steps since this is the second time around for this model on the blog. I cleaned all the sticky crud out of the compression tube and all the various components. Polished the back end of the piston body, cocking rod notch, sear...

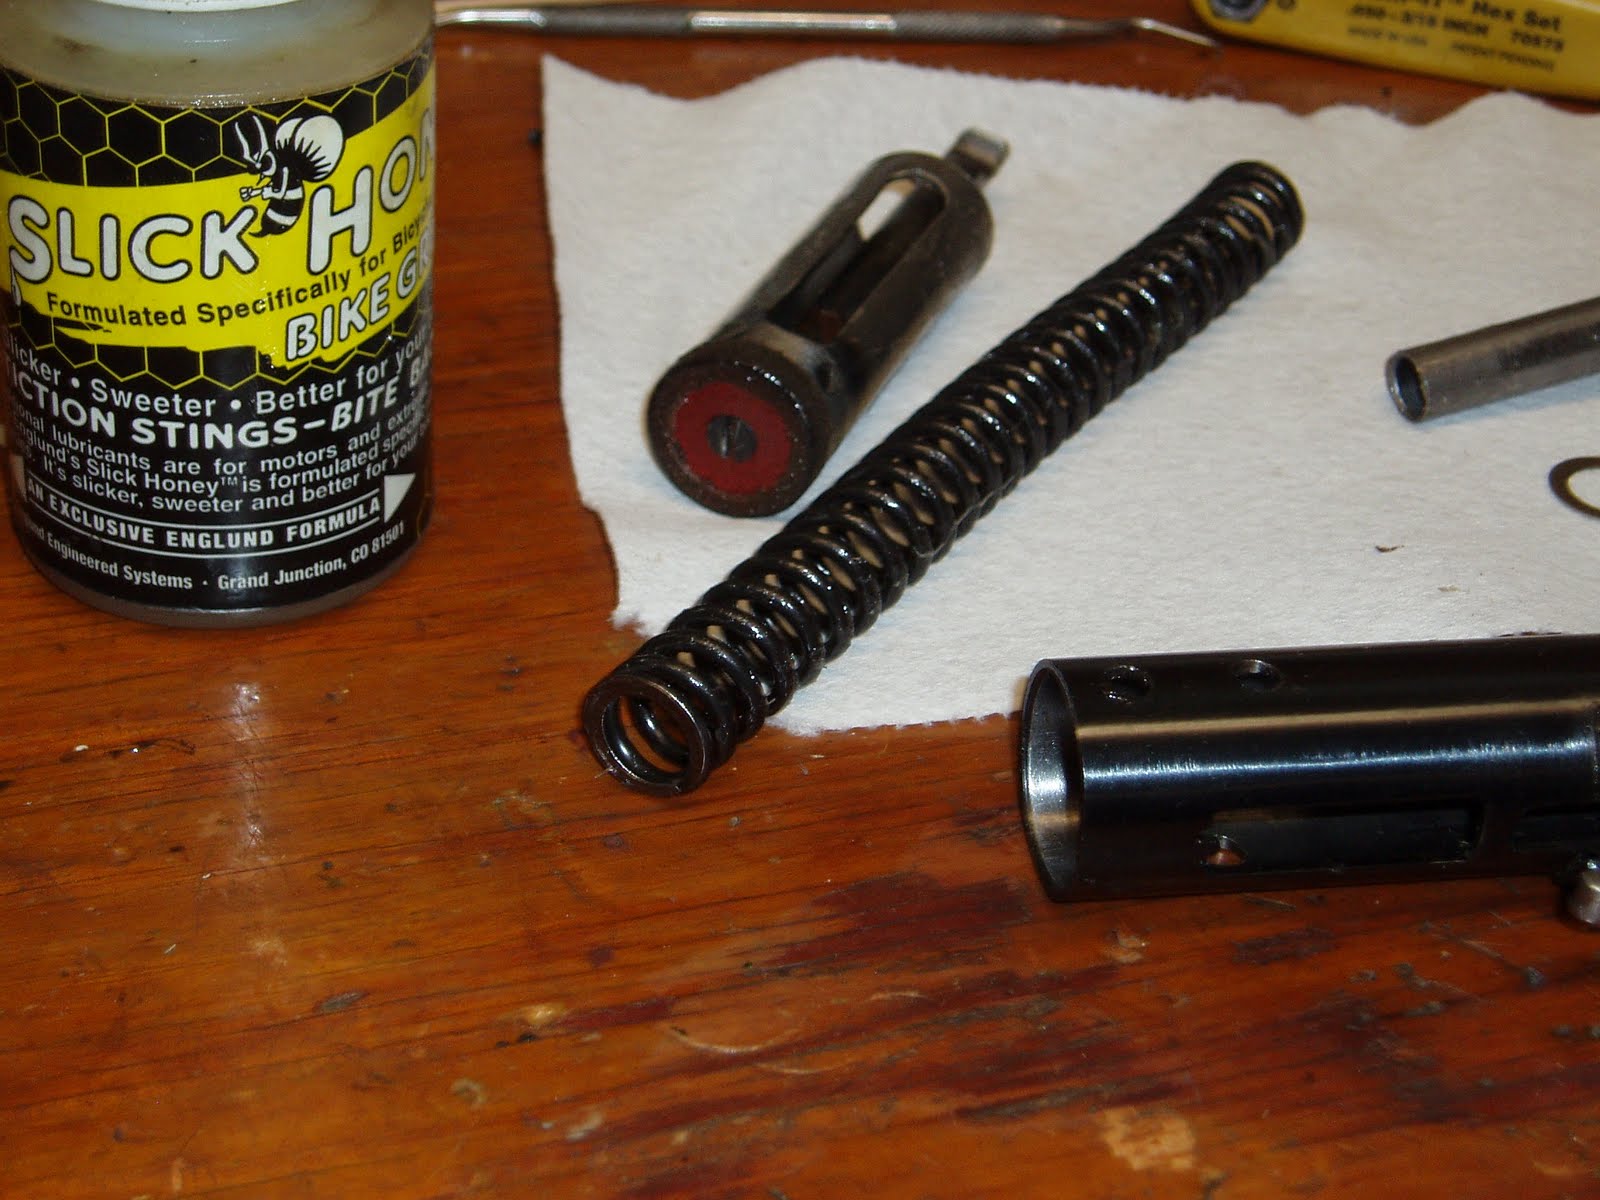
Once it was clean, I soaked the leather piston seal in oil then gave the internal parts a thin coat of Buzzy's Slick Honey.

Piston rod is brass brazed into the body.

The brass was covered with verdigris when first removed.

With the piston in the tube, trying to reinstall the barrel/breech block to the compression tube took some patience. The forks on the tube are extremely tight to the breech. The cocking lever also needs to be reinstalled through the trigger block and into the slot.

Used a dental pick to lift the trigger spring out of the way while seating the cocking lever. Once the spring was out of the way, the lever was positioned then the breech was installed into the forks. A transfer punch was used as a slave pin for the barrel pivot.

Was having trouble getting the peined rivet aligned with the far side of the trigger block. It kept moving off center as it was binding on the cocking lever. With a chainsaw file, I added a small radius into the cocking lever for pin clearance. Exact location not critical as the barrel can be broken open to align the groove with the pin. The red vinyl tape on the slave pin prevents it from falling out.

Click any image to enlarge for more detail. I shielded the gun with foil to prevent getting metal filings into the action. Sorry, I didn't show that in the pics.

Barrel opened to align the groove with the pin.

Pin tapped home and barrel pivot pin installed. Yes, glossing.

The rest of the reassembly was uneventful. Spring installed...

Added a thin rotation washer to the base of the spring guide.

Remember that there are two cross pins for the sleeve/spacer/endcap whatever you want to call it. Pinned the rearmost hole first (without the rear sight assembly) to restrain the mainspring. This allowed for much easier installation of the sear on the forward pin as I was no longer fighting the mainspring while attempting to align the cross holes in the tube, sleeve and sear--then pin it all together.

Removed the rear pin after seating the sear and sear spring. The forward pin is now retaining the mainspring. Installed the rear sight block and it was pretty much a done deal. Finished the gun by installing the grip.