Wednesday, March 1, 2017

Crosman Model 357 (Phase 1) Disassembly, Part 1

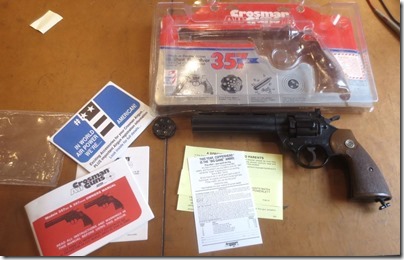
A friend conned me into resealing a Crosman 357 revolver for him. I realized that we don’t have a full disassembly blog, so I’ll give it that treatment. The last one I disassembled using my patented explosive technique of forgetting that there was a full CO2 cartridge in the gun…
You can get the exploded diagram, etc. here.IMG_6208IMG_6209IMG_6210
1987 vintage.
IMG_6211
Let’s begin.
.IMG_6212IMG_6213
Three screws.
IMG_6214
The barrel pivot screw is longer.
IMG_6216IMG_6217
The safety is best kept in the side plate so it doesn’t get forgotten.IMG_6219
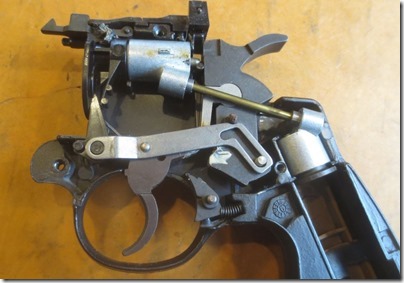
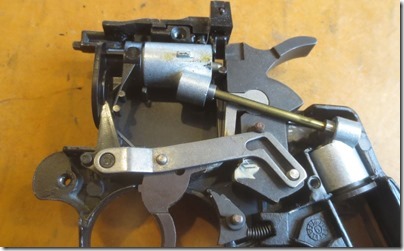
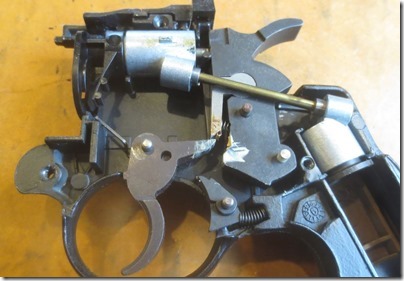
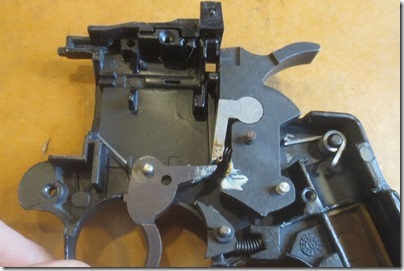
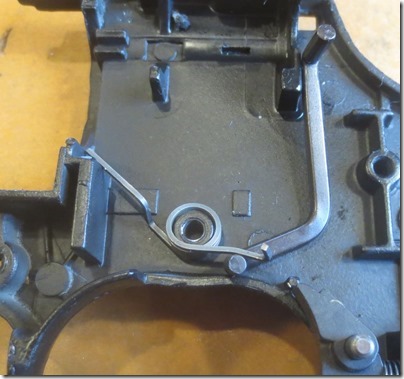
This is a handy picture as it shows the ideal state of things.IMG_6221IMG_6225
I’m not sure what all the odd hard rubber bits are as the main rubber spring for the latch seems fine.IMG_6226IMG_6227
Removing the lever.
IMG_6228
And the index finger.
IMG_6229IMG_6230
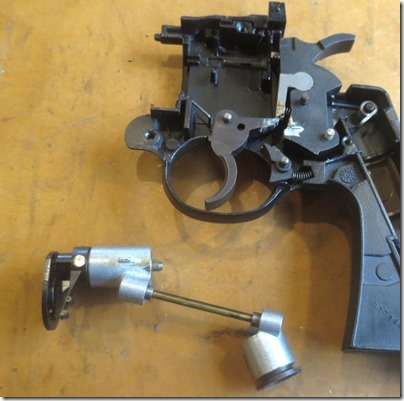
And the entire valve and piercing body assemblies.IMG_6231
The hammer spring also retains the Piercing body assembly.IMG_6232IMG_6234
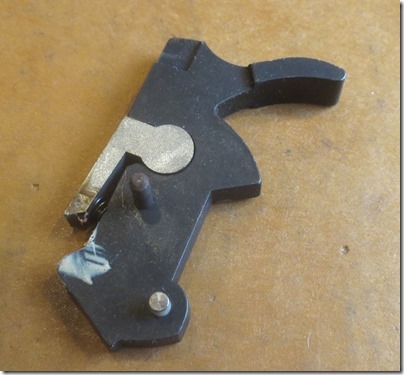
Removed the hammer. Notice the solidified grease.IMG_6235
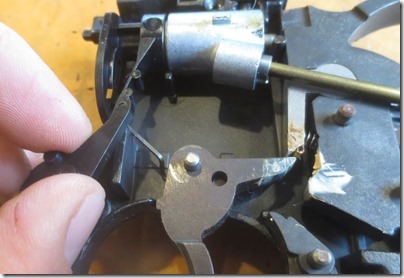
The safety link is behind the trigger.
IMG_6237
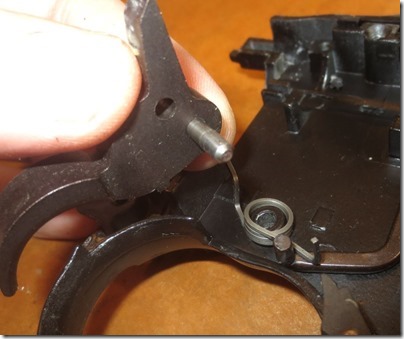
Trigger spring.
IMG_6240IMG_6242
Just a couple of details. Part 2 to follow…

Wednesday, January 18, 2017

FWB 124 Replacement Piston Seal Quickie.

My friend Guy, who traded his FWB 124 to me years ago, managed to convince me to trade it back to him a while back. Recently he found it had no power and wasn’t pushing the pellet out of the barrel. We’ve covered FWB 124 disassembly already on the blog, but I thought the pictures of the damage and the replacement Maccari piston seal and spring warranted a quick post.
fwb4
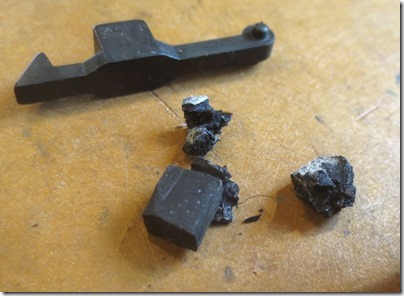
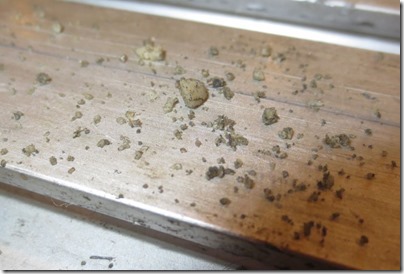
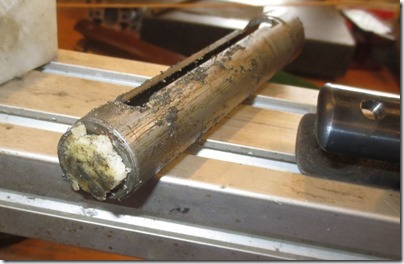
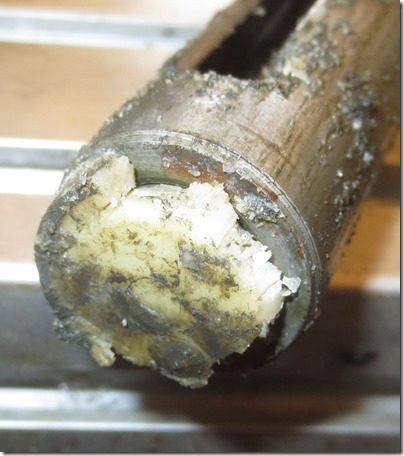
At first I thought Guy had gotten sand in the gun, but it turned out that the piston seal had completely crumbled, so that even before I got the piston out little chunks were coming out with the spring.
fwb1fwb2fwb3
That’s a decomposed seal…glad it stopped shooting before it completely disintegrated.
mac02mac03
Had to chew up the old seal to get it out, compare it to the new Maccari seal.
mac01
The new spring with spacers, compared to the old bent one. Good to replace it anyway. I didn’t do anything special, the piston seal was a little snug, but not tight so I didn’t machine or sand it. Lubed everything and put it back together. Fired 4 shots before it started to rain (Oregon winter), first one dieseled, but the last three were all 846 fps, which is amazingly steady. I’m sure it will continue to change over time as it all wears in.

Sunday, December 25, 2016

Aperture for the Crosman 118

Been shooting my late grandfather's 1954 Crosman 118 and wanted a better sight picture on paper targets.  What the heck is a Crosman 118?  It's a bulk-fill CO2 gun with a 10-shot bolt action mechanism.  Think "Benjamin Marauder from the mid 1950's" and you've got the right mental picture.  I've seen aperture sights on this model before but this one has a simple V-shaped sight.  From the looks of the top cover, its drilled to mount a sight in two different positions.  I think the rearmost holes are for the aperture, so it was probably an option. 


Top cover and sight.


The V shaped notch sure didn't do much for paper target accuracy.  The stamped sheet metal sight is about as simple as it gets so I don't want the replacement to stray too far from that.


Had some spare sight odds and ends in the parts box, and found this unused Crosman 411 aperture from a previous blog project.


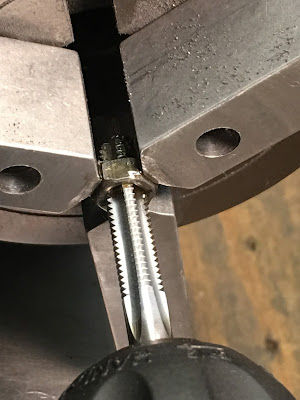
The sole complication is the (now) unusual #12-28 thread pitch.  I didn't have a tap in the correct size, but I did find a few in the massive tap collection drawers at work.  With the boss's approval, I borrowed one for a couple days.


Gonna make the sight base from a scrap of steel pallet strapping I pulled from the trash at work. It's springy stuff.  Need a spacer and a nut, too.  An M5 x 0.8mm will be easily rethreaded to #12-28.  This is about the laziest easiest way to make this project happen.


Drilled out the spacer.


Faced down the end.


Used the Taig lathe to get the threads cut square.


Spotted the mounting holes by using the old sight.  Easy.


A center drill was used to make the holes.


Filed the overlapping holes into a slot for windage adjustment


A little shaping on the bench grinder.  Hey, just because its a piece of steel strapping doesn't mean it has to look like a piece of steel strapping.


And into the vise for a 90 degree bend.


Installed on the top cover.


And I hate it.  Its perfectly functional, but what was I thinking using a machine nut? 


Scrounged up a knurled sling stud mounting nut with a #10-32 thread and re-tapped it to #12-28.


Looks like it's been there all along.  It pivots for windage and the elevation is taken care of by bending the sight base vertically.   In practice this actually worked just fine.  It was on target in four or five shots and has a noticeably cleaner sight picture.