Sunday, August 11, 2013

Quick Set of Walnut Grips for a Crosman 2240

I've built up several (OK, too many) Crosman 22XX based pistols over the last few years.  Largely because they're so inexpensive, perform better than the dollar amount would indicate, and readily modified due to their modular construction.  But the plastic grips--I just--hate them.  So, every few months, when the mood strikes, I try to knock out another set.  Lacking a duplicator, these are all done by hand--for my hand.  That seems somehow appropriate.

As this is grip set number I don't know covered here, I'll just give a brief recap.


Cut the basic shape out on a scroll saw, then used the milling machine to cut the inletting for the grip frame. 


Also counterbored for the grip screw bosses.


Marked, then drilled the grip screw holes as well as the associated counterbores for the screw heads.


Drilled for the small anti-rotation posts at the top of the grip frame.


Then it was shaping time.  Everything up to this point counted as tedium.  Used various sanding drums in the small bench top drill press and freehand the shapes.  There's a lot of blending to get the curves to flow into each other.
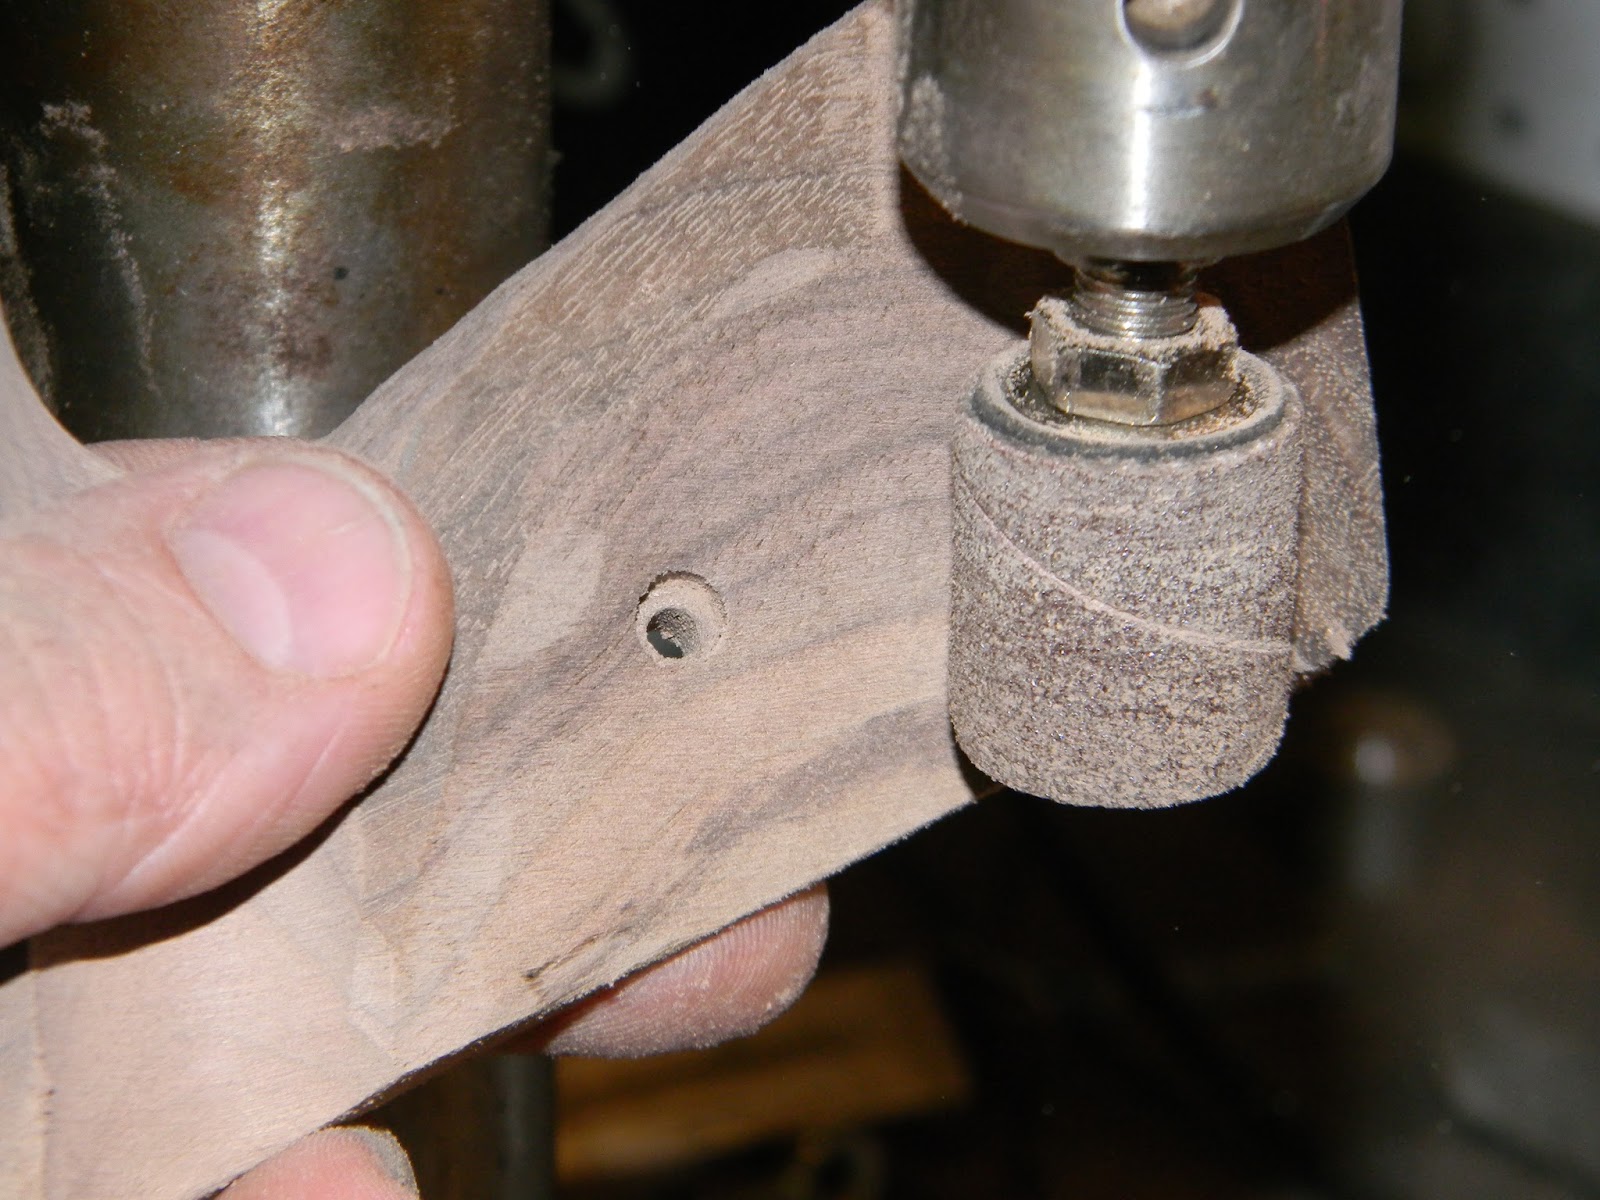


And they're almost done.  Some finish sanding, grain filler and stain were next.


Gave the grips about three or four coats of Birchwood Casey Tru-Oil.


Moments before knocking off the shine.


Some bronze wool then a waxed rag left a matte finish.


About two evenings in these for the shaping and sanding.  Another three days or thereabouts for the finish--mostly drying time.  Still need about four more sets of grips--or fewer air pistols.


More soon.

Wednesday, July 31, 2013

Another Breech for a Crosman. Part 5

The aluminum breech went together without any real problems--that alone left me filled with wonder and amazement.  Gonna shoot it for a while before deciding what to do with the shroud.  The blank aluminum tube seems to beckon for some kind of adornment.  Sprayed the grips with a couple coats of truck bed liner.  I actually made a pair of wood grips, but I didn't think they fit with the black and silver colors.  The Tasco ProPoint dot carries the color theme.  Shoots great, but I have a feeling that this will be one of those project guns that evolves every couple months and is never truly finished.  I already miss not having a bolt hold open.  Next time it's apart, the loading bolt is getting a rare earth magnet.


May throw together a short post showing those aforementioned grips if there is any interest.

Thanks for reading.  Check back in a few days for more.

Sunday, July 21, 2013

HW50S Rebuild, Part 2

Ok, 2+ months between installments, but at least I’m posting! This is boring anyway as all I really did was sand, sand, sand, and sand some more, trying to remove the worst of the rust pitting while not digging in or ruining the lines of the gun.
DSC03169
Starting to sand, I kept the strokes in line and used a variety of sanding blocks so as to not put flats on the tube.
DSC03176
Better. I gave up on the idea of eliminating the pits entirely, chances are I would have ended up sanding through the tube!
DSC03197
Sanded this as well. Those deep gouges will remain.
DSC03199
This is some deep pitting too. Not much can be done about it.
DSC03202
I found it curious that the breech face has those deep milling/sanding marks that look as though they are from the factory.
DSC03205
Still sanding. The barrel had some bad spots and again I didn’t want to make it look non-cylindrical. All told it was a month or so of sanding, usually for 5-15 minutes a day as it’s boring and I’m too darn busy these days.
DSC03390
Put back together for testing.
DSC03392
I still need to make a replacement screw for the trigger guard.DSC03394
I blued the gun with Oxpho Blue from Brownells as it seemed to react best. I had washed the gun before that with Ospho, which is a phosphoric acid paint prep, in theory this converted the rust to iron phosphate and stemmed the worst of the rusting. We’ll see.
DSC03395
Depending on the angle of the lighting it looks grey to blue. Notice the vestiges of the old blue in the bottom left corner.
DSCF1169DSCF1170
From a distance it doesn’t look bad though. I was able to use the new spring Derrick sent me even though it had more coils. I sparingly lubricated the gun and did a basic cleaning of the trigger unit.
Shooting 7.9 gr. CPL pellets over the chrony I got between 575 and 599 fps (599 was the first shot, a bit of dieseling) with it settling between 575 and 585. Not bad, I bet it will get a bit slower over time.
Now to work on repairing the stock, see you in another month or so!

Tuesday, July 9, 2013

Another Breech for a Crosman. Part 4

Working on all the small breech items to get it up and running.  I'll gloss over most of this since we've covered it on past 22XX builds.


Spun the bolt on the Taig lathe from a piece of 0.250" diam stainless steel.


Flipped it around and trimmed it to length.


Moved it over to the milling machine and found the edge.


It's supported on a single parallel.


Spotted and through drilled with a #29 bit.


Tapped #8-32.


Used another piece of stainless for the bolt handle. 


Threaded #8-32.


Stepped down to fit in the breech slot.


Rounded over the end of the handle. 


Simple and clean.


Cut an extended cocking pin from O-1 tool steel.


The factory part is on top.  There's a bit of a length difference.


Cut down a 24" Crosamn .22 caliber barrel to about 12" and cut a new crown.


Found a piece of 0.750" aluminum tube in the metal stock box.  It's got a 0.500" hole in the center.  Used the larger lathe and a cut-off tool to cut a piece to size for a barrel sleeve.


Cut a 0.625" step on one end of the tube.


This will recess into the front of the breech.  Not shown:  Cut the tube to correct length to fit over the barrel and finished the tube with an oiled scotchbrite pad.


Figuring out how to secure the muzzle end of the barrel in the sleeve.  Thought I'd try a simple o-ring.  Cut a groove.


 Found a suitable o-ring.


 It press fits into place.


Aside from a transfer port, it's functionally done.  Aesthetically, I think it still needs help.


More soon.
