Friday, September 21, 2012

Custom Crosman Breech--Part 10 Done

Final breech installment.  Need to color the breech and finish the barrel shroud.  


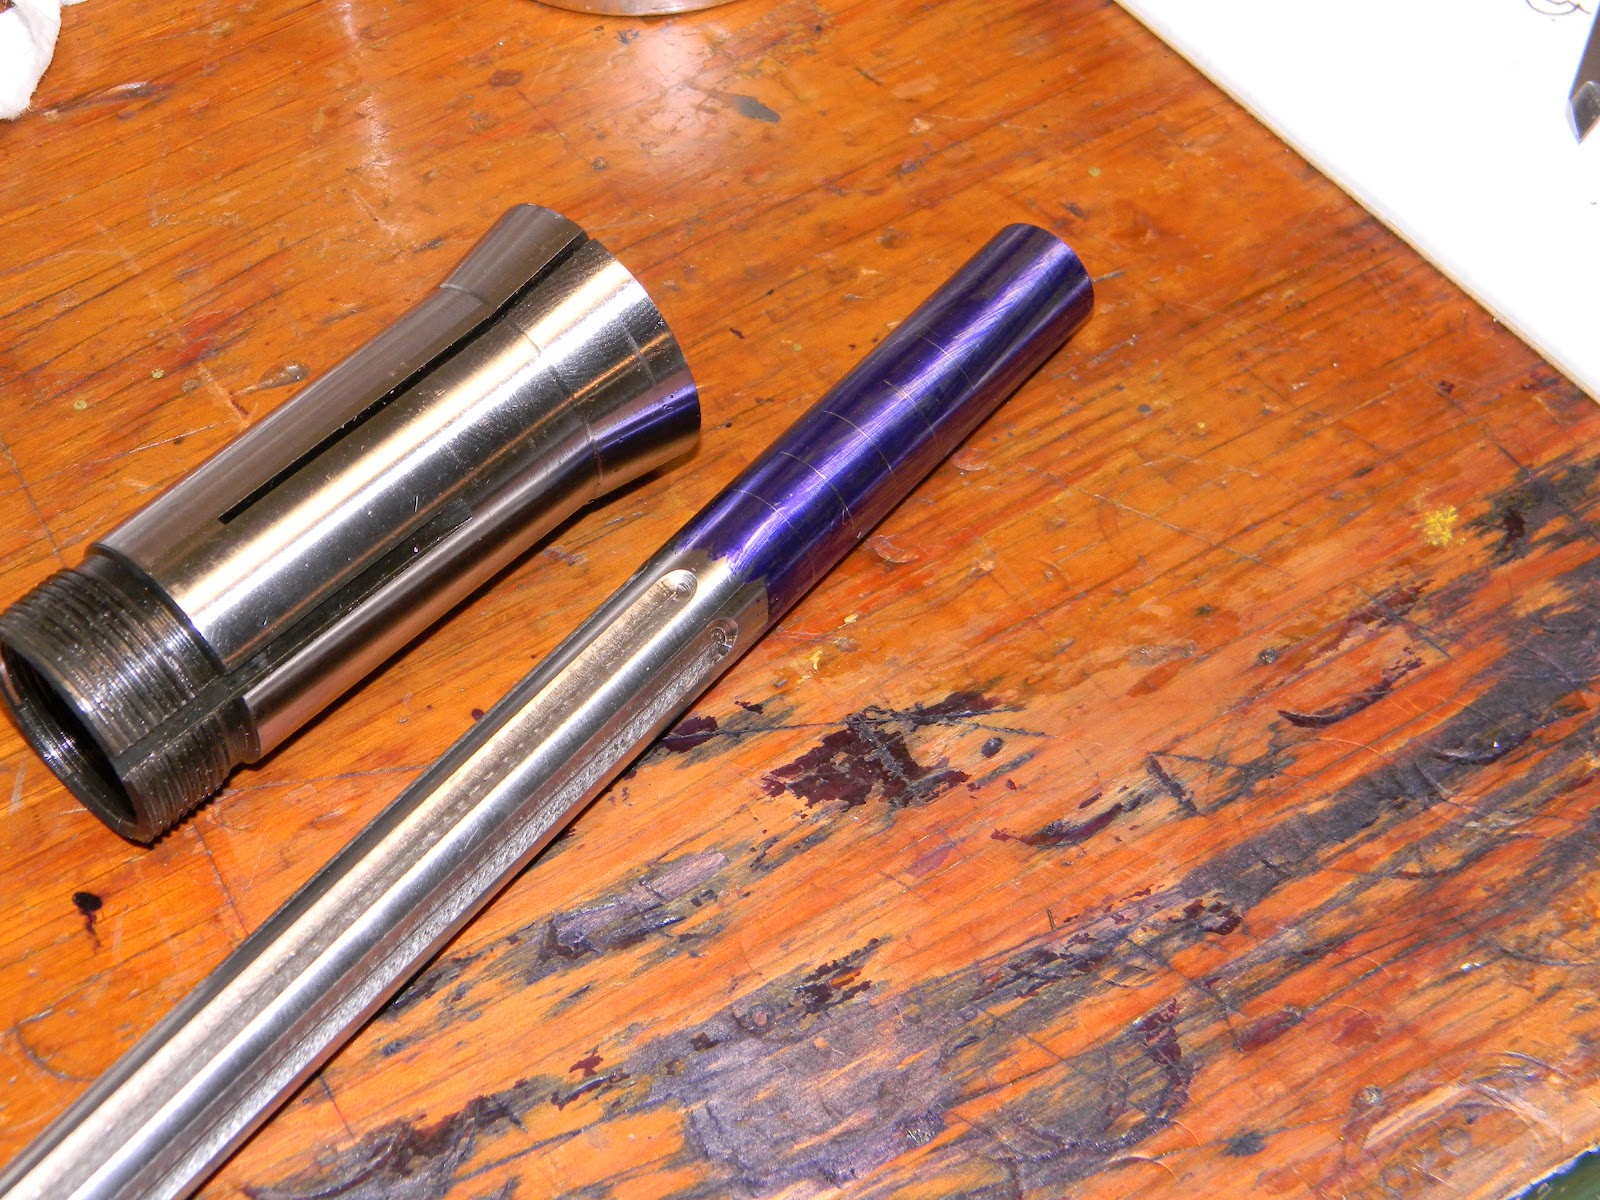
Used Van's Instant Gun Blue.


Passed a bolt through the cocking handle so I could chuck it in the lathe for knurling.


Used an old Brown and Sharpe knurling tool adapted to fit the Taig's tailstock.


It's a pressure forming knurl.  The diamond pattern is forged into the metal.


The end point of the knurling was a bit vague, so I took a clean up cut to add definition.


This will be heat blued with a torch.


Wasn't quite finished with the barrel shroud.  Wanted to add some porting.  After some basic layout work (consisting mainly of making decisions as to hole spacing and size) the shroud went back into the 5/8" 5C collet and hex block.


It took some time to index the shroud and line up on the flutes. 


A jack screw to support to the free end and prevent downward deflection.


As a time saver, I centered, spotted and drilled with a short single-flute 1/4" bit.


Used a homemade vise stop to locate the collet block as I drilled each hole in 60 degree rotations.


Almost done drilling.


Trimmed the muzzle end down then deburred the holes and did some light polishing.


Much nicer than I expected.


More Van's bluing and it was assembly time.


Done--at least for now.  Mounted a reflex dot sight to the picatinny rail.  I'll probably swap the short 2240 gas tube to the longer 2250.  The rosewood grips are from a project earlier this year.


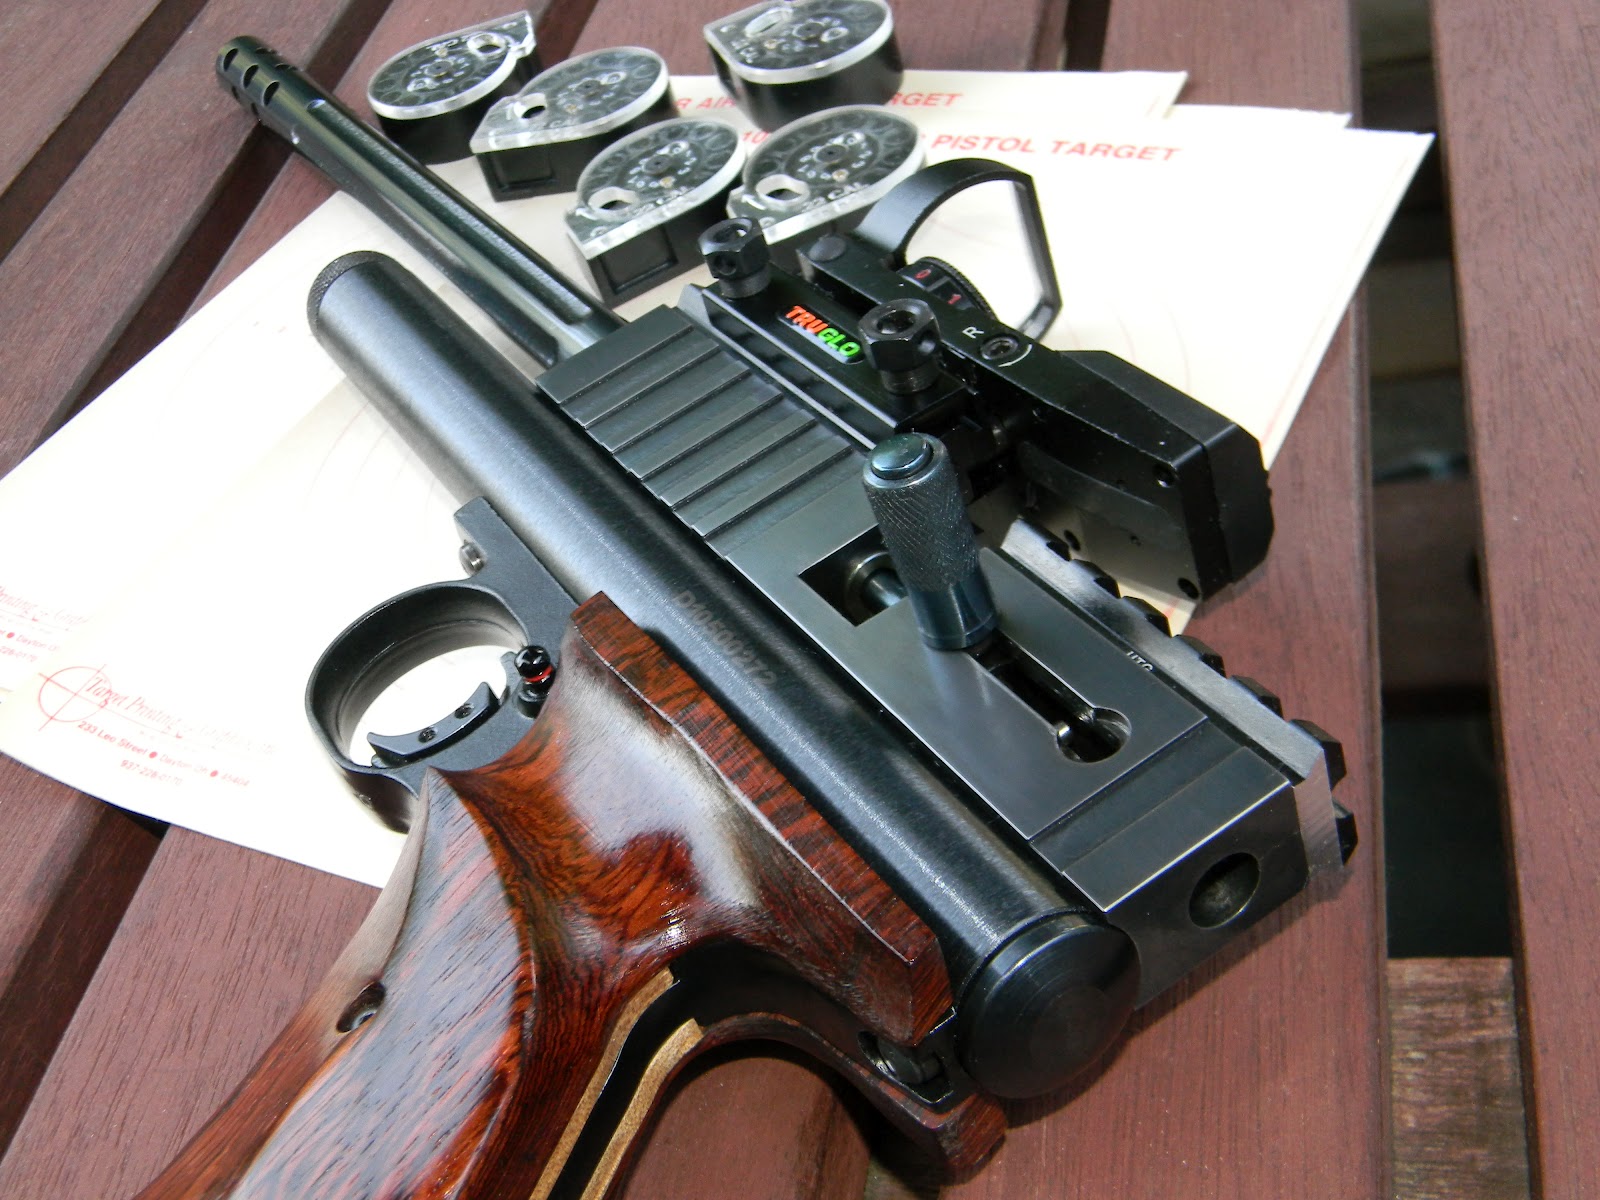
Click on any of the pics for a larger image.


Next project will probably be an easy modification to a hand stop for a target rifle.  Check back soon.

Wednesday, September 12, 2012

Custom Crosman Breech--Part 9 Finishing Up

Been shooting the breech for over a week now and it's working perfectly.   Guess that means it's time to make it look a bit less chunky. 


Spent a few days mentally trying to picture how I wanted it to look.  Clean and simple won.  Settled on vertical slots to play off the picatinny rail.  I'll offset the slots and cut them relatively shallow so it doesn't look like a quad rail when finished. 


Used a 0.250" four-flute center cutting endmill.   Each slot was cut 0.394" on center from slot number one.  I wasn't trying to duplicate a picatinny rail, it's just an idea to break up the plain sides of the breech and add some visual interest.


Deburred and sanded to 220 grit.


The tan color inside the bore of the hole is motor oil. It's swimming in it at the moment.


Sanded out the machining marks from the left side. 


More layout to match the opposite side.  Used a feeler gauge (and some arithmetic) from the top edge of the vise jaw to set the milling cutter at the same depth as the other side.   Cutting 0.050" from the top of the vise--about the thickness of 12 human hairs.  Imagine that it's probably considered bad form in machining circles to mar the vise.  Luckily, I'm not a machinist.


Cut these at a high speed and in a single pass.


A very quick deburring and here it is.


Top view.


Not a great detail shot, but I added a lone slot behind the bolt cut to use up some of the blank real estate.  It was intentionally cut to not match the other side--as there wasn't a way to make that happen with the given space.  However, the front edge of the last slot does center on the opposite slot.  It sort of shows up in the top view two pics above.


The breech needs more polishing then bluing and the shroud still needs to be cut to final length and maybe ported? then finished.  Might need the spin index after all.  We'll see what else shakes out.

More soon.

Wednesday, September 5, 2012

Custom Crosman Breech--Part 8 Adding Sight Rails & Fluting

About a week since my last update.  Most of my minimal free time has been spent deburring and smoothing the breech holes, slots, etc.  The bolt handle now runs almost effortlessly fore and aft, locking smartly into place at each end.  Test firing (sans sights) to test for function reveals complete reliability in the loading bolt mechanism.


Since the action actually works, it's time to figure out a sight mount.  I'd like this gun to wear a dot sight of some kind.  Considered cutting 11mm dovetails into the top, but there's almost two feet of Picatinny rail in my parts box in various lengths and I'm lazy.  Above is a mount from UTG (aka Leapers) that was made to fit I don't know what.  But the length is about perfect.


The pink underbelly of the rail is curved.  This most certainly does not fit the breech.


Just a couple passes with a milling cutter.


The radius is gone.


Cut the rail.


Trimmed and cleaned up the ends to fit the breech.


Found center and laid out the mounting hole locations.  Spotted.


Drilled.


Tapped M4 x 0.7mm.  Assumed that since the base was a UTG product, all the mounting hardware would be metric.


That was not the case at all.  The UTG supplied fasteners didn't fit my freshly cut M4 threads.  Of course, those supplied screws are sized to fit pre-existing holes in a specific gun that the rail was made for.  Duh.


Lucked out and M4 socket head cap screws fit the counterbores.  I had enough M4 bolts in various lengths to get by.


Test fit.  The bolts will need trimmed to length.


Next, I needed a better cocking pin for the striker (hammer).


Took just a few minutes on the Taig.  Used a piece of W-1 tool steel.


The small shoulder is necessary so the pin can't pull up and out of the hammer (striker).


Set all that aside and started finishing up the shroud.   Chucked the muzzle end in a 5C collet.


A 5/8" 5C collet.


This is a six-sided, or "hex" collet block.  It can be located in sixty degree increments. 


Work goes into collet.  Collet goes into block.


Elected to not use a threaded lockring and instead used a cam lock to seat the collet into the block.


This was clamped into the milling vise.  Made some rough marks to establish stopping points for the cuts.  Set the table stops to correspond.


Used a jack screw to support the free end of the tube.  Without it, the tube would deflect downward during the cut.


0.500" ball mill.


Cut to a predetermined depth, rotate the block 60 degrees, cut to a predetermined depth...


Cut roughly three-quarters of the way through the wall thickness of the shroud.


Set the rear of the block dead even with the edge of the vise jaws.  This made the starting and ending point of each flute cut the same.  A work stop or vise stop can also be used to get the same result.


Six flutes cut.


More in a few days.