Thursday, June 7, 2012

Kessler Air Rifle Disassembly, Part 1

I was offered this Kessler and couldn’t resist it.
0602120106021202
Better looking than a 101/Rochester with essentially the same underlying power plant.
06021203
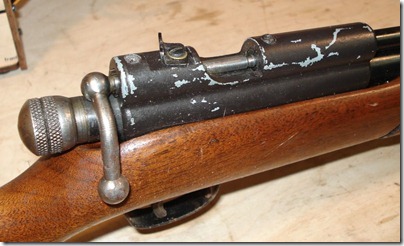
The receiver is an attractive casting.
06021204
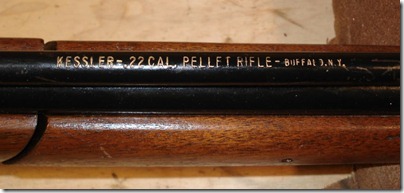
Not sure which model of Kessler this is (and I suspect it’s a “frankengun”).
06021205
The front sight blade is broken off.
06021206
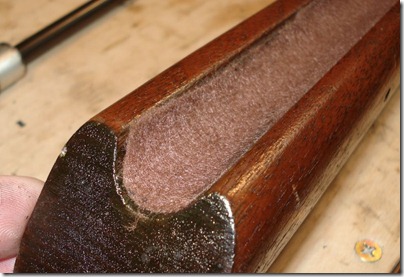
The rubber butt pad does not look original.
06021207
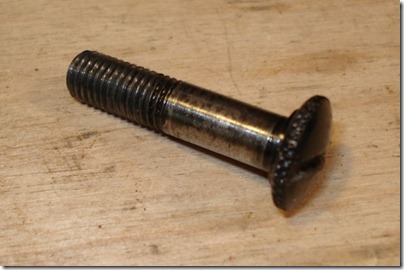
Knurled takedown screw.
06021208
The head is painted.
06021209
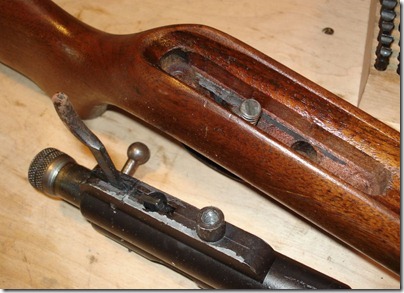
With the screw removed the action comes out of the stock.
06021210
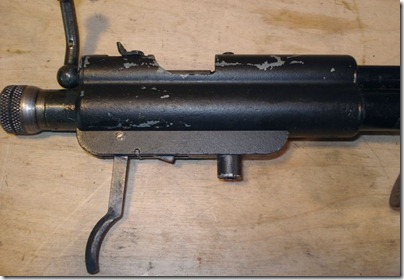
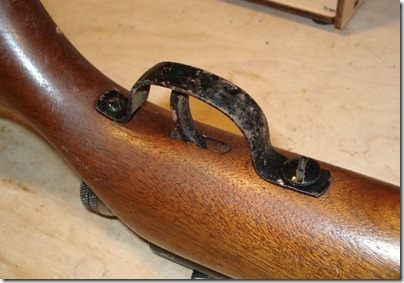
Trigger spring and follower/guide.
06021211
It’s funny how a simple casting change can fundimentally alter the appearance.
06021212
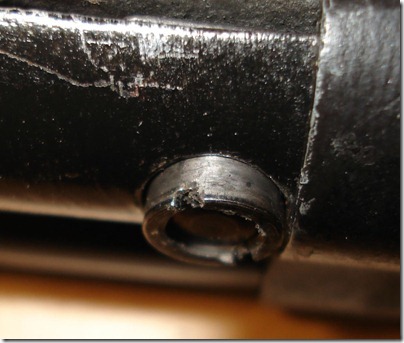
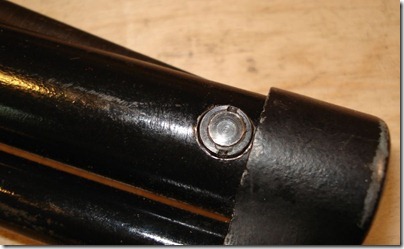
Odd nut for the pump arm linkage.
06021213
Thankfully I didn’t have to make a spanner, it unscrewed easily.
06021214
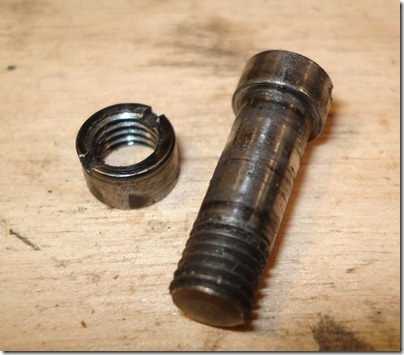
Pivot pin & nut.
06021215
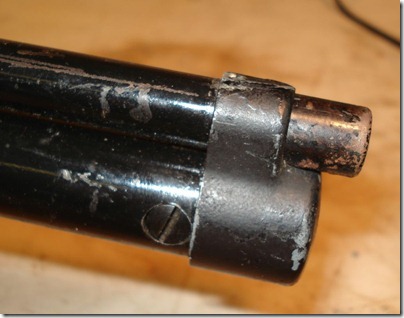
The barrel band/end cap just pushes out of the tube.
06021216
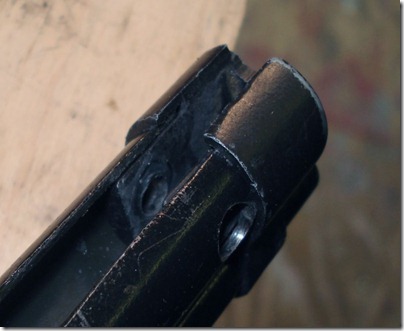
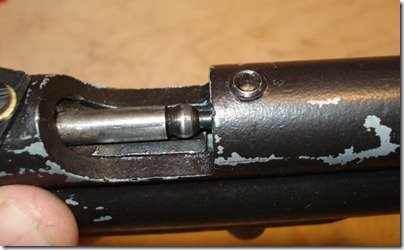
Spherical bolt seal. Setscrew above needs to be removed.
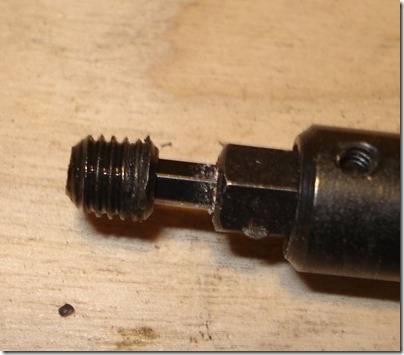
06021217
Screw removed.
06021218
End cap.
06021219
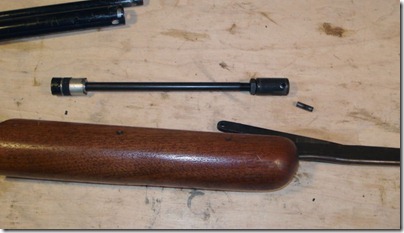
Pump assembly removed.
06021220
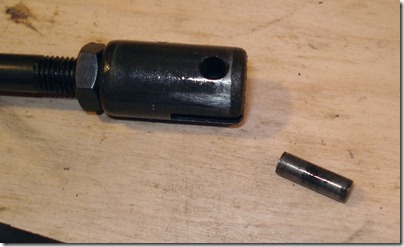
Pin removed.
06021221
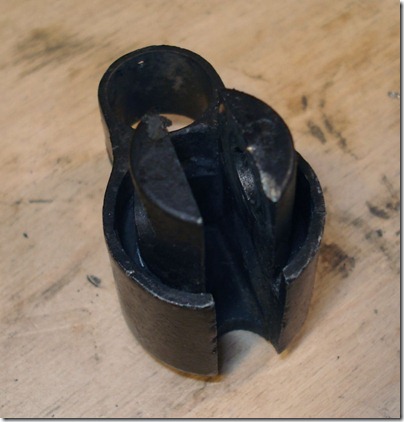
Looks like the owner glued some felt in as it seems modern.
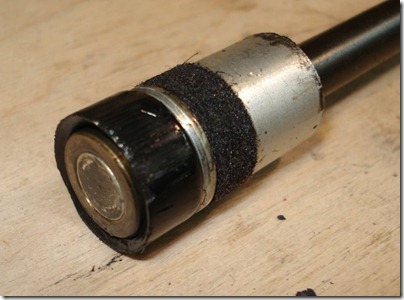
06021222
This doesn’t look like a Rochester/Kessler pump cup assembly, more like that found on a Crosman 140. I’ve asked those who may know and will edit as needed.
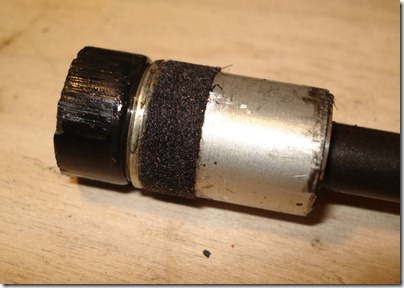
06021223
Another view.
More to come.

Thursday, May 31, 2012

IZH-61 Shenanigans Part 2 Final

Finishing up reassembly of the IZH-61.  Gonna gloss over most of this since we've covered it before in detail.


A coat of copper anti-seize on the piston body, spring and acetal guide.


The spring guide on an IZH 60/61 goes into the piston first--then the spring fits over it.  This is the opposite of most guns I've rebuilt.


Of course, this tab of sheet metal isn't on the IZH schematic.  It disengages the ratchet on the cocking lever pivot once the piston is drawn completely rearward and caught by the sear.


It fits here on the end cap with the bent end under the ratchet.  Forget it and it'll be impossible to return the cocking lever to the closed position.  Guess how I know that?


End cap installed and rotated to engage the catch.


Greased the cocking lever


I installed it at a 90 degree angle then rotated it into alignment. 


Like so.


Wiggle and shimmy the pivot end into location then install the pin.


Here's what started this whole mess.  The catch doesn't quite line up.  I have to flex the cocking lever upward to make it work, and that's annoying.


Another pic.


Clamped the solid pivot end of the lever in some aluminum vise jaws.


And gave it a good push.  I was surprised at how sturdy the lever was to lateral force.  I expected it to bend rather easily.  Had to bend/test fit/bend a couple times until it had moved far enough to line up the latch.


Centered. 


For further reassembly and tuning instructions, see some of our older IZH-60/61 posts.


Finished the reassembly and found that the sear wouldn't catch the piston without a hard pull at the end of the cocking stroke.  Knew immediately that the spring was coil bound.  Could've ground down the spring, but I elected to shave down the base of the new guide.


Quit after taking off a few thousandths.  There will be some minor length variances on the mainsprings due to the ends being ground, but the factory really nailed the spring length.  There's only about the thickness of a nickel available before the gun is coil-bound.   If you add rotation washer(s) or a top hat weight to the piston, the spring will have to be shortened by a comparable amount.


Check back soon.


Monday, May 28, 2012

More IZH 61 Shenanigans Part 1--A New Spring Guide

Getting back to the Baikal IZH 61. 


Used a deburring tool to easily clean up the burs on the cocking lever slots in the end cap and the piston body.


It's like running a metal removing razor knife across the sharp corners.


Remembering back to my first IZH 61, the too short spring guide had to go.  I ballparked the length inside of the piston and subtracted a few hundredths.


The original, short steel guide.  On the left is a piece of 0.750" diameter acetal (aka: delrin).


Chucked the acetal in the 3-jaw and took a few quick cuts.  Went a bit too deep on the first cut, so I backed off a few hundredths. 


I'll cut the undersize part off.  It's a mistake to think that you need to accurately measure everything when using a lathe or mill.  It's pretty quick to simply cut until the spring fits over the guide then extend that depth to the length of the guide.


Faced off the undersized portion and adjusted the tool post to cut a bevel.


Rounded the front edge so it'll slide smoothly through the coils.


Found a parting tool and chopped off the guide leaving a flange.


A bit longer than the factory part.  


And several thou larger in diameter.  Didn't want a tight fit to the spring for such a low-powered gun.  The velocity loss would be large.


OK.  Reassemble the gun next time around and see about realigning that cocking lever catch.

Wednesday, May 23, 2012

Project Update and a Machine

Nick and I have both been buried in non-airgun related projects of late so I thought I'd pop in with what's been happening here in Ohio.


I tore down this relatively new-to-me Baikal IZH-61 several weeks ago and it's still sitting idle on the workbench.  The cocking lever catch wasn't aligning properly requiring some fiddling to get it to latch.  I'm sure it just needs a little tweak to get it back into alignment.  But, you know the old saying, "In for a penny, in for a pound".  Got this from well-heeled airgun extraordinaire FrankB--who I believe got it in turn from Volvo.  If that's the case, it's almost home--at least geographically--as Volvo only lives about 15 minutes away.


It's exactly the same version as the one I previously covered here.


Looks almost completely dry inside.


Hoped to get to it this evening, but time didn't permit.   Hopefully in the next few days things will settle back down.

I was also side-tracked with a knife handle project.  Some brief info on it can be found here if anyone is interested in such things.

A couple weeks ago, I got a call from a friend who wanted to sell a 3-in-1 lathe-mill-drill machine.  I stopped by and took a look.  Since then, I've been moving things around to find a spot for it at the house.  It's not that big--the footprint is only about 2' x 4"--it's just ungodly heavy.  


It's a like-new 2001 Shopmaster Eldorado.


5" diameter chuck.  The spindle hole is 1.125".  Just the ticket for airgun barrels.


It's got a DRO package. 


Power feed, thread cutting...


Luckily,  there was also a lot of tooling. 


This is a knurling tool to produce diamond shaped cross hatching.


Lots of clamps.  Lots to clean up.


Piles of Morse taper and R8 endmill holders and adapters.


The machine is set up, relatively clean and I made some test cuts to familiarize myself with the controls.  Still need some practice, but it'll be fun.

More to come.