Sunday, January 1, 2012

A New Muzzle Brake--Part 2

Happy 2012 from Another Airgun Blog!


Still working on the muzzle brake.  I flipped the brake around and milled the back end square.


Off on a quick tool tangent:  Turned an indicator holder from a piece of 5/16" key stock. It fits in a spare tool post holder.


This is mounted to the headstock in one of the various t-nut channels, either on top, or on the back. 


After adjusting the runout, I got out the compound crosslide.  (It's on the right)


I'm sure we've shown this before, but the compound mounts to the top of the crosslide and allows the cutter to travel at an angle respective to the work.


With a steady rest mounted to help prevent deflection, many light passes cut the taper.


Then back to the mill for a couple mounting screws.  A couple pieces cut from a target protect the workpiece.  Spotting for the hole here. 


Through drilling.


Tapping M4 x 0.7mm. 


Snugged a handle around the body of the tap.  The tap itself is barely held in the Jacob's chuck for alignment. 


Mentioned about a month ago about needing some new countersinks.  Over the course of a couple weeks, I replaced everything I had and then some.  I've found that gun shows are often excellent hunting grounds for machine tools at low prices.  Now, when I need a countersink, I feel like Rodney Dangerfield in the pro shop in Caddy Shack.  Hey!  I'll take one of these, two of those...


Used a 90 degree single flute cutter to chamfer the edge of the hole. 


Still need to finalize what to put this on and make sure it fits then get a finish on it.

More soon.

Friday, December 30, 2011

Drilling More Holes!-- A New Muzzle Brake--Part 1

Still playing with the spin index.    From the first time I saw one, I thought it would be the perfect "muzzle brake making device".  And why not?  The spin index allows for precise rotation of the work for drilling or milling.  Well, I've got to make one just for the cheap thrills from another piece of 0.875" DOM tubing.  No particular gun in mind for this at the moment.  Rather foolhardy, as the ID of the tube is around 0.635"--about 16mm, so it won't fit many rifles without reducing shims. 


Faced the end of the tube off.


Did some layout and marked off 0.375" intervals.


Squinting makes all my projects look better.


Located center.


Picked a short and stout drill bit as I don't want to spot each hole.   I believe this is a letter N.  The diameter wasn't critical.  What was critical was having enough rigidity in the bit that there was no wandering while drilling through both walls.


Staggered the holes.


Wanted a bit more aggressive look to it, so I milled off the end, cutting halfway through the outermost ring of holes.


It'll need tapered--as well as a couple threaded holes for set screws.   Hmmmmmm...I suppose this will fit the R1 or Marksman Mod. 56 FTS.  I'll find something.

Check back soon.

Wednesday, December 21, 2011

Derrick drills a hole! IZH 53M

I came back to the IZH 53M after seeing Tom Gaylord review the pistol on the Pyramyd Airgun blog.


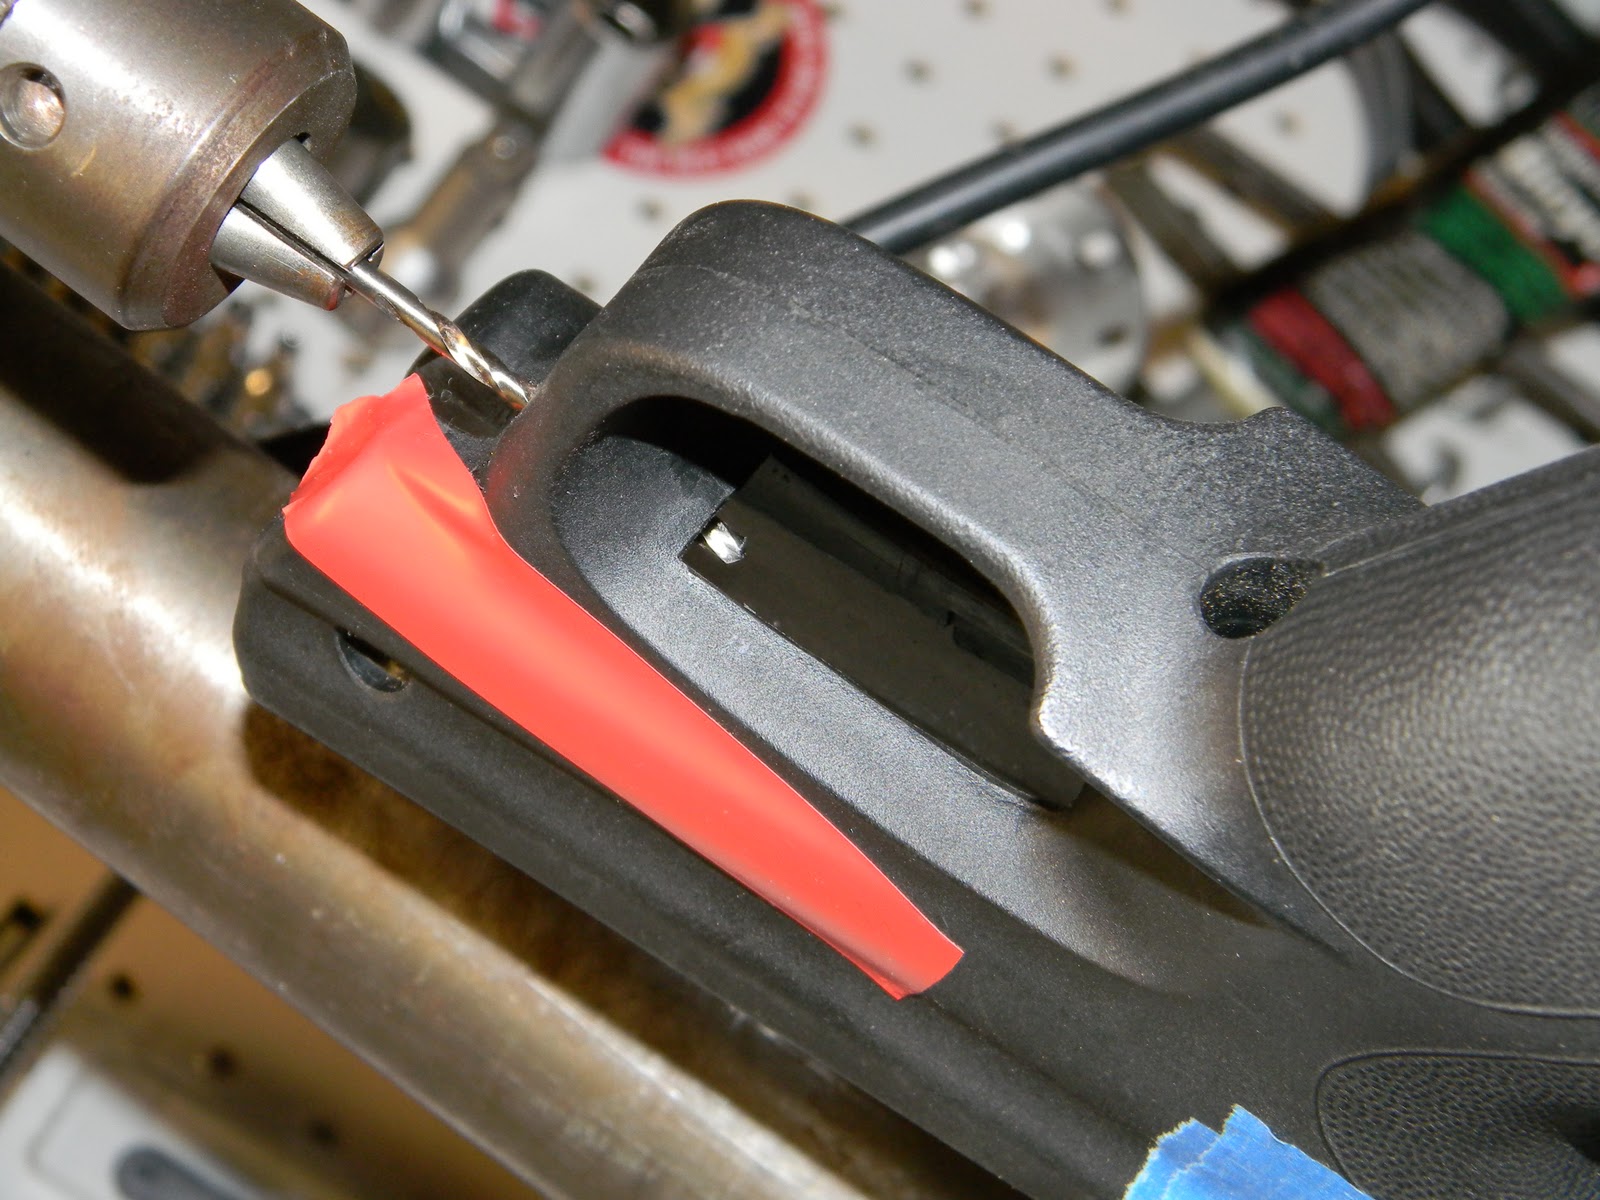
Wanted to add a hole in the frame to gain access to the trigger adjusting screw.  The first versions of the gun had an access hole.


But now, not all versions of the 53M even have this trigger screw.  Apparently, this has been omitted in the most recent iteration.  Mine is sort of a transition gun--it has the screw, but you have to remove the action from the stock to gain access.   Annoying, though once you nail the adjustment, I suppose that's it.


Removed the three stock screws.  The red vinyl tape marks the angle of the adjustment screw. 


This is the screwdriver I'll probably use.  The shank is only 3/32 (0.0938") in diameter.  I went through the drill bits and settled on a #39 bit--about a 0.0995".


Padded out the vise with rubber jaws.


Magnets hold the jaws in place.


Also wrapped some masking tape around the grip frame.  Eyeballed the drill bit to the red tape until they looked parallel.


When the gun was still assembled, I'd marked the frame at what looked like the right spot.


Deburred the hole by hand with a small countersink.  Just broke the corner.


Not exactly perfect, but it works.  Not too bad for a five minute project.

Hopefully something better next time around.  As always, check back in a few days.

Tuesday, December 13, 2011

Quick Look at a Benjamin Sterling HR81

Nick is a busy guy right now so you're still stuck with me.  I haven't got anything in the works right now, but thought I'd share a birthday purchase I made a few days ago.  It was still new in the box--a Benjamin/Sterling HR81 in .20 cal.


This gun was made in Racine, Wisconsin.   The barrels were reported to be made by Lothar Walther--at least in the few reports on the guns that I can find.  If that's true, then the barrel should be choked.  Age?  Well, the model 81 was dropped from production around 1994, so this certainly can't be any newer.


The metal polish is excellent--actually better than current Weihrauch production.  Metal finish is almost black like an Air Arms.   Hey, don't shoot the messenger.


Tunnel front sight. It came with a couple different inserts including a target globe.


Stock is American black walnut.   It's got some figure.  The oil finish looks like a simple coat of linseed.  It's a good look.  There was also a higher-end model the HR83 that had a pronounced cheek piece, Williams peep rear sight and hand cut checkering. I'll eventually come up to speed with the checkering tools for this stock.


Forend is a bit abrupt.  Almost like they didn't know what to do with the lines of the stock.  Rounder, fuller, schnabeled--almost anything would've looked better.


Pellet is loaded in a trough--it's genius.  Fingers are never in danger of a bear trap accident.


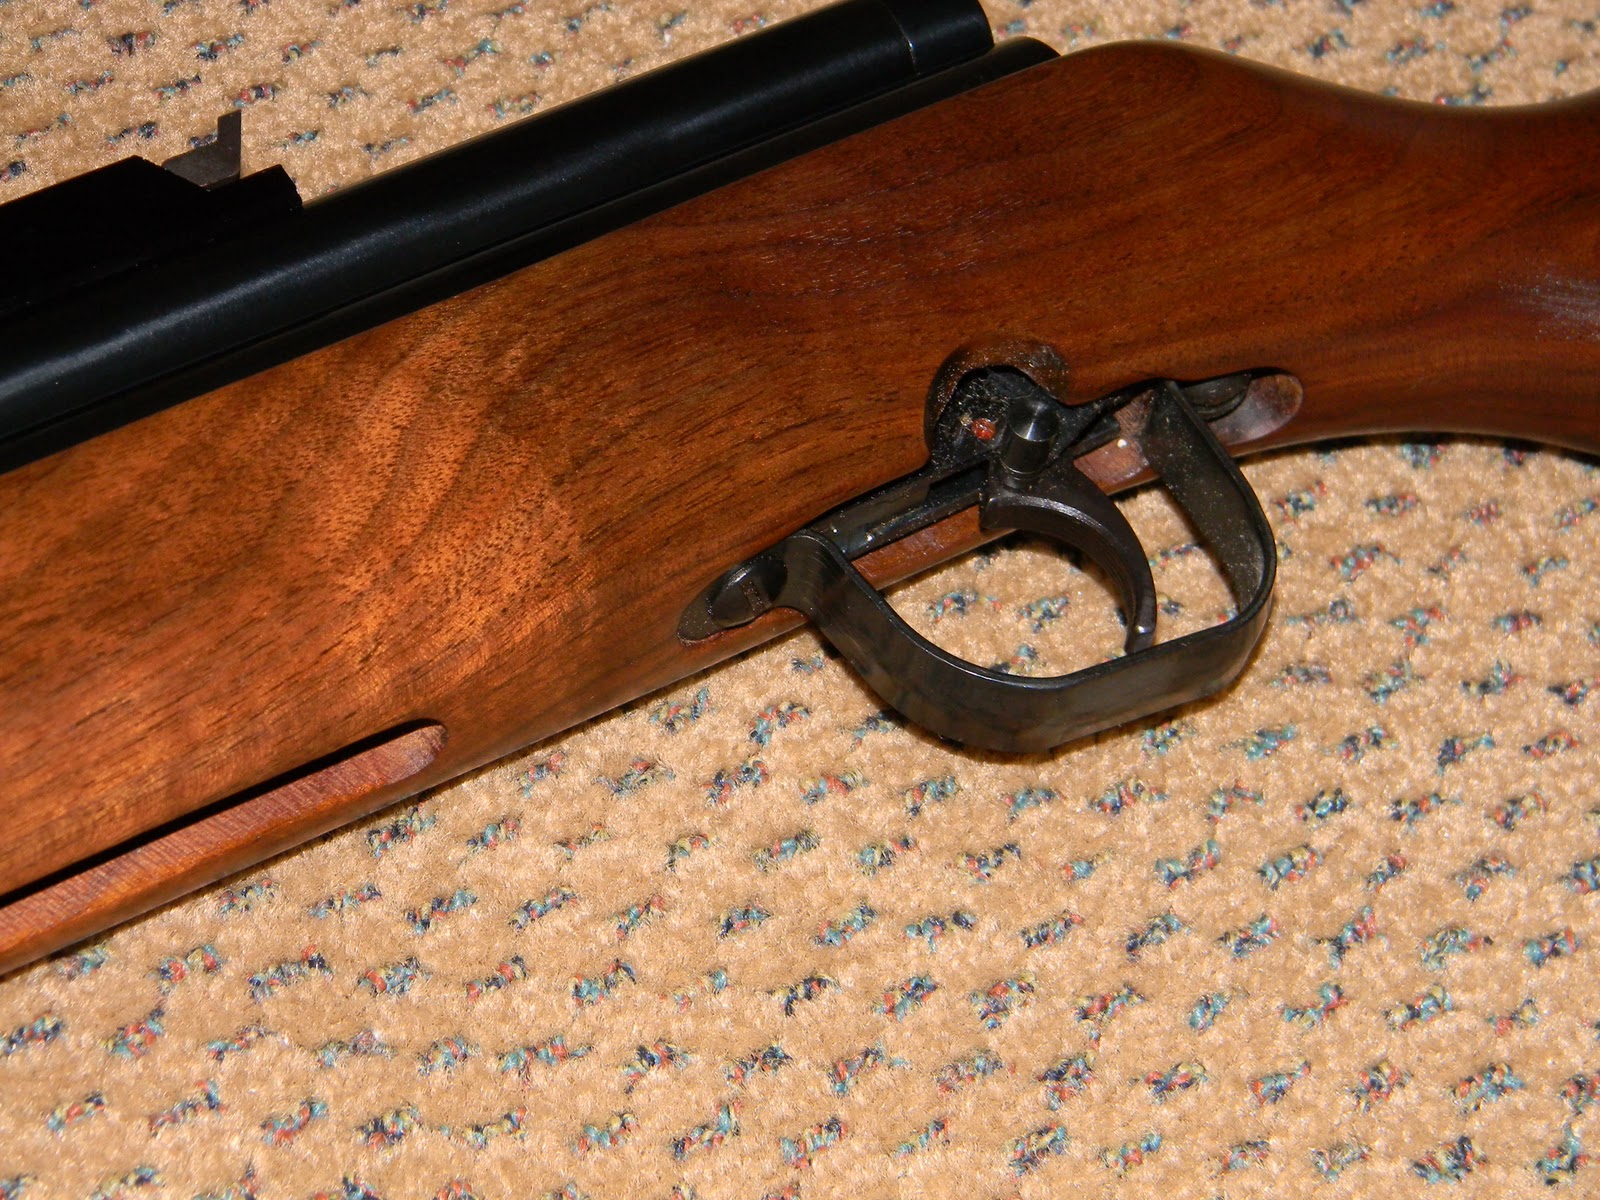
The bolt is spring loaded and takes some pressure to close.  The rear sight is an exceedingly simple open notch.  It's almost out of place compared to the front sight.   The stamped sheet steel trigger guard also detracts given the metal finish and walnut.


The small amount of mainspring I can see show it to be pretty dry.  I was told upon purchase, that the gun should be re-lubed.  As old as the gun is, I'd say that's sage advice.

Unsure exactly how soon I can start tearing into this one, but it's probably next up. 

Our friend, Tom Gaylord started to review one of these guns on the Pyramyd Air Blog.  His write-ups are here.

Please check back soon.

Wednesday, December 7, 2011

Heavy Barrel Sleeve for a BAM B26-2 Part 3 Final

Quick note:  As you've noticed, Nick hasn't been posting much of late.  He and Felice are a bit hectic these days making, selling, and shipping jewelry to all parts of the globe.  Click here and give them some support and get something handcrafted for your wife/sister/girlfriend.   My wife has several pieces of Felice's jewelry and says they're worth much more than the asking price.  The garden vases are especially elegant if you can't pick jewelry and know someone who spends time working in the yard.   Yeah, it's a plug, but it's really beautiful--and affordable--stuff.  Please consider giving them an order if you're able.  They'll appreciate it and you'll have something uniquely made by human hands.


OK, the barrel shroud.  Yep...  I blued it with Van's cold blue and it was a rather dark gray color and doesn't quite match the metalwork on the B26-2.  Don't think the issue is the Van's so much as just each cold blue giving a different result with each alloy.  It was completely uniform in color.  In an attempt to get it both blacker and a bit more "steel blue", I burnished some Birchwood Casey Permablue paste into the piece.  This colored it almost exactly as below.  After drying the piece, I wiped it down again with another coat of Van's on a gray Scotchbrite pad.   Again, it blended seamlessly.  Next, I rinsed the shroud in cold, then hot water.


Once dry, it was slathered with Rig grease.  Rig grease came out on top of Brownell's corrosion protection test a few years ago.  I coat all the metalwork on my airguns with it.


The sleeve--after fluting--weighs in at just over 12 oz.  Three quarters of a pound.


After installation, point of impact changed roughly 0.750" low at 33 feet.


The gun is noticeably muzzle heavy and I like it.


Not sure what's next.  But check back soon.