Wednesday, August 17, 2011

Tech Force TF79 / AR2078A Upgrades--Part 5

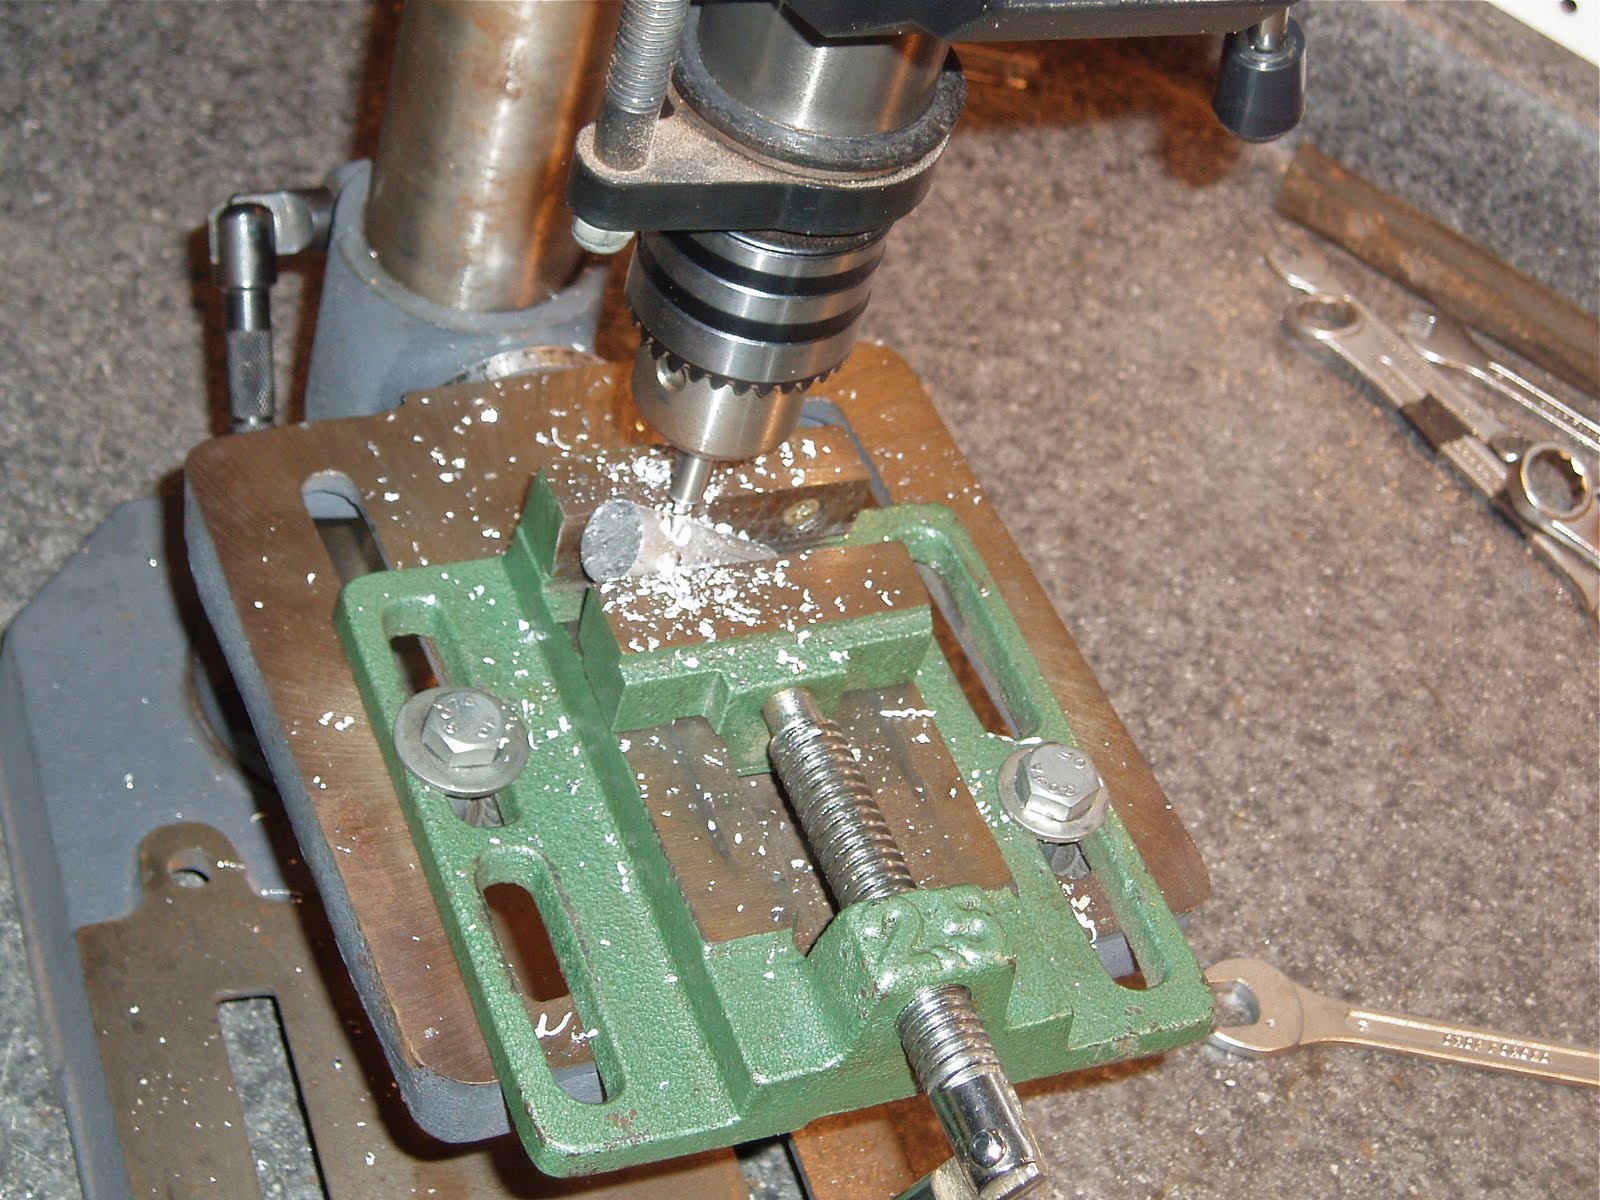
Ah, the final piece for the buttplate--the top-most shoulder piece. I'm not sure this will be the final, but it's modular and easy enough to change. Faced a piece of 3/4" round aluminum rod for the adapter. This will hold the shoulder piece to the rod. Cut a flat. Don't try this at home. This is poor practice and stupid. The workpiece could fly out of the chuck. Angled the piece in the jaws and cut a flat. This will angle the shoulder plate on the rod. Also angled the adapter for the mounting hole. Spotted, and progressively through drilled... to 3/8" to fit the main rod on the buttplate. The pinch clamp hole needs to be offset on the rod. Spotted and through drilled with a 4.2mm bit --the tapping size for M5 x 0.8mm. Used an endmill to cut a pocket for the head of the clamping bolt. With an arbor, I set up a slitting saw in the Taig lathe. As the lathe is completely modular, it's possible to mount the milling vise to the crosslide The crosslide allows for easy control over slot width. Tapped M5. Cut a piece of 3/4" aluminum plate--this will be the actual shoulder piece --and faced both ends to get 90 degree corners. Found the mounting hole location and through drilled. Note the bolt in the drill press table--ideally it would be a taller brass stud(--non marring). It keeps the work from becoming a helicopter on the drill bit. Through drilled with the 4.2mm bit. Trying to standardize the threads on the buttplate. With just a couple exceptions, most all the fasteners being used are M5. Tapped. The upper shoulder piece will bolt to this adapter. Countersunk. Better view. Still in the rough. Man, the finishing is gonna just about kill me. A hasty assembly.
Not shown, but I cut the mounting rod to size, and rounded the ends.
The plan is to contour the ends of the lower blocks to fit the shoulder and add some side taper to reduce their width--then put a satin finish on all the aluminum. Before that happens, I need to make the baseplate to attach this whole mess to the stock. Check back in a couple days.

Saturday, August 13, 2011

Tech Force TF79 / AR2078A Upgrades--Part 4

Just a quick check in post. I'm still making component pieces before starting all the shaping. On to the hook! Found center of a piece of 1/2" round aluminum rod. This will attach the hook to the main rod. Spotted Through drilled 3/8" at an angle--to fit over the rod. Cut a slit for a pinch clamp. Faced the ends and added a bevel. Drilled, tapped, countersunk for the M5 pinch bolt. Test fit. The leftmost piece is the attachment piece for the shoulder hook. Now for the hook itself: Faced a piece of 7/16" W-1 steel. (it's a water-hardening tool steel) A second piece gets a slight taper and some decorative grooves. Milled halfway through each end to create flats. Getting the flats parallel to each other took some set up time. Another view of the milling cutter. A little layout, then the holes were spotted and drilled. These will be the pivot points to allow adjustment of the hook. Tapped M5 x 0.8mm. Still in the rough, but there's the hook. Beveled the ends with a belt sander so it doesn't look gnawed by rats. If I later find that more adjustment possibilities are required, it'll be simple to cut and add an additional pivot(s). Again, a rough test fit. The aluminum blocks are gonna need a lot of work. The rubber pad will be removed from the stock and all this (and more) will be retrofit. Cleaned up the hook on a brass wire wheel. At least the hook is ready for prime time. I guess I need to finish the top of the buttplate then get on with the shaping. Oh, and there's the base plate to connect this to the stock. So, there's more to come.

Tuesday, August 9, 2011

Tech Force TF79 / AR2078A Upgrades--Part 3

The wretched adjustable buttplate project continues... Reamed the 3/8" through hole for the rod. Too much flash. Still, you can see that the heads of the M6 bolts are recessed to clear the 3/8 mounting rod. like so Block assembled. It's vertically adjustable on the rod. I'll eventually add a flat on the rod for the setscrews to bear against. Moving on to the shoulder blocks. These will be individually adjustable on the 3/8" rod. Rough cut. Trued up the ends in the 4-jaw chuck. A facing cut on each end gave 90 degree edges. And another... No daylight on the edges. Good enough for me. Still need another block for the bottom, a top piece and a shoulder hook, a base plate... This is gonna take some time. Layout for the 3/8" mounting hole as well as pinch clamp bolts. And the adapter needs a threaded hole for it's shoulder block. Tapped M5 x 0.8mm. Spotted and through drilled for clearance for the M5 mounting bolt. Countersunk and screwed to the block. Each lower plate was through drilled for the 3/8" rod, Then drilled for an M5 pinch bolt. Counterbored for the heads of the fasteners. Roughly sawed a slot--I'll open and even all these up with a slitting saw. Tapped the M5 threads. Lower plates attached to the rod. It's barely starting to look like something. I'll probably make the hook next then move on to the top. More soon.