Wednesday, May 12, 2010

Fitting A New Rubber Band To A Slingshot

I'm in between projects and pressed for time so here's something only nominally connected to airguns.

I bought this Marksman slingshot for a buck at that garage sale two years ago.

It didn't have much power and the condiction of the rubber band was suspect. You can see the checking.

Doesn't inspire confidence.

So I rolled the edges up and off of the slingshot forks.

I picked this up this "Talon Grip" replacement kit at our local "Bi-Mart", I forget how much it was but it was cheap.

It was the only kit they had in stock. I'm not sold on the "magnetic pouch" but what the heck.

I put the replacement tips on the forks.

A 50/50 mix of rubbing alcohol and water for lubrication.

And the bands slid right on. You then leave them until the water/alcohol mix evaporates.

Now to hide it from the kids, again.

Monday, May 10, 2010

Gecado Diana Model 5 Pistol, Fail Whale

Ahh, the day started with such promise.

I found a ball to fit the spring plunger for the trigger adjustment screw.

.125" diameter.

Fits and works.
Then I put the rest of the pistol back together in reverse order of disassembly.

Then I noticed that the spot welds on the front half of the trigger/cocking shoe stamping were all broken.

Both sides, lucky me.
Not sure how that happened. I didn't put any force on that assembly beyond clamping it in the spring compressor, and since I've done that to several other similar diana pistols I don't think that was it. Could just be that the spot welds weren't as strong on this earlier Diana postwar pistols. It could have been caused by someone before me trying to cock the stuck piston repeatedly, or by holding it in a vise by the stamping and unscrewing the end cap. But that's just guessing. In any case I need to dig out some spot welding gear, make some special tongs that extend into the tube, etc. Doubt I'll get to that any time soon...we'll see. Derrick says the pistol is my "White Whale".

I do happen to have another Diana 5 action of later vintage that's missing some parts so it may get put in place of this one.

Sunday, May 9, 2010

A Weihrauch Rear Sight Screw for Alan

Airgun buddy, Alan, accidentally damaged the rear sight attachment screw on his new Weihrauch 30S and has been unable to obtain a replacement. A plea to HW Germany was unsuccessful, so I sent him the bolt from my Beeman R1. Unfortunately, it proved to be 2mm too short and Alan was stuck with a new gun he couldn't shoot. Remembering my annoyance at having to use threaded bushings when making a sight cover plate for my HW35E, I elected to obtain a thread cutting die and just make him a new screw.

The screw is an M5 x 0.5mm and it's such a bizarre pitch size it's difficult to find a thread cutting die in the US. I did locate one on the net, but it was $39--that's about 4 times what 1" diameter thread cutting dies sell for.

Of course, my favorite machine tool supply company, Kromehard Twist Drill, had a small box full of them for about $10 each.

Die shown with a too-short-for-Alan HW rear sight screw.

Just a pic for scale. Pretty small screw.

Cut off a piece of 3/8" O-1 tool steel.

Bored the jaws and chucked the stock. Turned the end down to 4.90mm. Put a slight taper on the end to ease the start of the threading die.

Liberal application of cutting oil and the die cut the threads effortlessly. Fine pitch threads are a dream to cut due to the low torque needed to advance the cutting tool.

Cut and faced the end down leaving 7mm of thread to the underside of the head.

The HW screw has a 9mm diameter head. The 3/8" diameter drill rod equates to 9.525mm.

Another angle

Removed 0.525mm.

Hacksawed.

Alan didn't want me to waste my day on this, so I cut the slot with the hacksaw, too. Aligned by my green optical guestimating comparators.

Faced and beveled the head of the screw.

I cleaned the threads a final time since it had been in the 3-jaw, but there was no need.

I'll clean it up a bit and cold blue it with Birchwood Casey Perma Blue paste. Alan can polish it out further if he requires it. Looks like a Chapman #93 flat blade bit fits the slot exactly.

Friday, May 7, 2010

Old Style Benjamin Stems from New Sheridans

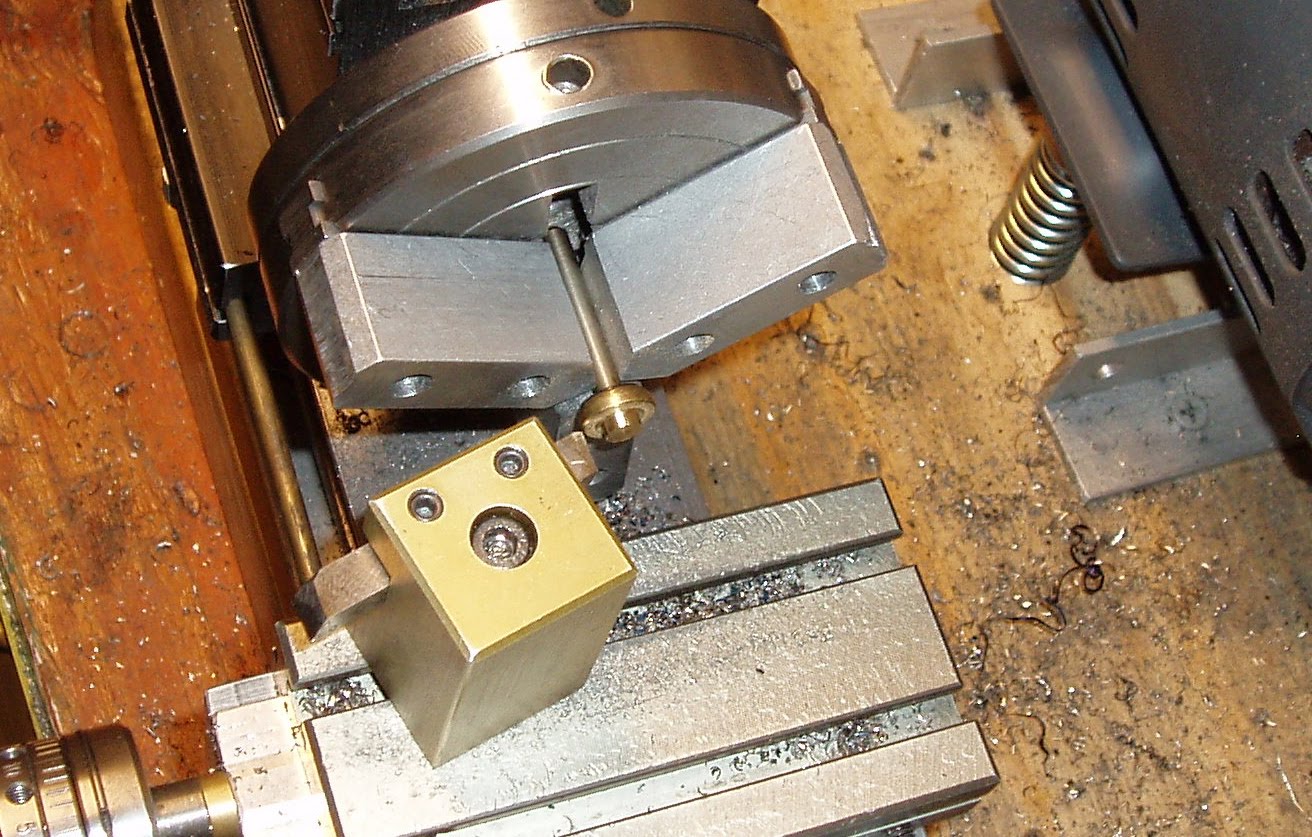
Precision Airgun owner, Chuck Trepes, asked me to modify some new style Benjamin/Sheridan valve stems to work with vintage Benjamin pump guns. Seems the new Sheridans and Benjamins use a fairly normal coil spring inside the check valve, while the older Benjamins used a conical shaped volute spring. The new stems have a post that the spring fits over, but it's too large in diameter for the old conical spring.

What is the #99-079 number on the envelope? I'm going to guess that these are actually Crosman part #397-038. The one on the left has the smaller diameter post that Chuck needs.

As long as I roughly match the diameter, the spring will stay in location.


Really a perfect job for a small lathe like this. The model Chuck provided didn't have any semblance of a truly round post. It varied by several hundredths in diameter. I settled on turning these down to the average diameter.

As long as the volute spring fits over the end, it's a go. This was such a non-precision job, I just used a comparison caliper rather than measure each piece. I was still within about two or three thousandths of an inch over the batch.

I can't find my notes as I write this. Believe I took the diameter to 0.248". I'll find it and edit if necessary. The important part is the spring fit, not the actual number.

In about 20 minutes, I had six done.

Monday, May 3, 2010

Gecado Diana Model 5 Pistol, Fixing The Piston Head

Now to deal with that messed up piston head.

I chucked it in the 3 jaw. You can see the folded over burrs that are keeping the loose head in.

I turned away a couple of thou' at a time. I wanted to remove the minimum.

Then when I had a nice clean ring on the face I started working on the inside rim.

At this point I was able to pop the head out. Those burrs were thick.

The head...

The back side. As you can see it's a rivet of some sort that retained the original seal.

Dialing in the piston in the 4 jaw chuck.

Boring the recess true and clean.

Ready for a head.

The insert roughed out.

Using a form cutter to make the dovetail button. Notice the chatter marks.

Final cutting, chatter removed at very low speed.

You can see the tool I ground. The Diana pistons seem to have a 70 degree dovetail as best I can measure.

Cutting the insert off.

The insert.

Fits!

I soldered it in with soft solder. The new acetylene tank did not catch on fire like the old one did last time. A nice even ring of solder holding the insert in. I cleaned the face up with a very fine pass across the face.

You can see the solder flowed inside.

Using my extremely handy Diana seal tool.

Popping the seal on. Notice I cleaned up the OD near the head as it was a bit scored.

The seal in place. Looks good.

Another shot. I bought the seal from Air Rifle Headquarters. He gets a lot of my money these days.

Now to derust, deburr, clean, reblue the pistol, make breech seal (o-ring) shims, lube and reassemble...then test. Then if it works... fix the cap that screws on the end...all the ones I have are beat up and I should make a threaded arbor so I can reknurl/cut new knurls after truing. fix the stock... fix the windage screw... I'll never run out of projects.