Sunday, August 10, 2008

My New Custom Shop 2300

Derrick and I have been trading objects back and forth in a sort of mutual destruction potlatch lately, but even so I was extremely surprised to see this show up in the mail:

A Crosman 2300! Engraved "Carter Mk 1"

With Red Dot scope and grips that at first I thought were from the Custom Shop...but Derrick had made them just for the gun.

Unfortunately he had fitted them to a different grip frame, so they stuck out proud by a small amount.

The reason was the bezel around the safety.

But a little filing on the grips where they contacted and they sat flush. Beautiful grips and very comfortable.

I was surprised that the pistol came with a trigger spring adjuster. Of course one would just adjust it down to the minimum weight possible, but it shows that Crosman is at least thinking about those of use who don't like to use all our force just to shoot the darn thing.

Derrick suggested that it would benefit from some trigger/sear work so I stripped down the grip frame. You can see that the side plate does not sit flush.

And just as on the 1377, the sear can wobble on its pin, and a spring washer takes the slack out of the trigger pivot.

Again, just as I did on the 1377, I replaced the Crosman pins (.123") with dowel pins (.125" and polished much better than the Crosman pins)

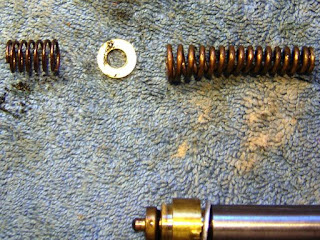
I replaced the stock spring (L) with a shorter and lighter spring (R).

Crosman just assembles the guns with the bosses in the as die cast state, which is why the grip frame plate doesn't sit flush.

Again, you can see how the boss pushes the plate outwards.

So some light filing on the plate and the frame bosses.

Which removed any flash and allowed flat contact areas.

Now you can see how the plate is straight and flush.

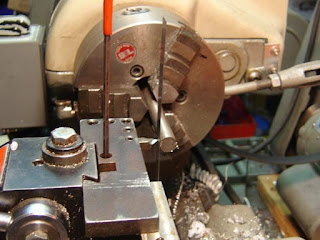
Checking the width for the spring cap.

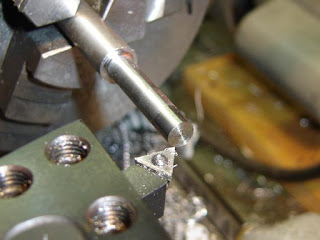
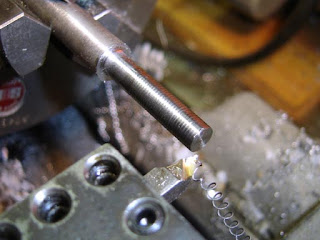
Turning a cap from Delrin.

The finished spring cap.

As on the 1377 I added thin shim washers to take up any slack in the sear and trigger.

I stoned the sear where it contacts the spring. Both the make it smoother and to provide a square contact. The part is stamped and not smooth as supplied.

And where it contacts the trigger. I made sure to polish along the axis of the sear.
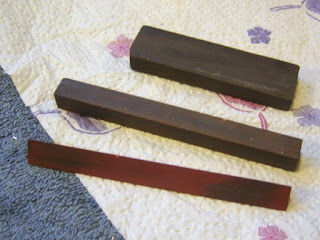
The stones I used, a fine oil stone, a finer machinist's stone and finally a ruby hard stone to polish.

I put it all back together with a thin smear of moly lube on all sliding, rotating and contact surfaces.

The trigger is much smoother and just a little lighter. It isn't as distracting when shooting. The pistol is quite accurate! At 10 meters I can hit the small 3/4" targets on the Gamo Rocker Pellet Trap I have out in the backyard, which is no mean feat for me.

Beyond all that, the 2300 is just fun to shoot. The .22 caliber impressively smacks tin cans, it's quick to load and pretty economical with the CO2.

Friday, August 8, 2008

Benjamin 317 Rifle, New Seals

Now to put it all back together...

I made a new lead seal using the technique I've used before for shim washers.
I was lucky enough to have some lead sheeting that was within .004" of the thickness of the original.

I dug the old seal material out of the inlet and exhaust valves.

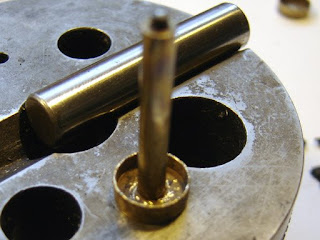
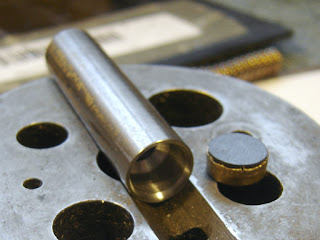
I used a dowel pin to get the cup walls straight.

The brass cracked a bit, probably would have been a good idea to anneal them first.

The dowel pin has a through hole so I could fit the valve stem inside.

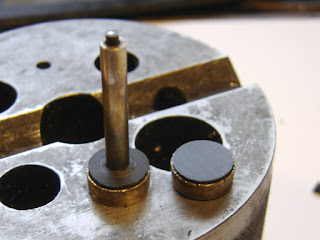
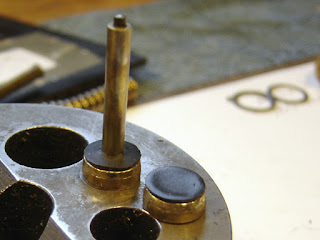
All cleaned up.

New seals from 80 durometer polyurethane rubber.

I made a crimping tool, bored to fit over the rubber seal.

Used a 1/2" ball end mill to make a radius on the inside edge.

The tool.

Crimped the cups. Notice that it distorted the inlet valve seal...

Which leaked upon reassembly. It took a while to figure out why, but when I did I decided to just turn up a solid teflon inlet valve. Sealed perfectly. I think the inlet valve spring just didn't have enough force to seat the harder urethane against the seat, or the deformation induced by crimping the seal threw off the seal surface. Or a combination of the two.

When reassembling I found that I needed to trim the length of the square end of the wrench to just under the thickness of the valve nut. Otherwise it's nearly impossible to get the nut started.
Another lesson learned.

So, how does she shoot?
I did some quickie chronograph shots
2 pumps: 395 fps
3 pumps: 480-500 fps
5 pumps: 600 fps
7 pumps: 675 fps
8 pumps: 695 fps

The valve does not dump all the air though, so you can get followup shots.
With 3 pumps, you can put another 2 pumps in and get almost the same fps
With 5 pumps, no extra pumps gives you 300 fps, one extra pump gives you about 400 fps
With 7 pumps, you get a followup shot at 440 fps
With 8 pumps, you get a second shot at 510 fps.

The manual implies this is normal, "Usually all of the air is not discharged when firing and fewer pump strokes will be needed for recharging."

Anyway, it's wonderful to have it working.

Wednesday, August 6, 2008

Benjamin 317 Rifle Disassembly, Part 4

Now to pull the valve...

The valve is pulled!

The inlet valve spring, washer and the exhaust valve spring.

The exhaust valve, lead seal. The lead seal has an alignment ear that I don't see on the replacement seals offered on gunbroker. Probably doesn't need it. I dug out some lead sheeting and will just make an earless one.

The exhaust valve seal & stem. The rubber seal has extruded around the valve stem. I'm assuming that's not how it should be.

The inlet valve, inner side. I had to push the pump a couple of times to get it to break free.

The inlet valve seal. It also has extruded to fit into the inlet valve hole. Again I'm assuming that's not correct? Both the inlet and exhaust look like the edges are rolled over to retain the seal. I need to do some dissection...

All the valve parts.

The exhaust valve seal really looks bad. Notice the hardened piece pressed into the top of the stem that is contacted by the hammer.

I now have to do the following:
1) clean everything
2) find out whether anything else comes out of th valve assembly.
3) make a lead seal
4) make a new exhaust seal
5) make a new inlet seal.
6) put the whole thing back together and test.

Fun!

Monday, August 4, 2008

Benjamin 317 Rifle Disassembly, Part 3

So then I chucked a piece of 7/16" diameter tool steel (I have no idea the exact alloy...came from the scrap bin)...

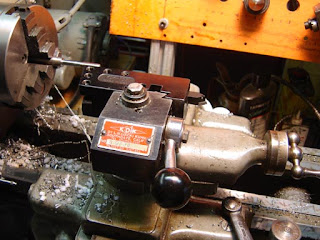
Setting a threading tool on center.

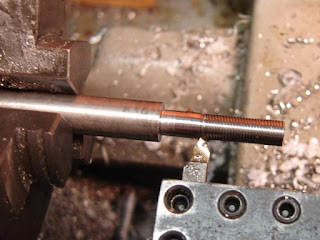
Turning down the OD to 9/32"

First pass threading 32 tpi.

Halfway through.

I swung the compound over to 10 degrees and put a taper on the end of the tap.

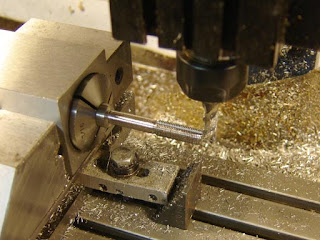
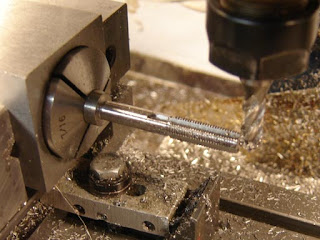
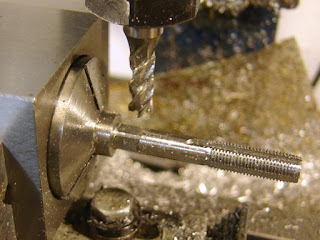
Milling the flutes. They have zero rake.

All done.

Milling the flats for the tap wrench.

I hardened and tempered with my acetylene torch and it was done.

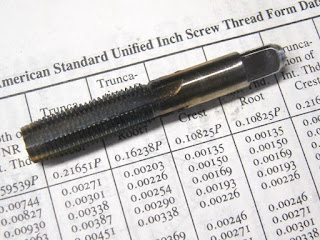
Tapping the puller end.

Threads look good.

And I threaded the end onto the valve to check.