The other evening I was kicking around for something to do. I wasn't actually banished to the basement by my wife, but I can read the room. Went though a box of airgun pieces/parts and came across a couple discarded trigger blades from my IZH 61 rifles. Thought about adapting one of the blades to the old CP1-M pistol.

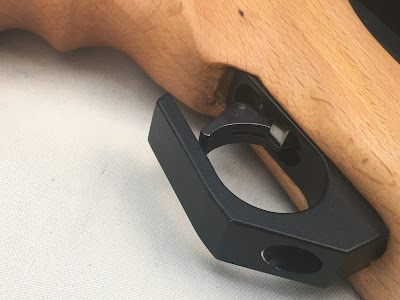
Removed the trigger from said pistol.
There's an easy tiny project here, I swear.
Cut a little piece of steel and cleaned it up in the milling machine.
I measured the trigger housing itself and milled the block's width a couple thou under size so it wouldn't drag on the sides.
Like so.

Measured the trigger pivot pin.
Drilled a couple thousandths oversize.
While still in the vise (and on location) I test fit the pivot pin. I'm purposefully fitting the new trigger carrier directly to the gun itself rather than match dimensions from the original trigger blade. Doing it this way because the original trigger had a lot of extra clearance that made it feel sloppy and wiggly.
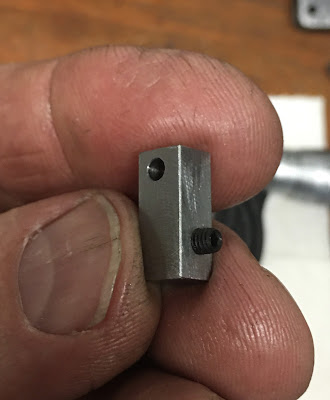
At 90 degrees from the pivot hole, I used a 2.5mm drill.
Followed with a M3 x .5mm tap.
3mm set screw test fit. This will allow for adjusting the sear contact.
Milled away some excess material at the rear of my new trigger carrier.
Now, where to put the stem to hold the blade? Scratched my head, angled the carrier slightly in the vise and drilled through.
The hole in the IZH blade is nominally about 3mm (0.118"). I went through my number drill bit sizes and picked the snuggest shank size that would still slip through the mounting hole. A #31 bit--about .120" gave the closest fit. Cut the shank with a cut-off wheel in my Dremel tool.
Almost done.
The "stem" still needs cut to length after a quick mock up.
Trimmed and rounded the 3mm set screw.
Broke all the sharp edges on the trigger carrier. Before starting, I didn't fully appreciate how this was going to be such a miniature project. Lot of holes in close proximity.

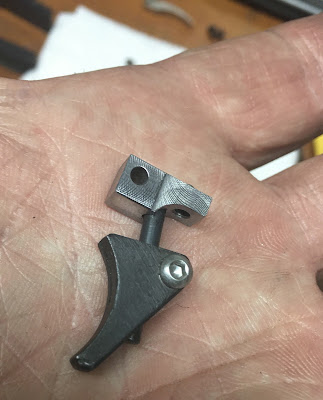
Pressed the stem into the angled hole I drilled through the carrier. Some Loctite 680 retaining compound pretty much guarantees this is a permanent connection. Not shown, but just to make certain it doesn't move, I also staked the pin to the carrier.
Finally, the IZH 61 trigger blade that started this whole project. It's a bit ragged around the edges. May need to pretty it up after shooting it for a few days.
That stainless bolt has got to go.
The new trigger allows adjustment for blade height as well as rotation. Oh, and sear contact.
And then out of the ether, I also made a new bolt handle. Just a bit more slender than the original. Whoops, that's gotta get blued, too.
OK, so what I got out of this was a trigger that I can easily adjust for position and with the exact sear take up I want. And unlike the original trigger there's no wigglyness.
I'm trying to post more. Check back soon.


2 comments:
great project. thx for sharing that. happy christmas.
Well, go out of town for a few days and what happens? A new post!!! Wohoo! That's a lovely bit of work indeed. Thanks for sharing it with us. Oh, and thanks for the Christmas gift - a nifty new post on the blog!
Post a Comment