So, why again am I doing this to a 70+ year-old air rifle? Because the trigger is difficult to reach and seriously detracts from an otherwise wonderful air rifle.


Both guards went to the milling machine to drill the mounting holes.


Hmmmm... it's actually not that bad.


The new cross pin from tool steel.


Cut two of these strips of from 0.125" thick cold rolled steel.

Compared to the original stamped steel trigger guard, it's substantially thicker.

Didn't like the surface finish and didn't want to sand it for an hour, so I dusted the faces on a surface grinder at work.

At least it'll be shiny.

Clamped with some aluminum in the vise jaws to protect the finish.

Assumed this might help. I was wrong.


Nice. Now the steel was both sharp AND hot.
Nevertheless...


Version 1 was dead simple and provided me with the basic clearances for the set-back trigger to function.

Couple evenings later, I tried bending a second trigger guard--minus the heat.

Tried for a bit more curve.


More abrupt at the front than I wanted, but I think it better fits the svelte lines of the stock.


Both guards went to the milling machine to drill the mounting holes.

Not shown--chamfered the holes on the outer side.


Roughed the curves into the ends on the bench grinder then filed and sanded.

Versions 1 and 2

I suppose that either guard would actually be fine for a 70+ year old rifle.
Ver. 1 test fit:

Hmmmm... it's actually not that bad.
Test fitting Ver. 2


Think the lines of #2 are a better match to the rifle.


Going to finish both guards. More filing, sanding and polishing. Most of the time was spent rounding off the bottom edge.


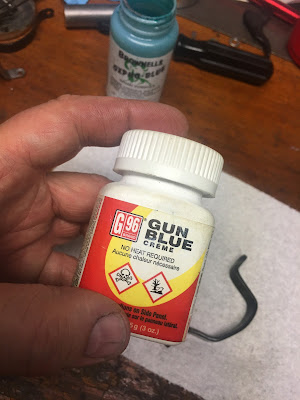
Then it was time for some cold blue.


Not quite dark enough and a bit too blue with the Oxpho. Some G96 will do the trick. By itself, G96 will turn the steel black with virtually no blue. On top of the Oxpho, it'll darken but leave the hint of gun blue and gloss.


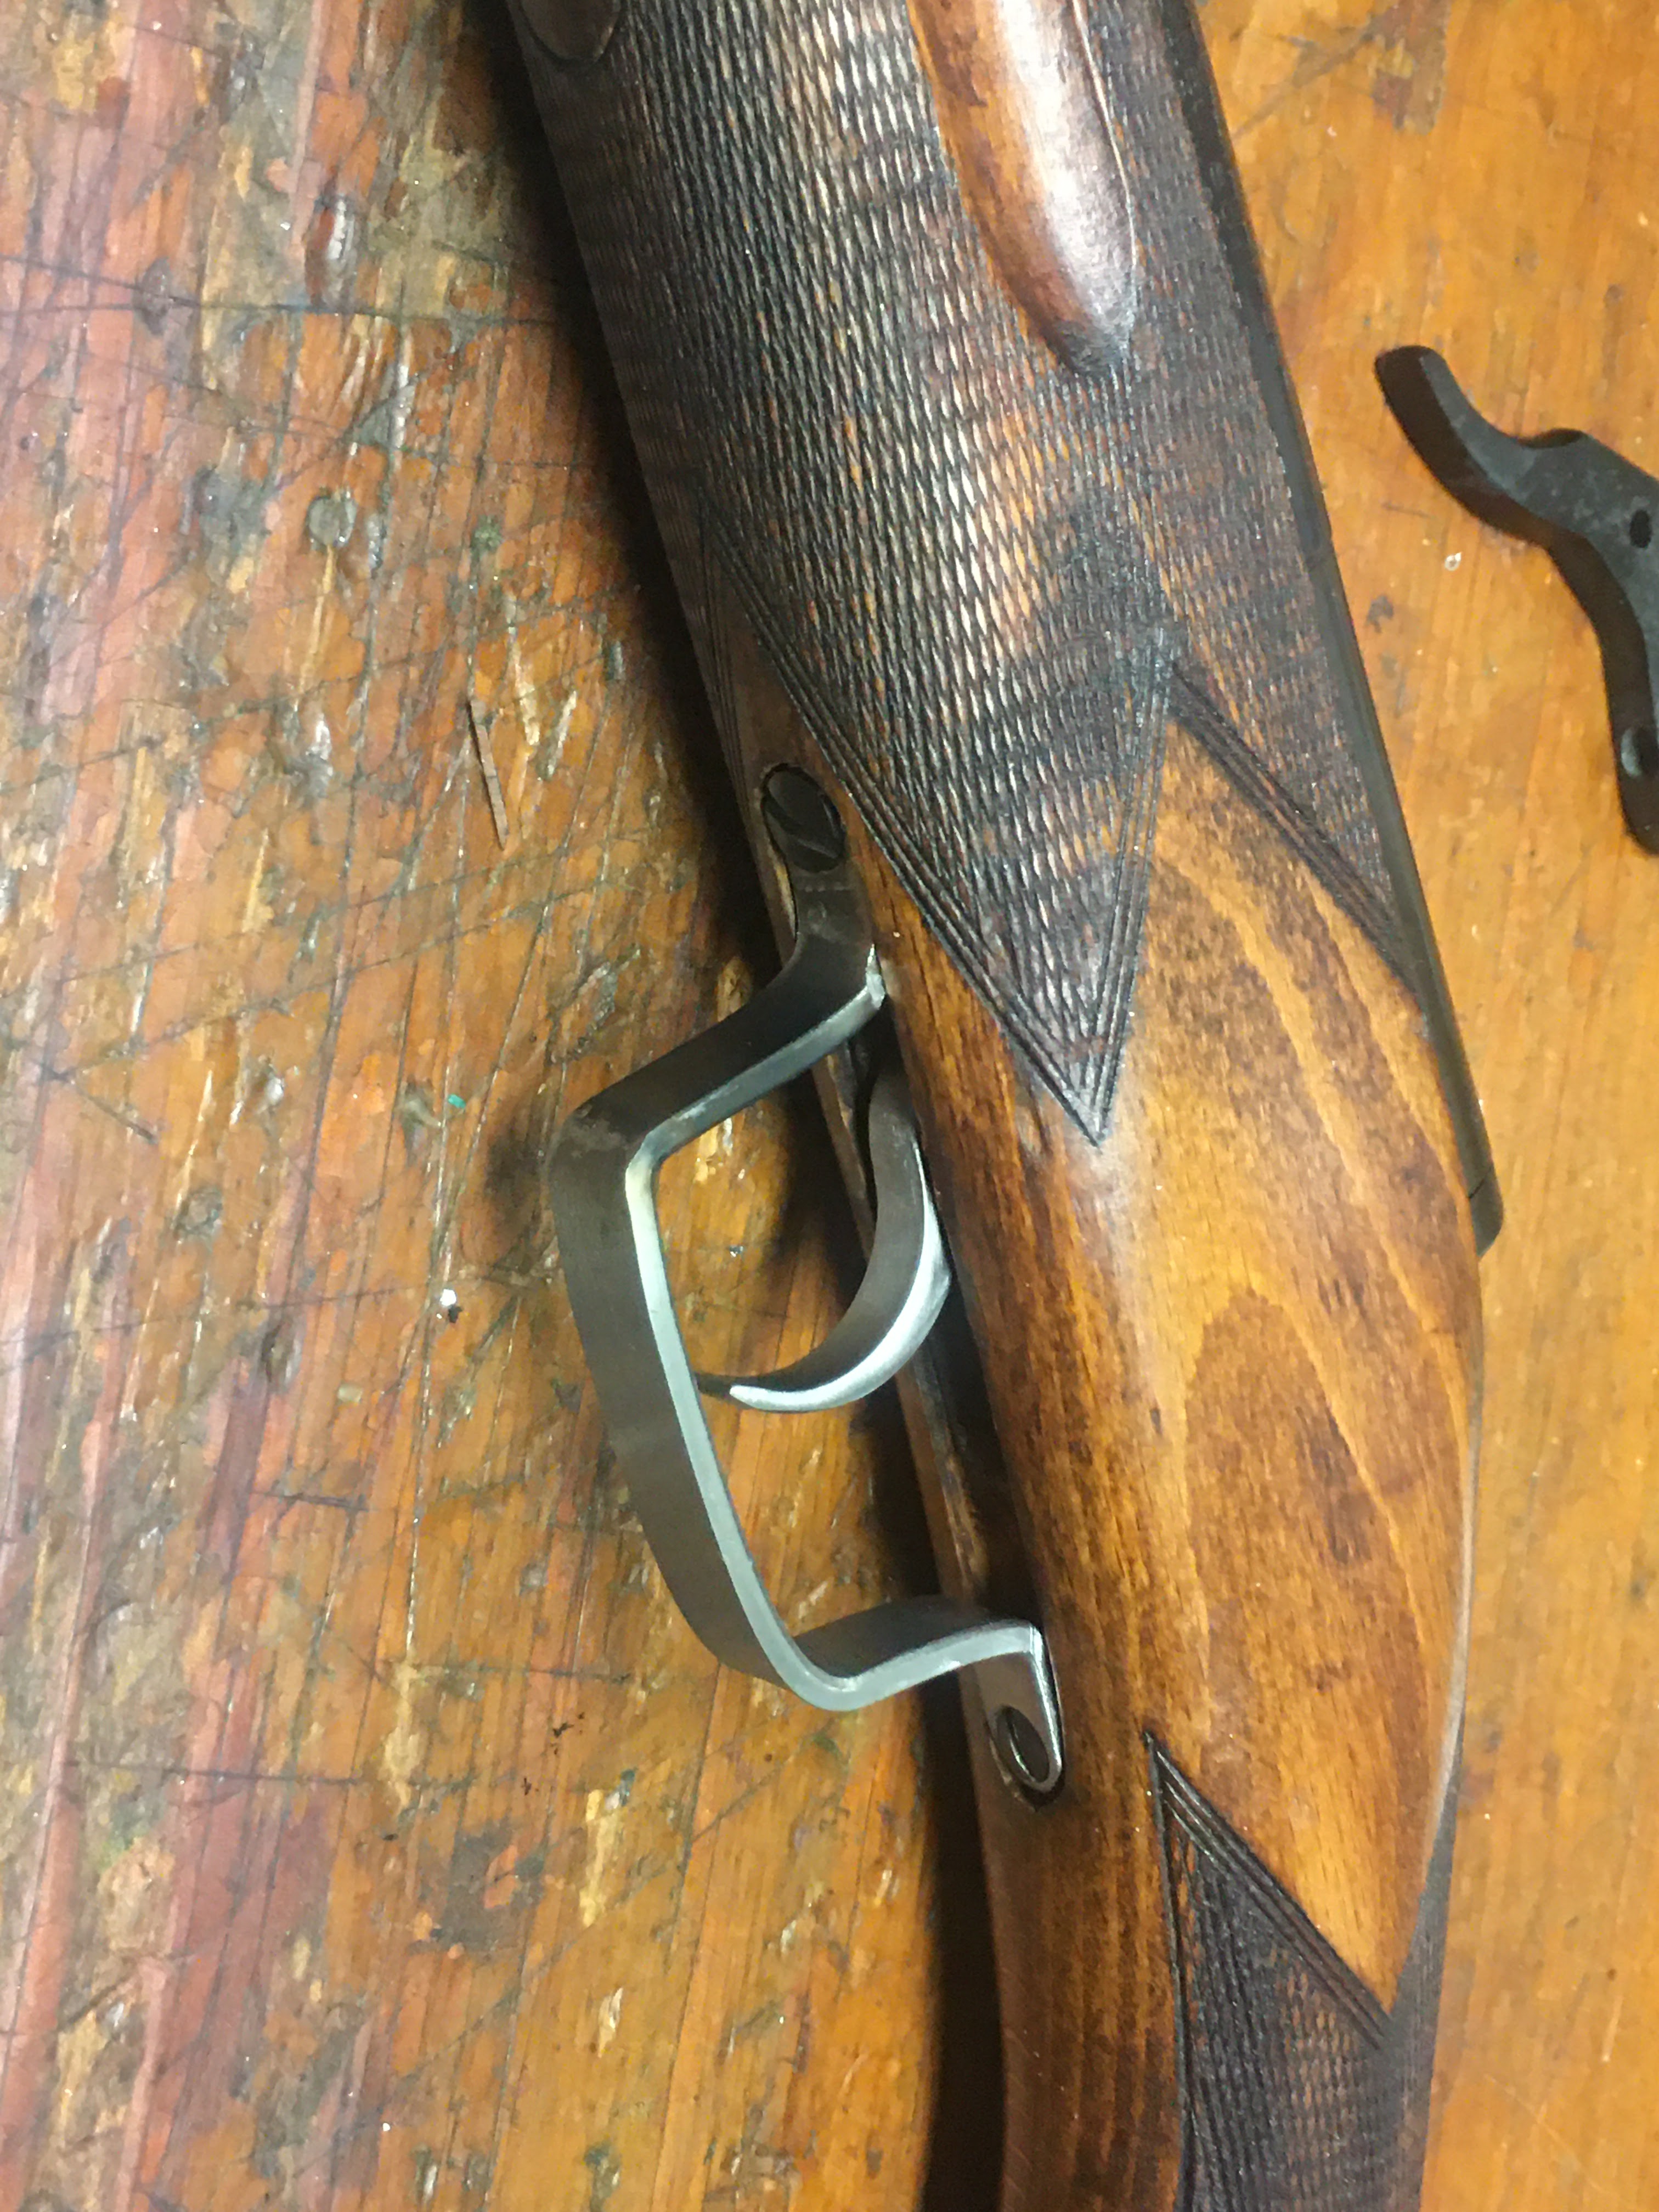
With guards done, went back to the trigger for final clean up and polish


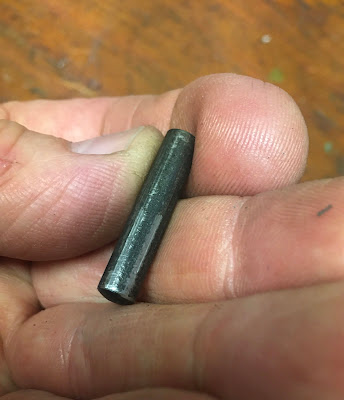
Decided to make a new trigger pivot bushing and cross pin. In for a penny...
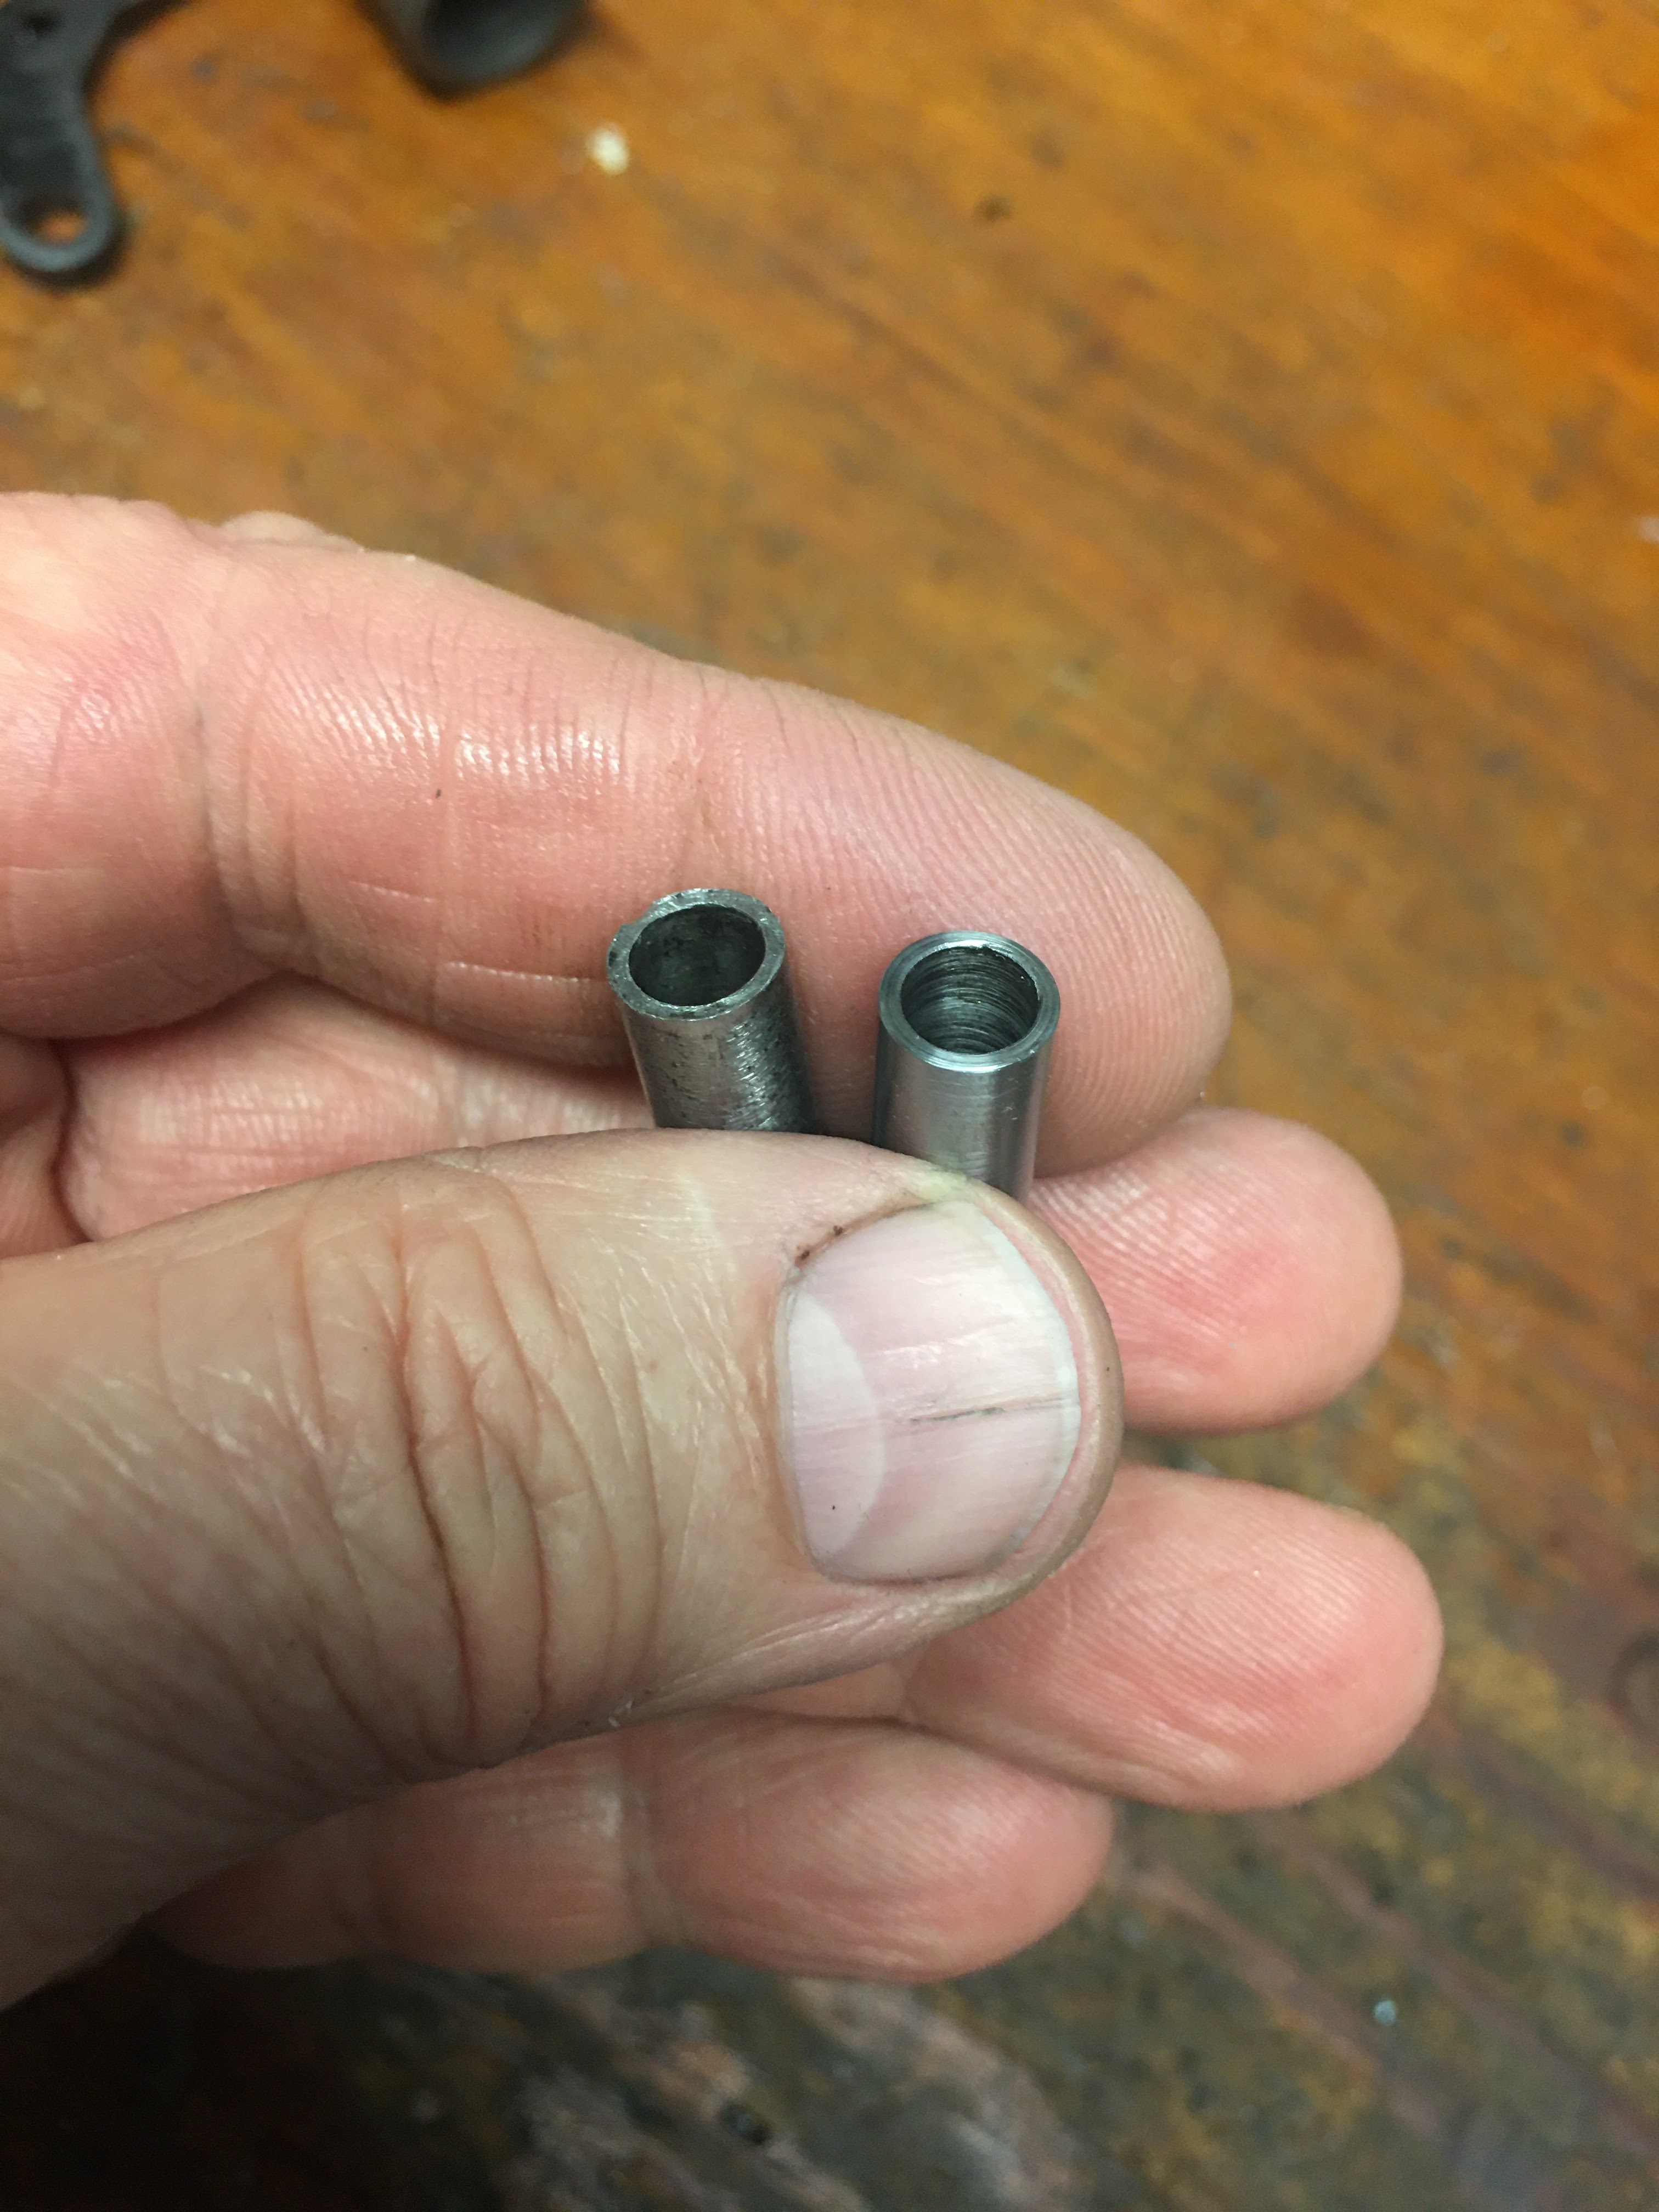
New trigger bushing is on the right.

The old bushing was showing its age.

This is the old cross pin. Anchors the end cap in place on the spring tube.


Blued the ends where it'll be visible.

Some color for Mister Set-Back


Assembled the trigger to the end cap with the new bushing.


Sized a new trigger return spring. Moly grease on all the moving surfaces and put it all back together with the new cross pin.
Let's back up for a second. This is the original trigger and trigger guard.

Functional if you wear XXXL gloves.
And finally, the replacement(s) for normal fingers.


Cleaned up and refinished the old stock mounting hardware.


About 100 shots later, the set-back trigger is a home run. Trigger is now comfortable to reach and slightly smoother in pull than the original trigger blade. And I'm very pleased with the way the trigger and guard fit with the aesthetic of the little Belgian rifle.
I should probably also mention that all this work can be completely undone and swapped back to the original parts in about 10 minutes if so required.
I've no idea what's up next. That new-to-me rifle from Volvo is close to the top of the pile, but I'm not quite there yet. I came up with a quick list of airgun projects and it was pretty long. A walnut Dennis Quackenbush stock to fit and finish for my Crosman 160, Wood grips (and new trigger?) for a Gamo Center underlever pistol, a .25 Crosman barrel/breech, maybe an update on the Remington Summit in the NP2 stock, an air stripper...
Appreciate everyone checking in.

4 comments:
Lovely work, as always. Looking forward to seeing how you hash out the next projects. That 25 cal intrigues me as I've been KIND OF wanting to mess with the caliber again, just haven't found anything that inspires me to give it another go.
I'd like a .25 "upper" for a Crosman 2240/2250 conversion. Seems like it'd make for a fun plinker. Even at relatively slow speeds they hit like a hammer. Not all these airguns have to fill a specific niche, they can just be a good time to shoot.
I've had similar thoughts, a 25 breech/barrel combo on a Discovery tube would make a nifty "swat 'em" rifle. Not that I have anything around here that needs swatted, but as you note, they're fun to play with for their own sake. My last quarter bore was a Hatsan Striker 1000X that I traded away as it really didn't care for the heavier pellets and that's all we can get here. Still, the difference in the swingers between an impact from that rifle and a similar power 22 was impressive. There's a lot to be said for momentum!
Seems like an interesting project and worthwhile thumper for pests.
Post a Comment