


In good shape but it appears some shade-tree mechanic has been at the innards…

That does not bode well…
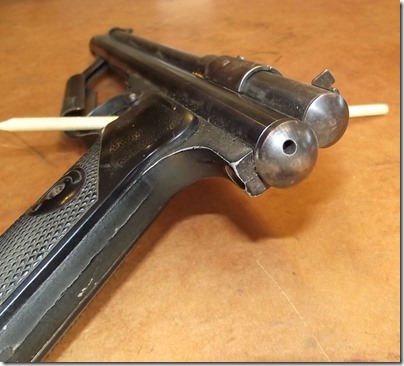
That hole should be for adjusting hammer spring tension, but only on guns with a knock-open valve, on this model I suspect it’s what they had on hand?

A lot of scratched around the roll pin…

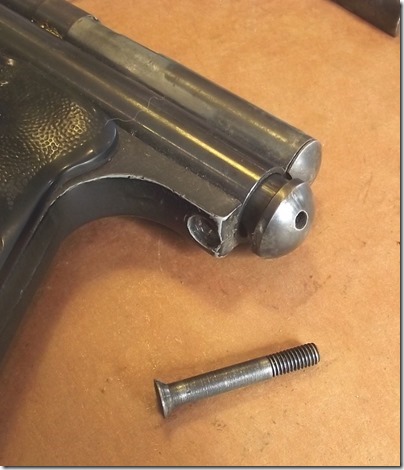
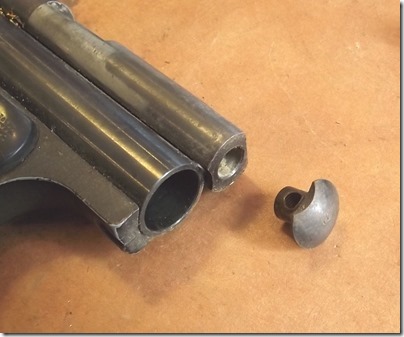
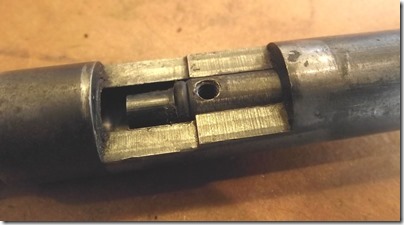
The bolt screw hole had a burr on it that prevented it from coming out until I deburred it.

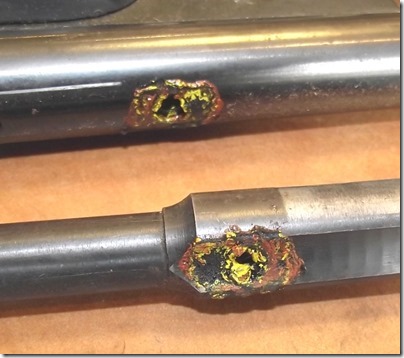
It looks like they tried to use a tire patch to seal the transfer port. Not the best idea.

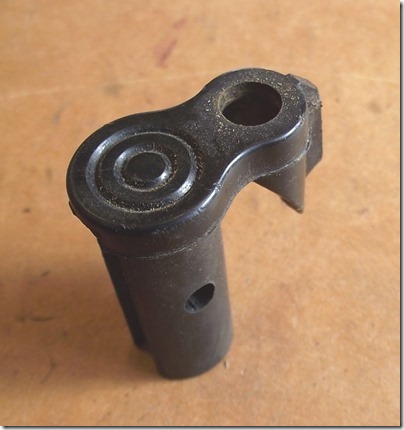


This is going to be a pain. The other 130 had an o-ring instead of a pump cup. I’ll have to try and press the brass ring out and modify a 1377 pump cup. Or I’ll machine a new one…


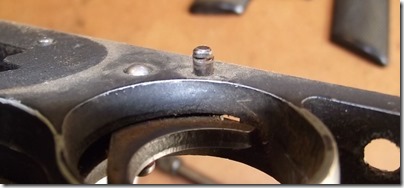
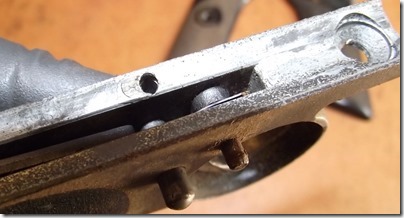
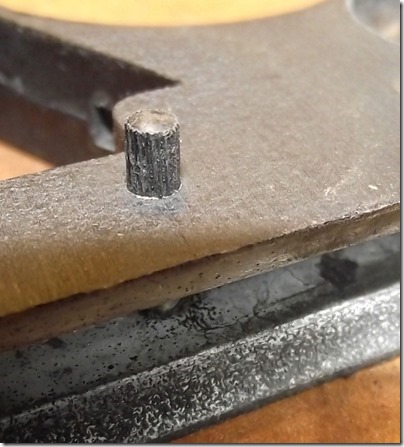
Roll pins only come out one way. Well they come out both ways but one does less damage.

A nice oval piece of spring keeps the trigger from slopping around.
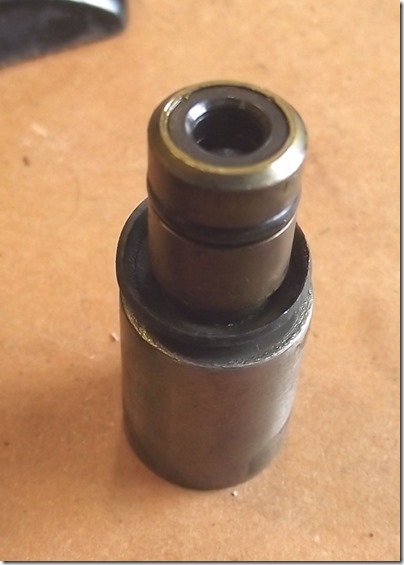

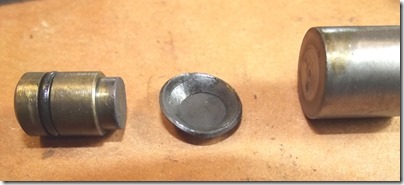
The mechanic inserted a flat piece of rubber between the hammer and the blow off valve because he had no idea how the gun worked.

Notice the dents on the valve spacer.

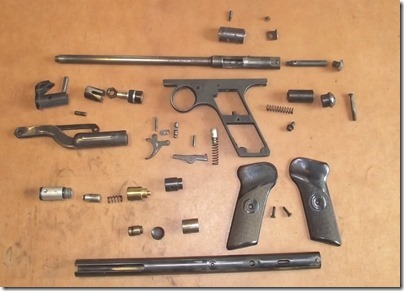
Now to clean and reseal, hopefully soon.
Update 05/05/16
I cleaned it, changed all the o-rings but didn't do anything to the pump cup other than oil it. Put it back together (which is done in reverse of disassembly) and it works fine. So nothing more to write about this nice little pistol.

7 comments:
How does one determine the proper direction to push out the roll pin?
If you're lucky you can look at it with some magnification and see that one end has the straight knurls, otherwise it's a coin toss. It may be that it's standardized so that they are always on the left side of the pistol, but I wouldn't bet on it.
It´s great to hear from you again, Greetings from Mexico
It's good to see another post from you. One is always curious as to what you'll come up with next. :) While looking around for a parts to order I saw that Mac1 airgun has a rebuild kit for that piston. Of course, with your skills and machinery you'll have no trouble making one, just found it interesting that there are parts available to those of us who don't have the machinery to make one ourselves.
Thanks for sharing your adventures in airguns with us!
Interesting! Basically a replacement of the cup with an o-ring.
http://www.mac1airgunshop.com/flat-head-piston-for-early-crosmans-p/mflhereki.htm
I used a Mac1 flat top piston. Easy mod and it worked very well. My feeling was that it performed better than a prime condition original piston.
There was a lesson learned during disassembly. The screw holding in the rear sight must be removed before attempting to remove the larger screw below it on the underside of the frame. This is because the smaller sight screw is threaded into the larger screw. I ended up needing to replace both screws.
Regards,
Fred
The hole in the rear end plug is not for reason stated here but there to facilitate poking a rod through to reset a non resetting valve which can happen occasionally. Its also present on the 1300 and an intended feature
Post a Comment