I decided it would be a good idea to test things out now that the valve and pump work.
Reassembled the breech with the pellet trough and barrel.
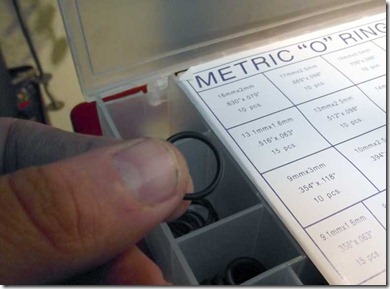
A thin o-ring.
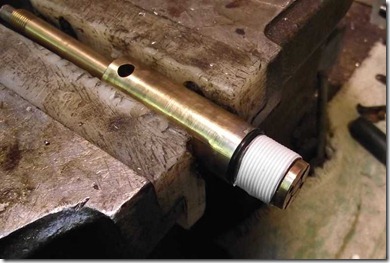
In the valve body groove
Nope, not enough clearance. I could cut that groove deeper although I’m not sure whether that’s needed. The teflon tape alone seems to give a great seal between the tube and valve body.
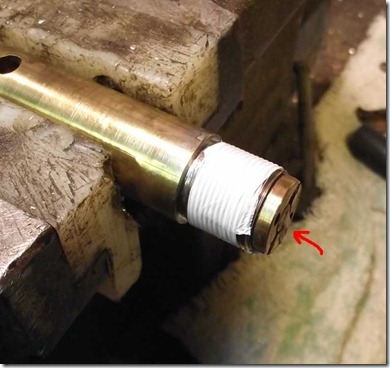
Things you notice only after the fact when looking at pictures after the fact – a small piece of teflon tape hanging over the front of the valve inlet face. I won’t make that mistake again.
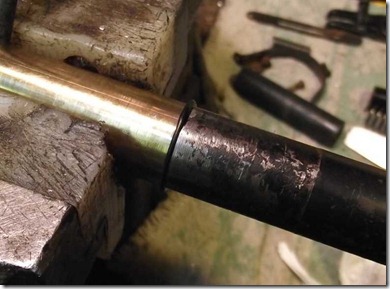
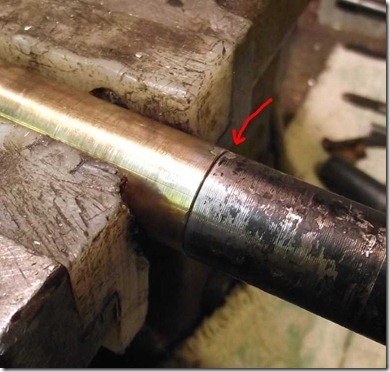
The parts screwed together and aligned perfectly (as witnessed by the old solder blob.)
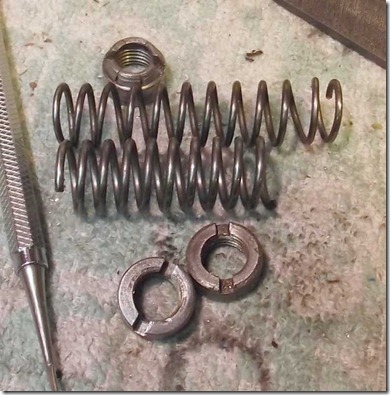
I decided to use one of the hammer springs and locknuts from another Rochester as the one from this gun was short…
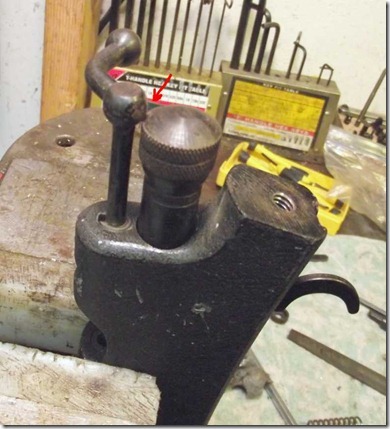
Have to assemble the bolt first, then the hammer…
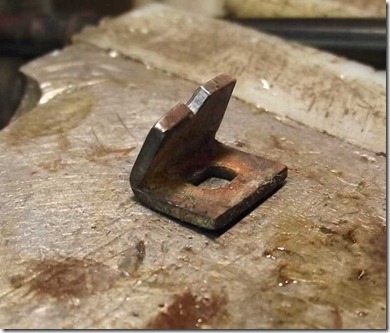
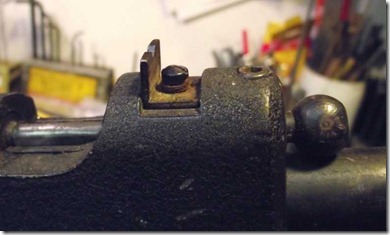
The bent rear sight.
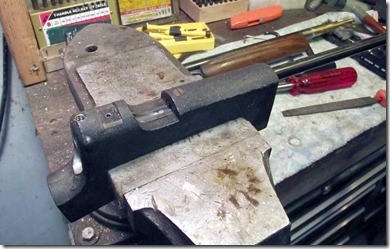
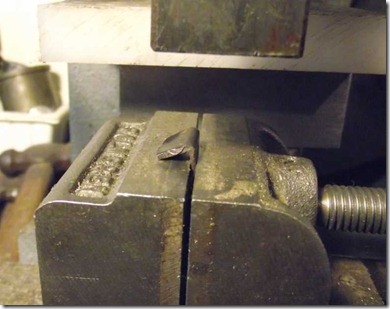
Placed loosely in a vise under the arbor press ram.
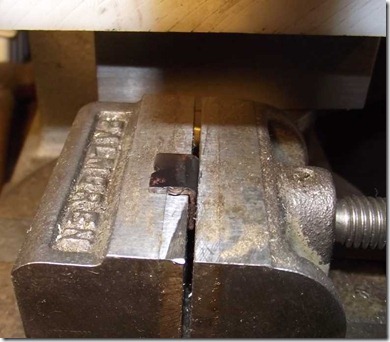
Bent…
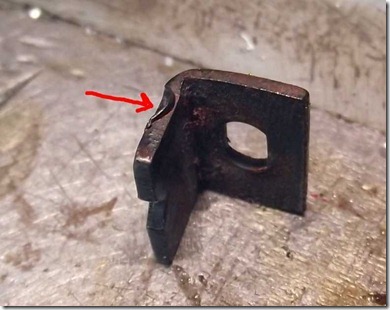
Another thing I didn’t notice until I looked at the pictures – an old burr on the stamping. I’ll have to dress that.
In place. Does it go this way or backwards? I need to dig up some pictures.
The gun is now holding air well, and I spent a half hour plinking at cans. I still need to chrony it. There’s a bit too much headspace between the pump plunger and the valve face so that the residual air pressure causes the lever to flip open. So I have to address that as well as make a new pump cup.
Getting there!

No comments:
Post a Comment