
This is at least the second version of the pistol. The original had a funky, sort of, uh, match-type grip. It's not much of a reach to assume that the original grip wasn't left hand friendly so it was changed to this design.

Of course, I'd like to have the original grip frame, match gun weirdo that I am. It's a relatively large pistol as you can see from the 12" ruler.

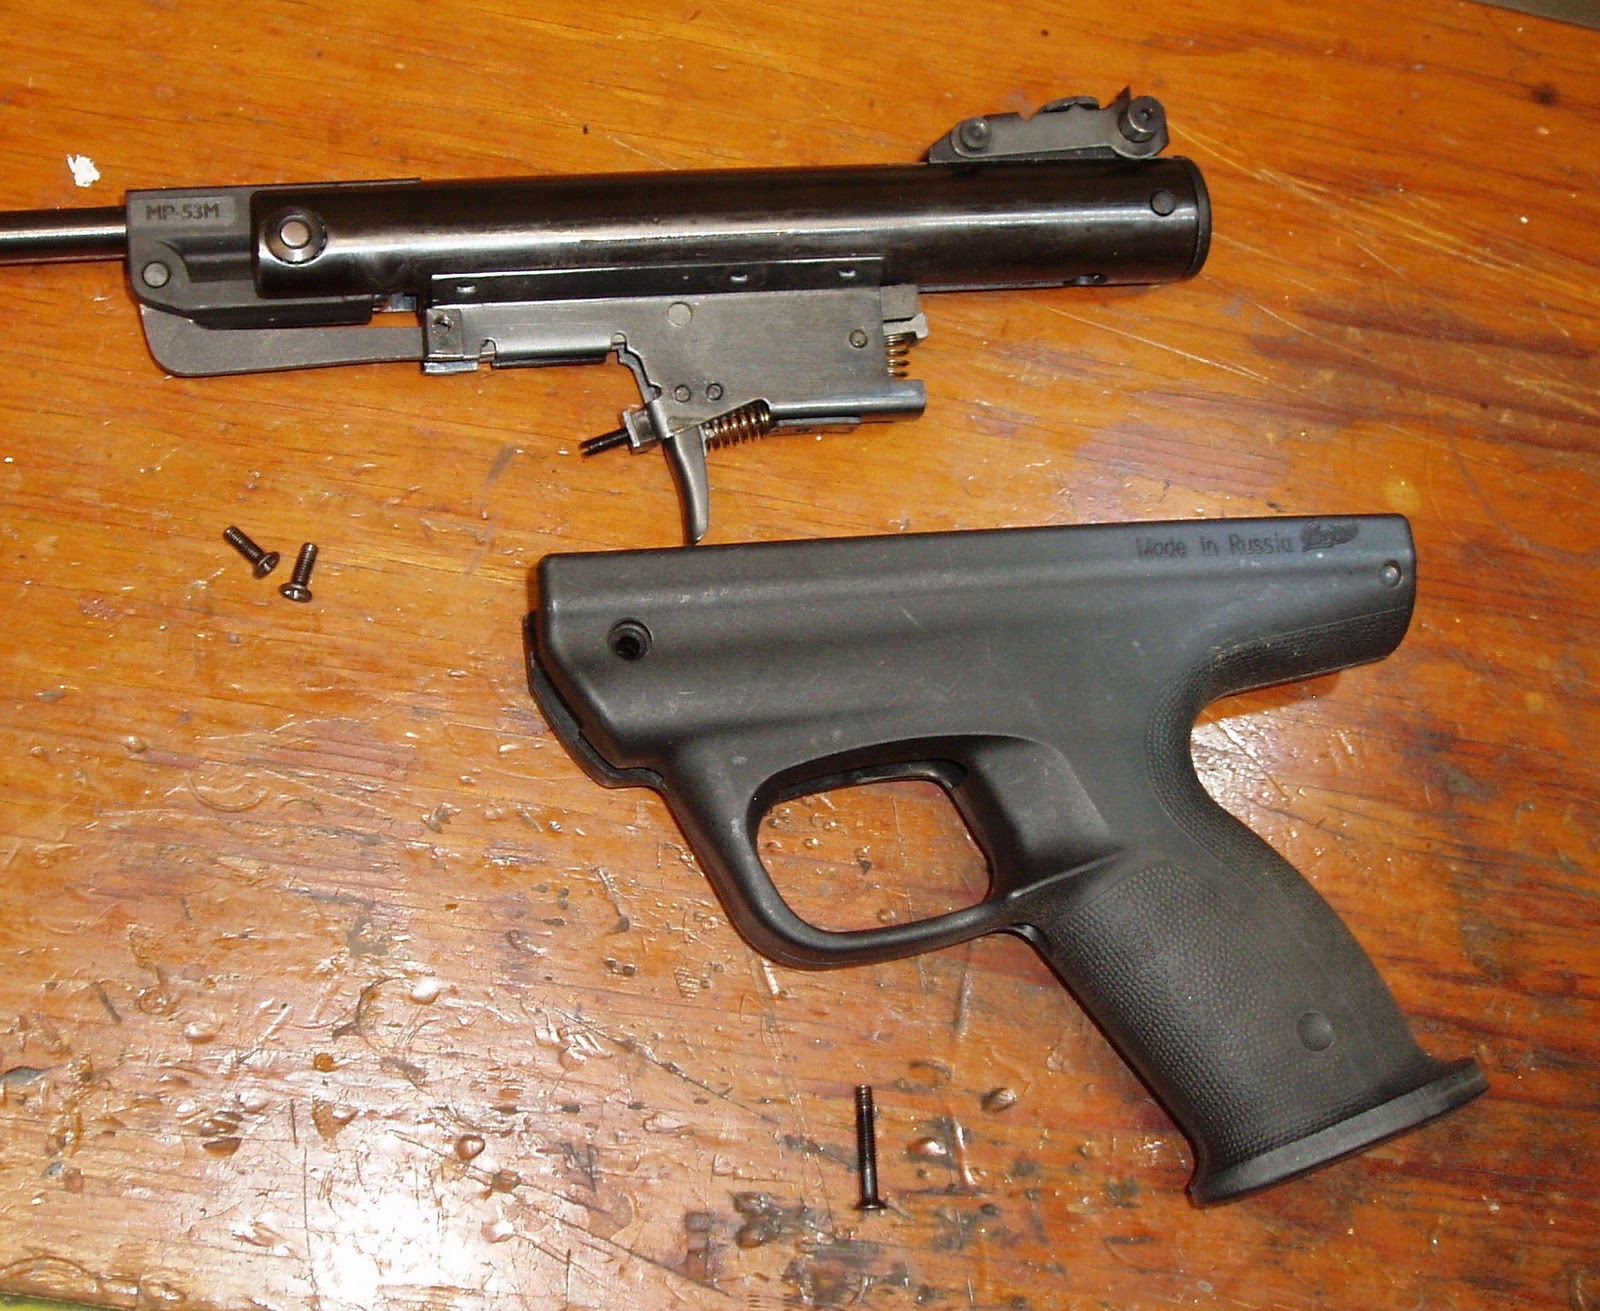
Diving right in... Removed the two stock screws at the front.

There's a third screw underneath at the rear of the trigger guard. They're all phillips head screws. I didn't actually measure one, but it's a safe bet that they're all M4 x 0.7mm thread.
There's an adjustment screw at the front bottom of the trigger assembly. I didn't see a hole in the grip to reach the screw. Maybe I missed it? Well, thirty seconds of web research shows a hole in the original grip design. Looks like it was omitted from version two. So, just take the action out of the stock to adjust the trigger.

Wanted to remove the rear sight next, but the lip on the end cap blocked the rear of the dovetail slots preventing removal. Looking at the mainspring's wire gauge told me I could do without a serious mainspring compressor. I snugged it into a large bar clamp and put some pressure against the cap.

Figured I'd tap out the pin, but it simply fell out when the spring tension was relaxed. Click the pic to enlarge--note the end of the mainspring--it's buckled against the end cap.

That was easy.

The cap is plastic. Some type of nylon like the grip.

Notice the lack of a spring guide. The inside of the end cap seems like it was designed to accept a press fit guide. Back to the web for thirty more seconds of research. There's no guide on the schematic--not even on version one. Must've nixed the guide as a cost cutter after making the mold for the end cap.

Wave to the spring. About now, I'm thinking the lack of a guide isn't such a great idea, and the lack of grease almost went unnoticed.

At least I can take the rear sight off now. The foremost screw on the sight unit fixes it to the dovetail.

Piston is still in the gun. The end of the cocking lever is holding it in place. Note the ratchet. It's for the anti-beartrap. Removed the coil spring for the anti-beartrap.

The end of the cocking lever is just visible in the piston body.

I noticed the side hole in the trigger unit and assumed it's for access to allow removal of the rear link from the cocking lever. Drove the pin out. It must be removed from left to right. Still can't remove the link or the piston.

Drove out the pivot pin for the sear.

With the pin out, the sear is removed, followed by the rear link.

I like how the sear functions as part of the anti-beartrap assembly. Clever.

Piston. Looks like the seal is the same as the Model 60/61 rifles.


Here's that trigger adjustment screw. The trigger had a very, very long, light pull. The adjustment screw was backed out all the way. The housing was also bent about 15 degrees from center, so much that the screw wouldn't contact the trigger correctly.

I'll realign the trigger housing so it functions properly. Screwing it inward will then shorten the travel of the trigger.
More soon.

5 comments:
When reassembling the Izzy, I suggest using a razor blade or exacto knife to trim the plastic cap at the rear end of the compression tube to match the dovetails. This will allow you to move the rear sight much further backwards, letting you adjust it much further down. I found the original sight adjustments wouldn't allow enough vertical travel. Maybe its just mine, but I find it shoots very high and is very hold sensitive.
In order to remove the cocking linkage from the cylinder, and so remove the piston, you might find it easier to remove the barrel pivot, rather than tap out the pivot between the two lengths of the link.
You can then wangle the barrel block a bit further back, to enable the link to clear the enlarged rear end of the slot.
The earlier, anatomical RH grip went through two (I think) minor variants, due to the sights changing. Some pictures of my later version here:
http://s301.photobucket.com/albums/nn75/IainKD/Baikal%20Izh53M/
A nice pistol and overall very pleasant to shoot.
Iain
Appreciate the tips, guys. I'm embarrassed at how long it's taking me to get the second part of this simple gun finished and posted. Too many other things keep eating up my time.
What pellet do you like for this gun?
Derrick, I have on old IZH 53 from the mid 90s. It has the "bakelite" looking RH grip and adjustable trigger ('pseudo' first stage travel). Elevation from front sight windage from rear. Power has been down lately so yesterday I opened her up. It all went fine and I changed the main spring and piston seal to the original replacements that came with the pistol so many years ago! Power has now returned. Now my question: I can't get my head around how the anti bear trap and trigger work together even though I assembled it no problem. Can you explain? Thanks mate great blog. Yours and pyramydair are my favourite! Chuck
Post a Comment