
I polished all the internals.
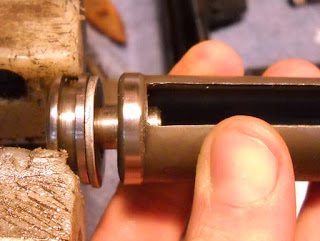
I needed to replace those yellow washers.
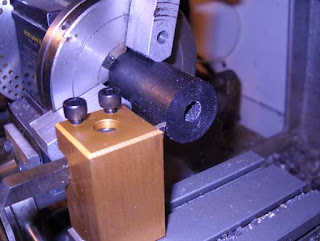
So I turned up a rubber disk.
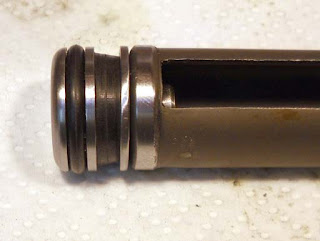
I had to trim it a few times to get the length right. It also came out tapered as it was softer rubber than I usually turn. Live and learn. The main thing was to keep the piston head from rattling around.

I have to retain the detent plunger while putting the pivot pin back in.
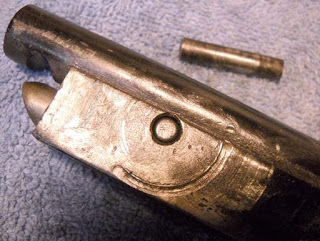
So I inserted a shorter dowel pin into the block to hold the detent in place, then pressed in the pivot pin which pushed out the shorter pin. The circular groove is from someone using stock screws that were too long...
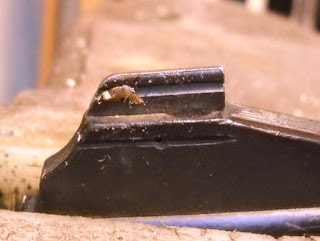
I decided to remove the front sight. If anyone has a spare Meteor rear sight I'd love it. But I'll just scope the thing for now. I think it would be better with open sights.
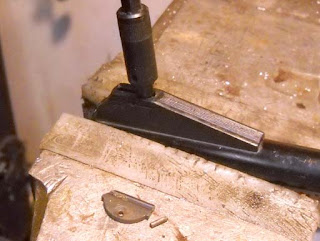
Once the small roll pin is pushed out the blade comes loose and the base can be removed.

Somewhat complex. The front plastic pin in the base goes into a hole in the barrel...

I then sanded the stock. I didn't want to put too much effort into it but did want to remove the worst dings and make a good base for refinishing.
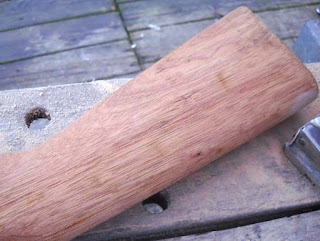
It's not a bad piece of wood.
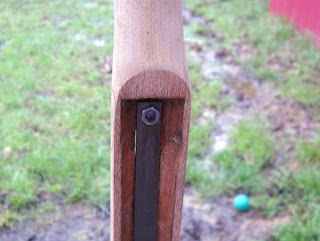
I mounted the stock to a steel bar.

I gave it one light coat of cherry stain.
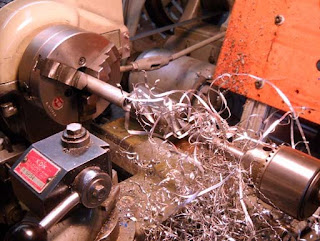
In between coats of oil I made a muzzle brake...

I decided to go with a minimal brake.
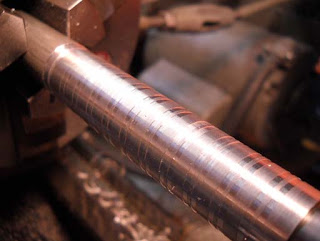
Some very light grooves so my hand could grab it.
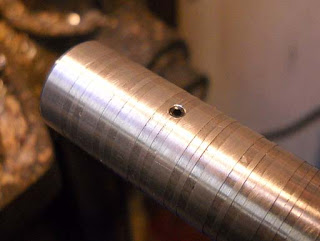
The setscrew goes into the hole at the front of the barrel that the front sight registered in. It is a push fit and the setscrew keeps it from coming off.
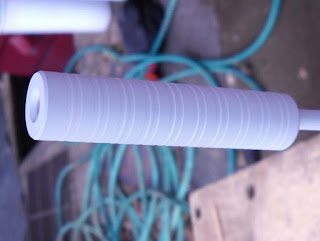
A coat of primer...
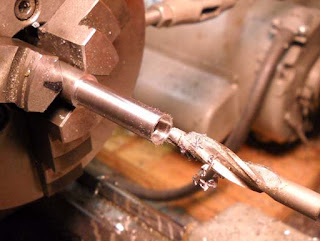
Making the screw cups.

I didn't make them a tight fit as I didn't want to stress the wood. It was pretty thin and already had the one glued split.

I did give them some cold blue. Notice the different heights due to different counterbore depths. I retapped the stock screw threads to 10-32 and used socket head cap screws.
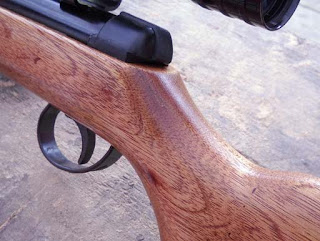
Back together. I think the wood cleaned up nicely. I did 5 coats of Tru-Oil, sanding with a maroon pad. Not perfect but much nicer than it was.
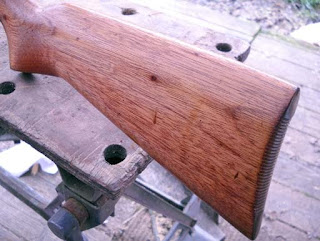
Still a few dings left, didn't want to substantially change the stock.
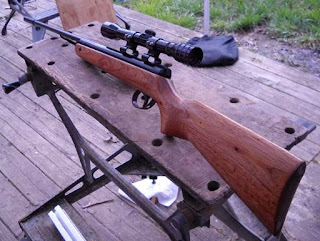
The finished rifle with a yard sale scope and some rings I hate.

Looks better? It is shooting at about 445 fps w/14.3 gr. pellets, which seems correct. A light and fun little rifle.

7 comments:
Looks really nice. I'm guessing tru-oil is Tongue Oil without solvents? I'm going to send you a picture of my QB78 stock, which I refinished with some ebony stain and tongue oil. It won't be what you expect!
Birchwood caseys says: "Its unique blend of linseed and natural oils dries fast and will not cloud, yellow or crack with age and resists water damage."
So it's Linseed with driers, varnish, polymers, what have you.
Nick
I don't know if embedded images work in bogger comments but, here's an image of the QB78 stock I recently refinished. I stripped it, sanded it, stained it with ebony stain and gave it three coats of Formby's tongue oil. The wood is very odd. It has what appears to be two grains, a fine one and the "zebra striped" grain which popped out once the ebony stain was applied.
http://lh3.ggpht.com/_ge937H16kU0/S5BSFcktlBI/AAAAAAAAAow/uuTZsoxDZJU/s144/qb78.jpg
I just pasted the link into my browser and it showed the picture. Nice work!
Nick
Great thread , I am in the middle of refurbishing my sons old Meteor so I am glad I found this before I put it back together.
Hi, great article. I'm refurbishing a Mk4 and have one query. Is the piston head attached to the cylinder in some way? There appears to be a groove on the smaller diameter which fits inside the 'keyhole' - does this need a circlip or similar to keep it attached?
It just slides in the keyhole and being constrained by the tube it won't come off.
Post a Comment