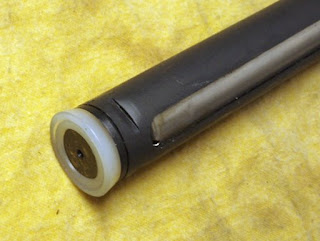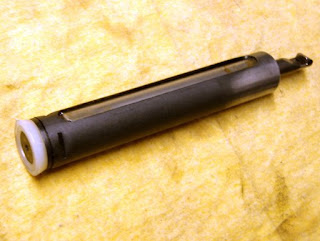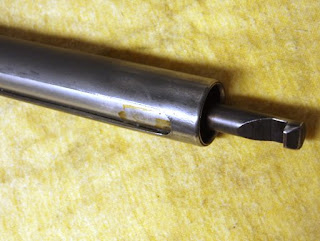
Another view of the two guides. The scuffs on the HW guide are from test fitting to the spring. A press fit is good here as the spring expands slightly as it's compressed. The tight fit helps ensure that the spring gets compressed in a straight line with no buckling.

The piston seal was replaced with a brand new one. The seal is exactly the same one used by Crosman for their Remington Summit air rifle. Probably 50 airguns use this seal. Again, I found some in my parts box. (it's a big box)
It's Crosman's part number# RW1K77-002. I think it was about $4.00
The end of the steel piston is buttoned. I think Nick wrote a piece sometime back about installing seals. I used a similar technique and managed to not injure the seal, piston or myself. No mean feat.

Not done with you yet, my pretty. If you look closely, you'll see that the rear of the piston body has now been buffed on a polishing wheel. The piston's seal ensures that the front of the piston can't touch the inside of the compression tube. The rear, however may touch momentarily during firing compression and the smooth surface helps eliminate friction.

The notch on the cocking rod was also polished up. This is not the place to re-cut any angles.

Ready for installation. Anybody want an old BAM spring guide? I'll make you a sweet deal.
Sorry, no pics of the reassembly. Just the look at the disassembly in reverse. The only thing I do differently from most tuners on assembly is to use copper anti-seize on the piston seal and in the compression chamber. Just burnish it into the cylinder wall using a piece of PVC tube. Years ago, Beeman sold a "Laser" upgrade for your R1 rifle. The kit included a replacement mainspring, spring guide, piston seal and special "Laser" lube. The copper colored contents of the jar left no doubt as to what was inside the package. Been using it ever since for spring gun piston seals. It's commonly available at auto parts stores. The mainspring and spring guide can be coated with it, too. Although, I typically use a moly grease and a bit of Maccari heavy tar. Side note: If you bought an early Glock pistol, the slide rails were greased from the factory with copper anti-seize.

The B26-2 uses a shared barrel assembly with some of the other BAM rifles. Although this particular gun doesn't come with open sights, the breech block is drilled and tapped with 4mm x .70 holes.

The holes bothered me, so I measured and cut a piece of steel bar stock to turn into a sight plate cover. Half an inch wide is just about the right width to fit across the top. Marked the holes, spotted, drilled and countersunk.
Countersink vs. counterbore. I had to look this up the other day. "Countersink" means the bolt hole is tapered like a funnel for the bolt head. "Counterbore" means the hole has a flat bottom for something like a socket head cap screw.

Once it fit, I hand filed the ends to match the contours of the gun, sanded it smooth and cold-blued using Birchwood Casey PermaBlue.

Installed. Looks better than the open bolt holes.

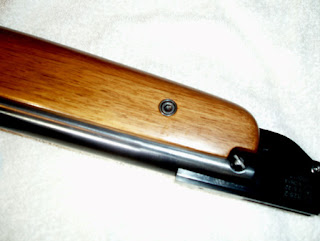
I also used the Taig and made forearm cups out of a piece of free machining steel. These are counterbored for 5mm x .80 bolts. I've found that it's too easy to slip with a screwdriver and mar a wood stock. Allen and Torx head fasteners reduce that slippage possibility substantially.
Nick covered how to easily make screw cups a few weeks ago. If you don't have a small enough boring bar, try an end mill that's just slightly larger than the bolt head. Using drill bits, get the counterbored hole to full diameter--but not full depth. Use the end mill as a drill bit to cut the last few hundredths and mill the bottom flat.

No comments:
Post a Comment