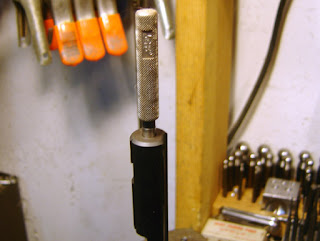
The bore of the Crosman steel breech is .257"
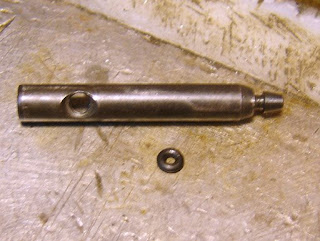
The supplied bolt is .248" diameter. That's a lot of slop.
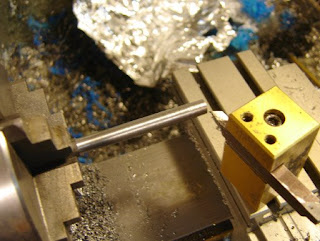
I turned down a piece of 3/8" free machining steel to .256"
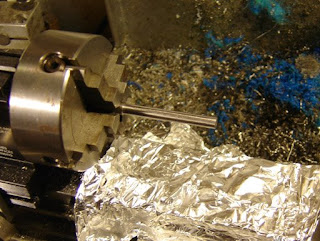
As always, protect the ways of the lathe when polishing or sanding...
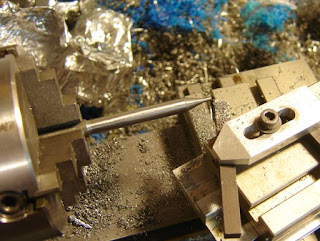
Turning an extended nose/probe and the 60 degree cone that seats in the barrel.
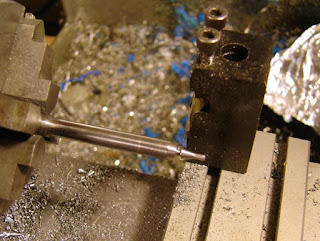
Carving away the o-ring groove. This was a case of measure, cut, measure, cut...
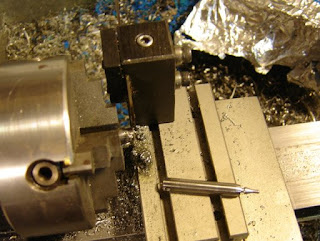
The bolt cut off to length.
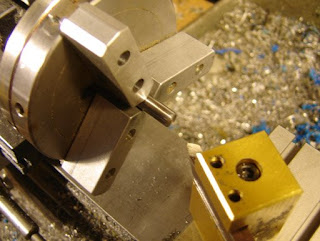
Facing and chamfering the end of the bolt.
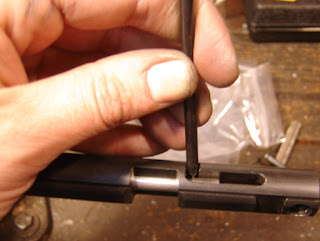
Using a transfer punch to determine where the bolt handle will mount.
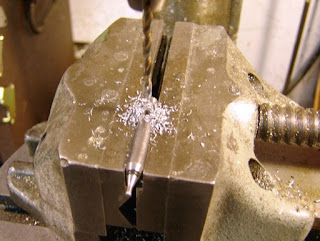
Drilling for a #8-32 tapped hole.
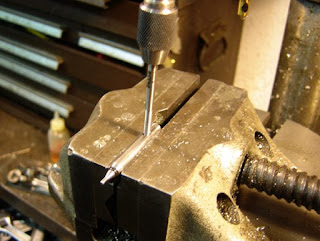
Tapping #8-32
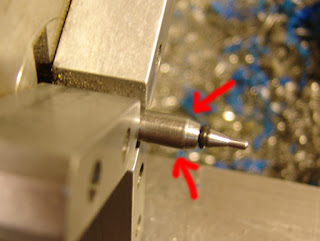
I mounted the bolt and found that the bolt was hanging up a bit, which can be seen as a slight raised ridge. So I turned down that end for about .1" to the original .248" diameter.
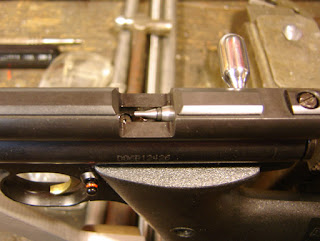
The finished bolt, all mounted. Velocity, after shooting a bit, averaged at 575 fps. for 5 pumps, and 726 fps. for 10 pumps with Crosman Premier Light pellets. That's a negligible increase over the previous improvement (568 fps. at 5, and 724 fps. at 10) gained when I made the adjustable piston.
The most interesting development, and something I hadn't noticed before, was that the valve was not dumping all the air I was pumping in. I could take a second shot after pumping ten times and get 254 fps. with the CPL's. I made sure that I exhausted all air in the valve by dry firing between each shot for the new averages. This makes the original velocities measured after the piston mod a bit suspect, as they likely had a boost of remaining air in the valve, and may have been slower had all the air been exhausted.
So the next installment will cover a bunch of modifications to the valve and porting...

1 comment:
Are you going to do any internal valve mods.
Post a Comment