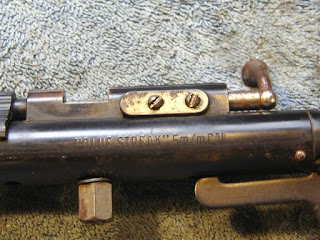
I don't know why I removed the action from the stock, although it take up less space on the bench that way. That plate and the cam beneath needs to be removed.
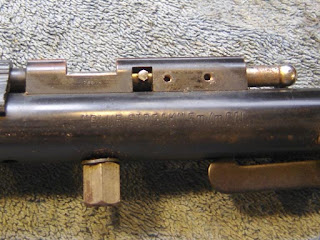
Which exposes the bolt cam pin. This has a hexagonal section and is unscrewed from the bolt, allowing the bolt to be withdrawn from the action.
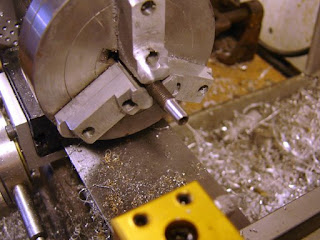
The excellent article "Let's Repair a Sheridan Model C", in Airgun Hobby Magazine Volume 4, #1, shows how to make a tool from a 1/4" setscrew. So I made the tool. Basically you turn down the end with the hexagonal socket to clear the slot.
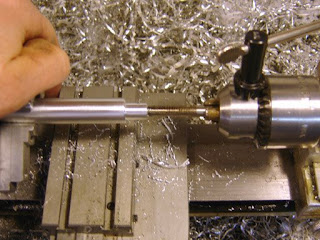
I then tapped a piece of aluminum for a handle and loctited the setscrew in.
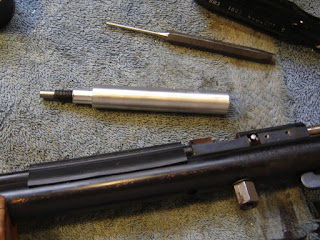
The finished tool.
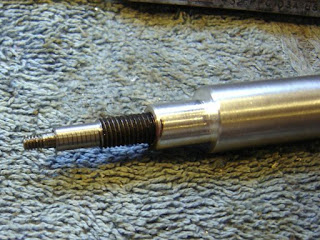
The pin was unscrewed from the bolt.
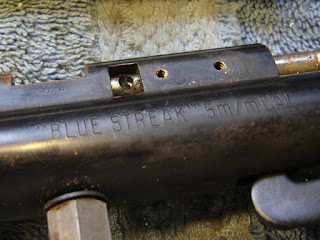
Now the bolt can be removed from the action. The article says "Be careful not to lose the bolt spring, which can pop out.", which is exactly the mistake I made, as the action is less akin to a "pop" than to a jet assisted takeoff across the shop. Luckily I had a replacement.
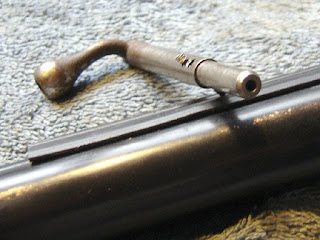
Notice the neat hole in the end. I couldn't find any reference to what I assumed was a two piece bolt (not to be confused with a two piece bolt of the handle and bolt...) so I asked on the AVA forum, which resulted in the information that for a short time Sheridan made two piece bolts:
"The design was a failure, as the pin would sometimes separate from the bolt and either get shot out the barrel or get caught in the exhaust transfer port. A rifle that is missing the pin will not shoot a pellet, as the pellet does not get pushed past the exhaust port when the bolt is closed."
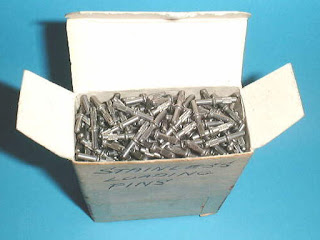
"Kennyboy", who supplied the above information, also has kindly allowed me to use his picture of a box of the loading pins. He's sending me one as well but I figured that it would be best to make my own replacement, since the originals didn't work so well. Having the replacement pin will allow me to keep a bit of obscure Sheridan history, as well as the option to return it to stock configuration should I ever feel the need.
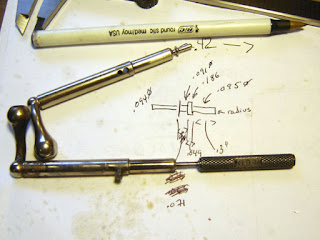
Some measurements were taken from another Sheridan bolt (yes, I have two Sheridans...)
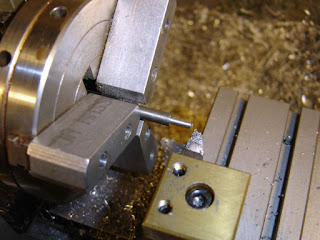
The pin was turned down from 1/4" mild steel.
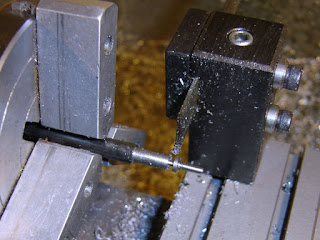
The rest of the pin was cut using a parting tool in steps, past the flange.
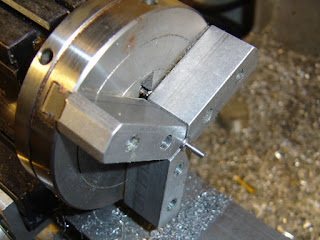
Once cut off, I tidied up the other end.
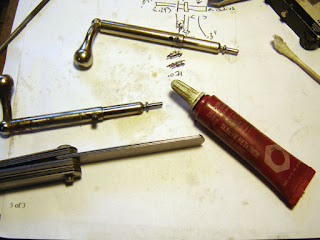
I used Loctite 640 High Strength Sleeve Retainer compound to cement the pin in the bolt. The feeler gage was used to set the gap exactly as on the bolt above. The Loctite has good gap filling capability and high strength, approaching that of steel.
I put on a new o-ring and reassembled the rifle. I shot a few pellets through it with no problems.
Now I just have to wait for Crosman to ship a few rear sight parts, fix a crack in the forearm, and the rifle will be done.

No comments:
Post a Comment