Thursday, February 27, 2014

Benjamin Marauder Tear Down

I've been watching the Marauder's on-board gauge drop slowly over the course of the last two months.   It was filled to 3k and now it's down to just under 1800 psi.  I was finally suitably annoyed with the gun and found a free evening.


Pulled off the shroud and removed the action from the stock.  Click here if you need shroud/baffle removal tips.


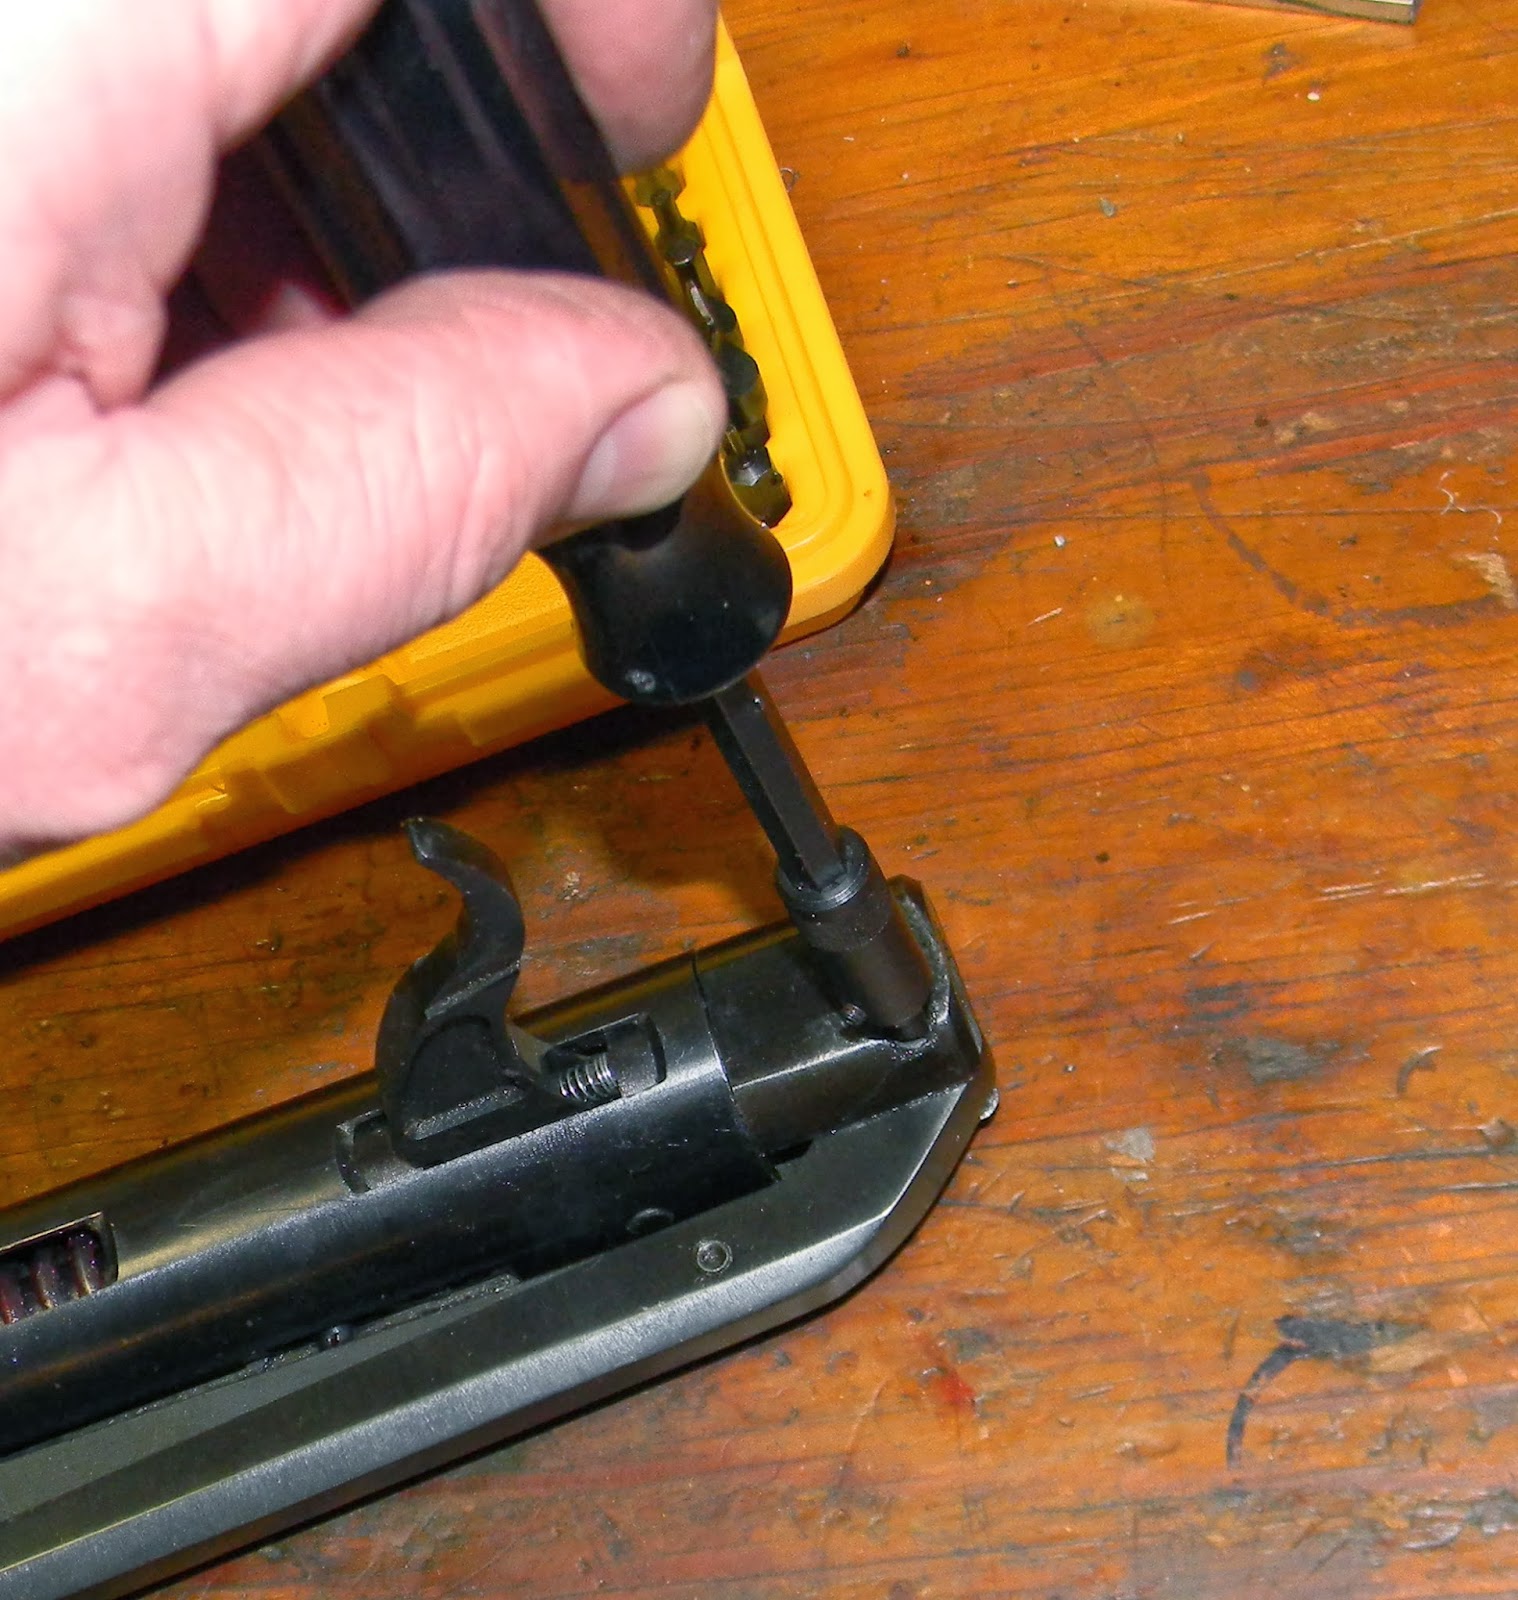
This is a "degassing tool".  It is your friend.


It screws in and presses against the valve stem exhausting the high pressure air.


Don't just trust that the air tube is empty because a gauge reads zero.  I dry fired the gun until it was empty, then used the degassing tool to double check.  Opening a pressure vessel containing a few hundred psi would be a nasty surprise.  Opening a pressure vessel with 3k in it could be life altering.


Unscrewed the fill plug.  Little bit of corrosion on the threads.


Unscrewed the air gauge.


Removed the bolt.


Don't lose the spacer.


Reinstalled to keep track of the parts.


This spring loaded detent bears against and acts as a hold open for the bolt.


Three bolts hold the breech to the air tube.  Two up front.


And one in the back.


Off with the end cap.


Remove the allen bolt from the top of the hammer (striker).


Striker (hammer) removed.  Again, the bolt was threaded back in so I don't lose it.


Pulled the transfer port seal.  Looks like the same seal as the 22XX CO2 guns use.


Removed the three allen bolts securing the valve body in the air tube.


Pushed out the valve and air gauge bodies with a wooden dowel rod.


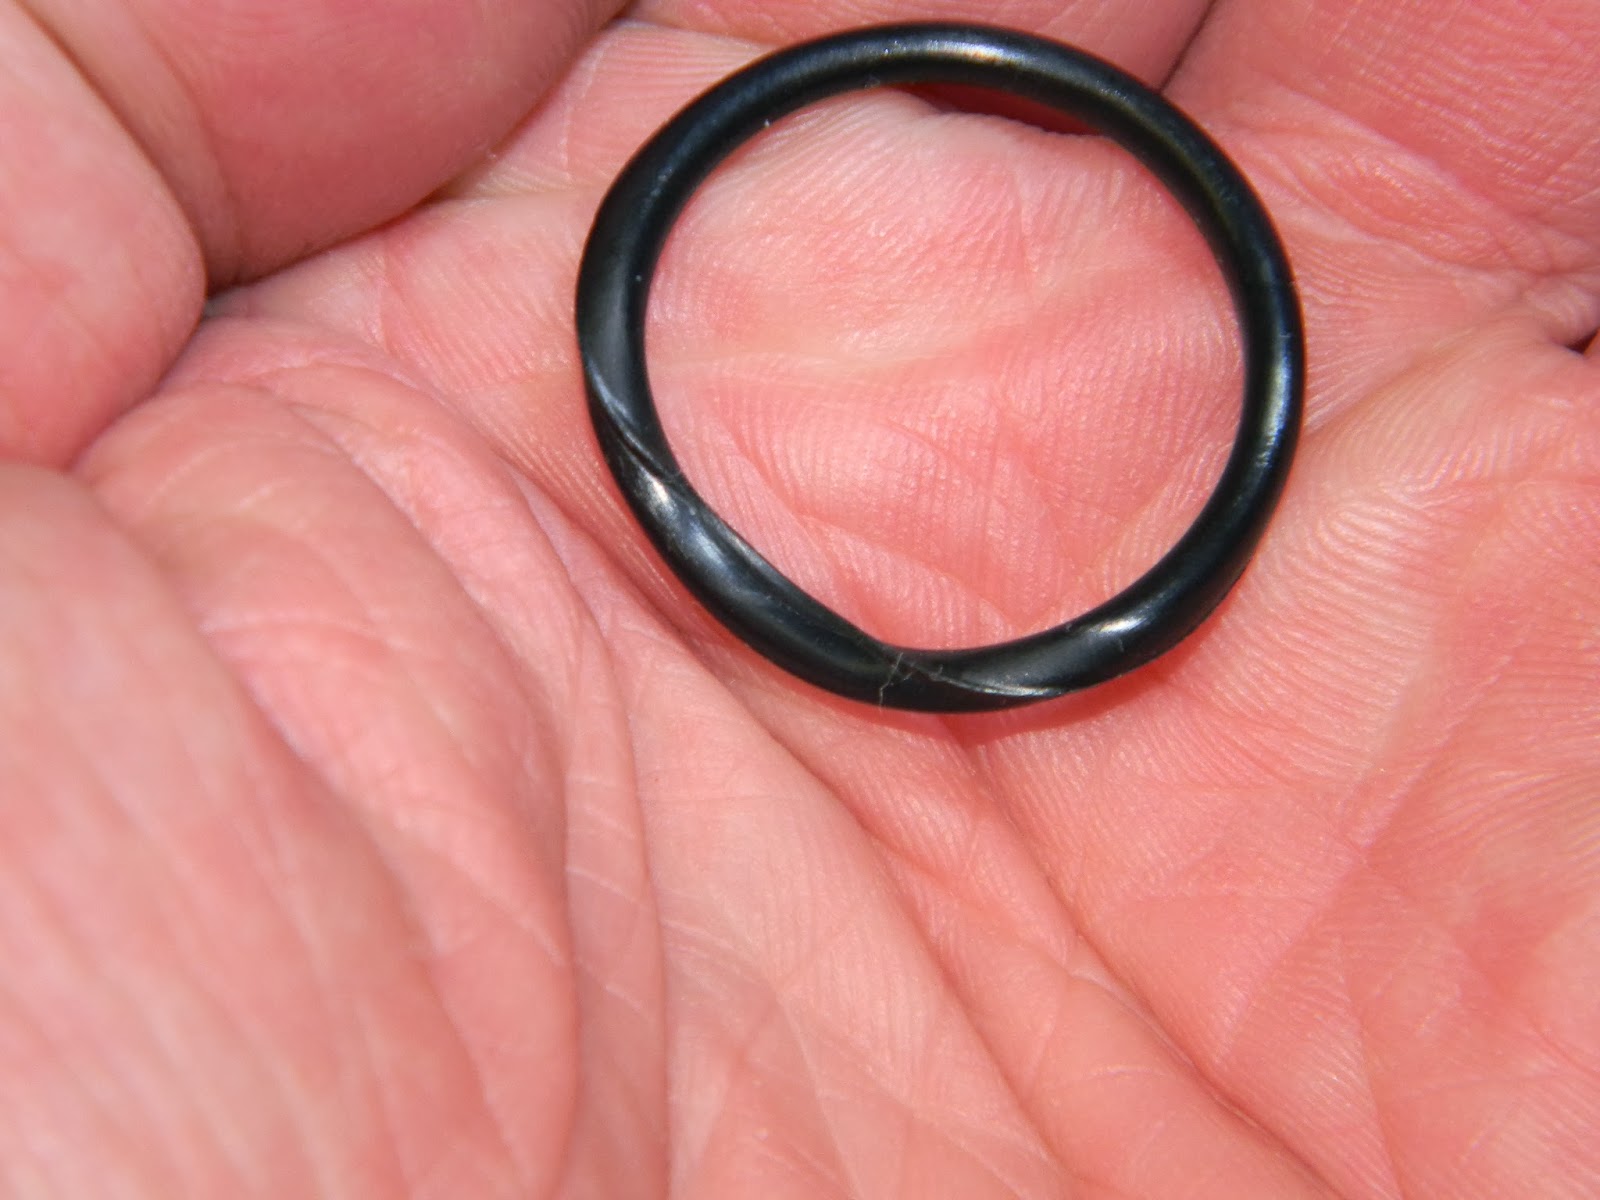
O-ring on the front of the valve body is damaged.


Valve disassembled.


A spot of discoloration from the base of the spring.  No big deal.  Polished it out.


Valve face is pristine.  Not a trace of corrosion.


Rebuilt the valve with a thin smear of silicone grease.  Got this from a local dive shop.  Not to be confused with a local dive. 


Here's that damaged o-ring from above.  The o-ring from the valve body looks rolled over in one spot.   This is probably responsible for the air leak.


Replaced the o-rings.  I believe they're #118's.


Removed the gauge from the stand off and PTFE taped the threads.


Reinstalled.  Looks aligned with the air tube.


Air valve installed.


Threads cleaned up.


And tightened.  At this point, the air tube is now sealed at each end and can be pressurized.  Filled it to 1000 psi and set it aside for a couple days.


Since it was still holding pressure later in the week, I finished putting it all back together.  

Update:  After completing the reassembly, I filled the gun to 2600 psi where it has remained for the  last two weeks.  I feel pretty confident that it's fixed.

Thanks for checking in.

Monday, February 17, 2014

The KL-3B Fast Deer -- Part 3 Final?

With the ID of the compression tube cleaned up, I decided to lose the leather piston seal and go synthetic. 


Just unscrews from the head of the piston via a M5 phillips head bolt.


I've used these seals before.  Get them from Crosman (part #B18-04-1A) for about $1.10 each.    Cheap and they work.


Had to make a simple adapter from aluminum rod.  It's exactly like the one I made for the Benjamin Sterling.


Through drilled to clear the M5 bolt.


Countersunk for the flat head.


Cut the taper to interface with the 60 degree (included) angle on the new seal--


--and parted off.


Scrounged up a stainless flat head M5 bolt.


Installed.  Not shown--chucked the entire piston in the lathe and dusted a couple thousandths off the edge of the seal to get a better fit to the compression tube.


Test fit.


Here's the other end of the compression tube.  I thought that the transfer port was on the large side at 0.156" diameter.  Going to sleeve it down to 0.125". 


Found a 5C collet.


Finally, an excuse to use my horizontal/vertical collet holder.


To make this easy, I set this up on the mill and used a 5/32" (that's about 0.156") drill bit to line up the drill chuck with the hole.


Then changed to a #8 drill bit and opened up the hole to 0.199".   


And tapped the hole M6 x 1mm.  Now, it's a simple matter to make different sized transfer ports.


Had a piece of M6 threaded aluminum.  Through drilled it to  0.125"


Cut it to length and slit the end for a screwdriver blade.  Here its been installed with a low strength loctite.   It's really just a hollow setscrew.  Like I said, simple.


Went through the mainspring box and found what looks like a good candidate. (The bottom spring)


Installed the sliding compression tube.


Then the piston.


Followed by the anti-bear trap  mechanism.


Then the spring. 


Used the mainspring compressor to press in the end cap.  A drift lines up the holes and acts as a slave pin.


Installed the cross pin--don't forget the trigger blade.


The piston rod safety.


Dug out the misc. spring box...


and found a lighter trigger spring.


Reinstalled the cocking lever,


and hit the parts bins again to find some sights.


This'll clamp to the dovetail.


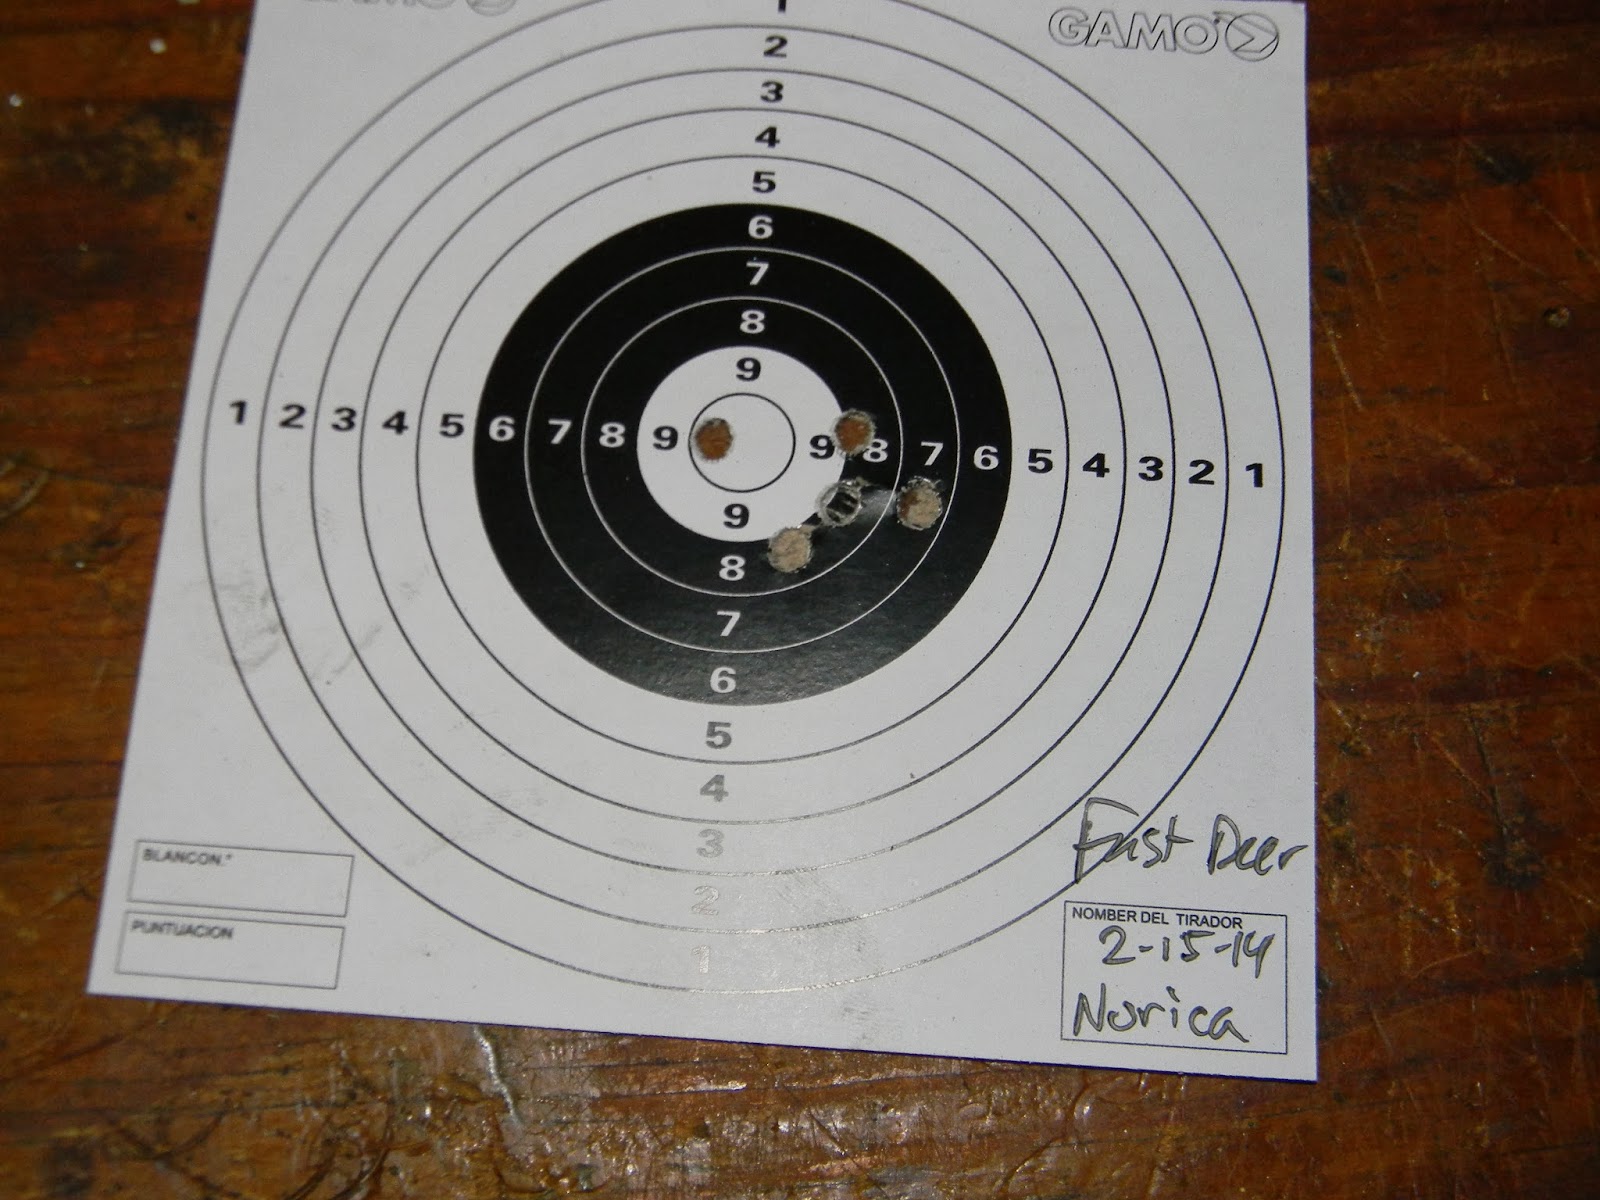
This is not at all what I was hoping to see down range.  And these are the GOOD targets.


RWS Hobbys, Noricas, H&N--even the 5.6mm Eley Wasp pellets all failed to produce a single credible group.  A quick re-crown also didn't make a whit of difference.  Pulled the open sights and installed a scope.  No dice.  This gun simply won't group.

The only good news I've salvaged is the velocity after the compression tube hone is remarkably consistent:  398, 402, 402, 397, 404, 399, 402 with .22 cal Hobby pellets.  Low powered, but consistent. My almost identical power plant BAM B3-1 puts the same Hobby pellets out in the mid 550's.  So what gives?  Well, the bore on this Fast Deer is on the large size and does little to engrave the rifling onto the pellet.  My gut feeling is the pellet is so loose in the oversize bore, it's half way down the barrel before the piston has a chance to build full compression.   I'm pretty comfortable saying that the only fix to both the accuracy and velocity issues is a new barrel.  Sorry, but I'm calling it quits and shelving this one for the time being.  Too much effort, not enough reward. 

Here's what's on deck:  My Marauder has developed a slow leak.  About 500 psi over the course of a month.  That's up next.  Followed--hopefully--by a .25 cal Webley (Hatsan) Patriot that needs some love.