Monday, March 5, 2012

Another Detour--Re-barreling My Smith & Wesson 78G

Need a short break from the Crosman 22XX guns.  Was shooting the S&W 78G this morning and realized that I've never been particularly thrilled with the accuracy.  Thought maybe a re-crown would prove beneficial.


Nick and I have previously covered this model in full detail here.  This time, I didn't need to de-gas the pistol to remove the barrel.


This setscrew actually doesn't secure the barrel so much as put pressure against the transfer port to prevent leaks.  Nevertheless, I removed the setscrew.


The crown is so-so.  It's not great, but it's certainly not the worst we've ever seen.


Took a skim cut to square the muzzle...


then cut a new crown.


Before I reinstalled it, I took a look at the bore.  This is a view from the breech.  Ehhhh, the rifling is really shallow.  Almost non-existent.


Pushed a .22 cal RWS Hobby pellet through the barrel.  The head was untouched and the skirt barely kissed by the lands.  Didn't feel any rotation. 


So, here's the other half of the Crosman 2260 rifle barrel I chopped down for the last project.  The lands and grooves are much more pronounced.  Guess I'll put this barrel into the gun.  So much for the quick re-crown.


Aside from the length difference, the S&W barrel is 0.380" diameter while the Crosman is 0.4375".


Turned down on the Taig.


With the barrel at diameter, I did some test fitting.  Could leave it this long and pick up a few fps, but it's not a good look to my eye.  The barrel is a push fit in the shroud.  Thought about adding an o-ring or a setscrew to fix the barrel in place, but it seems snug enough.


Faced for the breech.  Need to work back to front.


The transfer port on the S&W barrel is 0.405" from the end of the breech.  The hole is 0.125" (1/8")  diameter and the countersink is 0.156"  (5/32")


Scribed a line 0.405" from the end of my replacement barrel.  Centered up with a pointed indicator.


Spotted.


Through drilled.


Changed from the factory design and used a 0.250" end mill to cut a flat.  Since the valve in the 78G has a 0.250" counterbore, it seemed just as easy to use a straight walled port rather than the stepped transfer port used by S&W. 


The only difficult part was cutting the leade.   Used a .250" tapered reamer as well as a small round-nosed burr.  Did a lot of test fitting until the bolt latched closed.


Polished the leade to 400 grit.


Eyeballed a satisfactory amount of barrel protrusion and cut the barrel to length.


Cut a crown, then polished.


J-B Non-Embedding Bore Cleaner was used on a .22 cal brass brush.


The first dry patch after about 20 passes of the J-B. 


1/4" OD vinyl tubing.


I'll try this for the new transfer port.


Here, it's pressed into the valve.  The gun went back together without a hitch.


Replacement barrel protrudes about a hundredth of an inch or so more than the original.  Left it long enough so it could be re-crowned again if I screwed it up.


Group sizes have been reduced by at least 50% from the original barrel.  Should've done this a long time ago.  Sharper sights and some additional weight would probably help me shoot this thing even better.  The diecast front sight isn't as well-defined as I'd like, but I'm probably not going to change it.

Check back soon.

Tuesday, February 28, 2012

The 22XX Takes a Brief Detour

Was gonna start making a rear sight for the 22XXwhateveryouwannacallit from the last post and I somehow got sidetracked.  Seemed that such a large pistol should produce a bit more oomph. 


Started by cutting about a third of the threads off the front half of the valve.  An untouched half is on top...  This increases CO2 volume inside the valve.


A 1/4" diameter end mill was used next.


Again, this increases volume.  Obviously, the modified valve front is on the left.


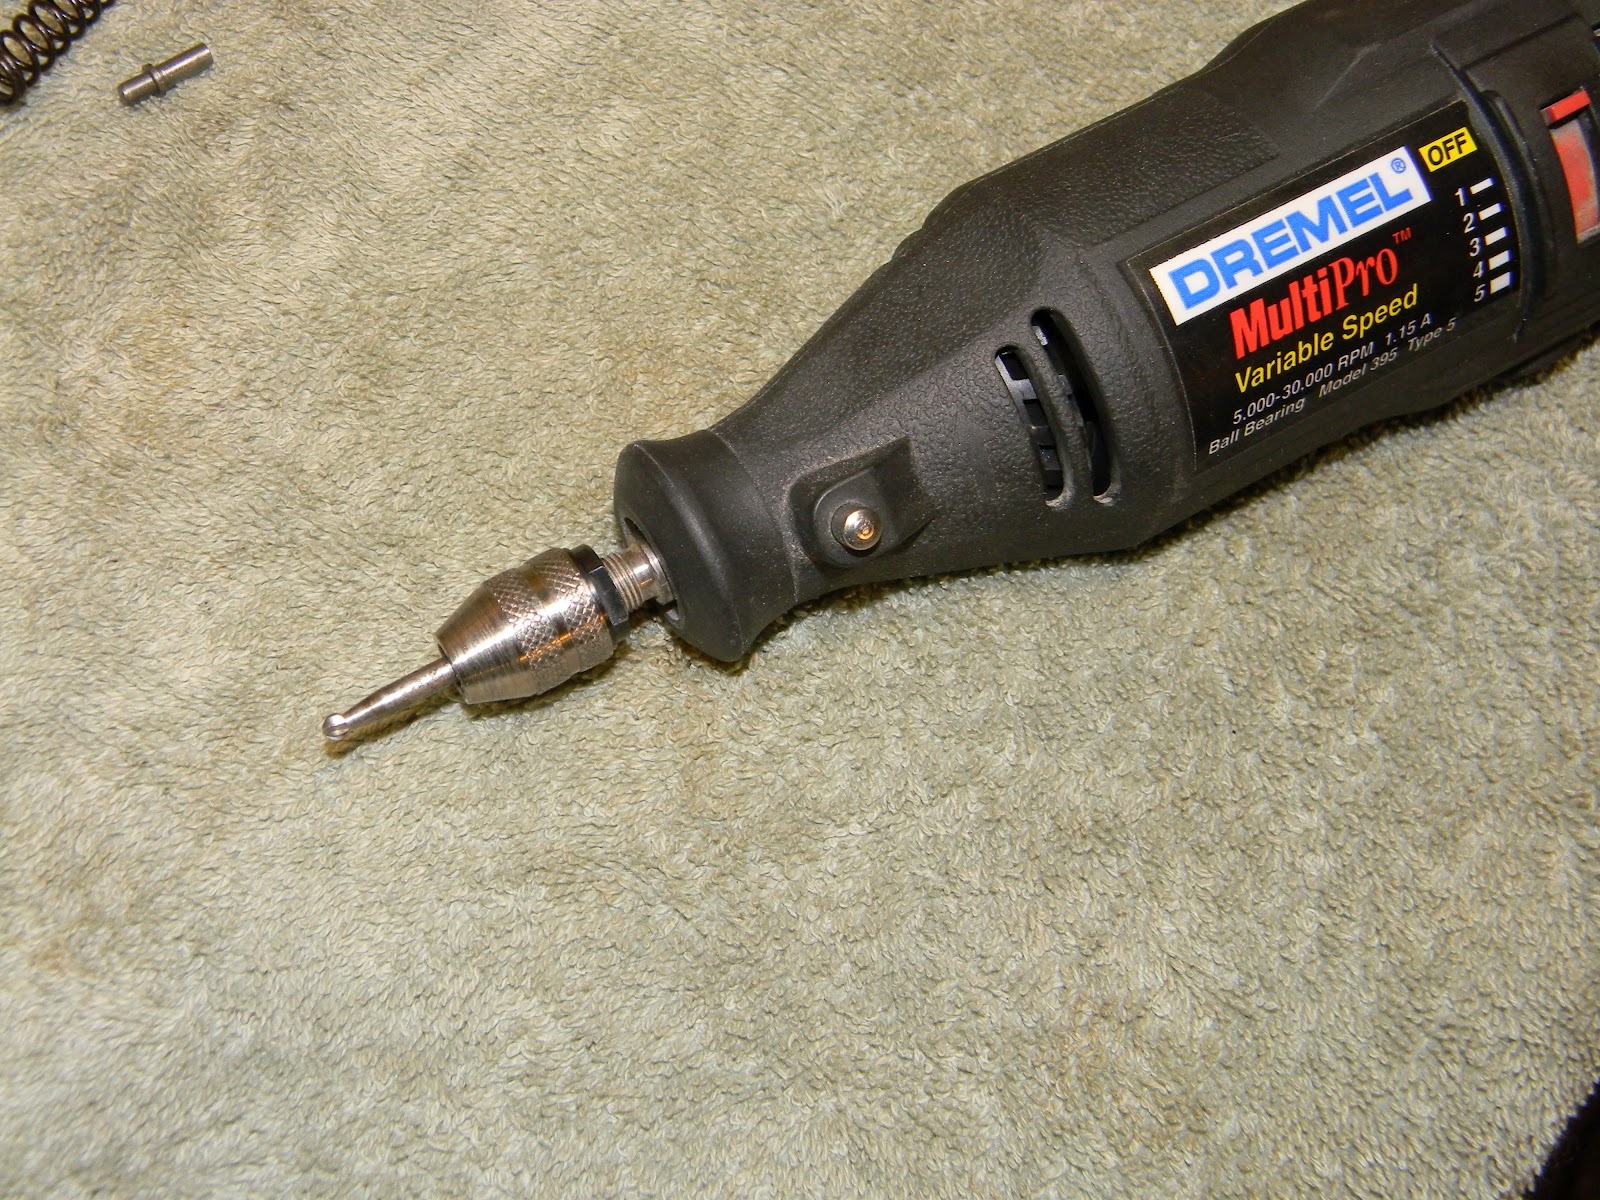
Chucked a tiny ball mill in the Dremel.


This is the rear half of the valve.  Relieved the sharp ninety degree corner at the bottom of the transfer port.  The goal is to smooth out and radius the edge.


Cut a counter bore on top of the transfer port.


...and a similar counter bore in the breech end of the barrel.


Replaced the stock valve spring with something much softer.


Probably unnecessary, but the valve body threads got some teflon tape.


Since the valve gained so much additional volume, safety concerns dictate beefing up the valve securement in the gas tube.  Beats having the valve become a potential missile.  The red tape was used to help with layout for two additional valve screws.


I've done almost these very same steps during the AirSource project here.


Set-up was a bit different due to the use of the 2260 gas tube.  A jack screw held up the off end.


Spotted and drilled with a #29 drill bit, followed up with a 1/4" to counter bore for the screw heads.


Tapped the holes #8-32.


Turned down some #8-32 socket head cap screws to 0.248".


The socket heads stick out a wee bit.


Just enough to be too much.


Faced 'em down in the lathe and rounded the heads over with a file.  I'll blue these later.


With the counter bores cut for the transfer port, the stock transfer port tube was too short.  I cut and faced a short piece of 0.250" diameter brass tubing.


The initial idea was to use a small o-ring at each end of the tube to effect a seal.


Like so.


Tube gets sandwiched between the o-rings.  Well, it will once the breech is installed.  (There's one of the blued screws)


And here's the o-ring mate in the breech.  In practice, this didn't work very well.  Ended up changing from o-rings to thin discs cut from 0.250" diameter vinyl tubing.  The tubing was stiffer and didn't collapse as much as the o-rings.  Sorry, no pics of the vinyl.  Maybe later.


And here's where this whole experiment goes both right--and wrong. The gun hits 600 fps with a .22 cal RWS Hobby pellet--that's 150 fps faster than a stock 2240.  Some of the gain is no doubt simply due to the 13.5" barrel length--about 6" longer than a stock Crosman 2240.  The wrong part is the absurd usage of CO2.  The shot count went down to around 8 or 9 shots.  I forget exactly just how many because I was too busy changing cartridges to actually keep track.  Crosman can barely fill them as fast as this gun can empty them.  I can't live with the low shot count, so I've changed the front half of the valve and valve spring back to stock.  The gun with a slightly stiffer hammer spring is now putting out 550 fps and getting about 25+ decent shots before it drops below a useful (to me) velocity. 

More in a few days.